Making a quick flower in foami (ENG-ESP)
4 comments
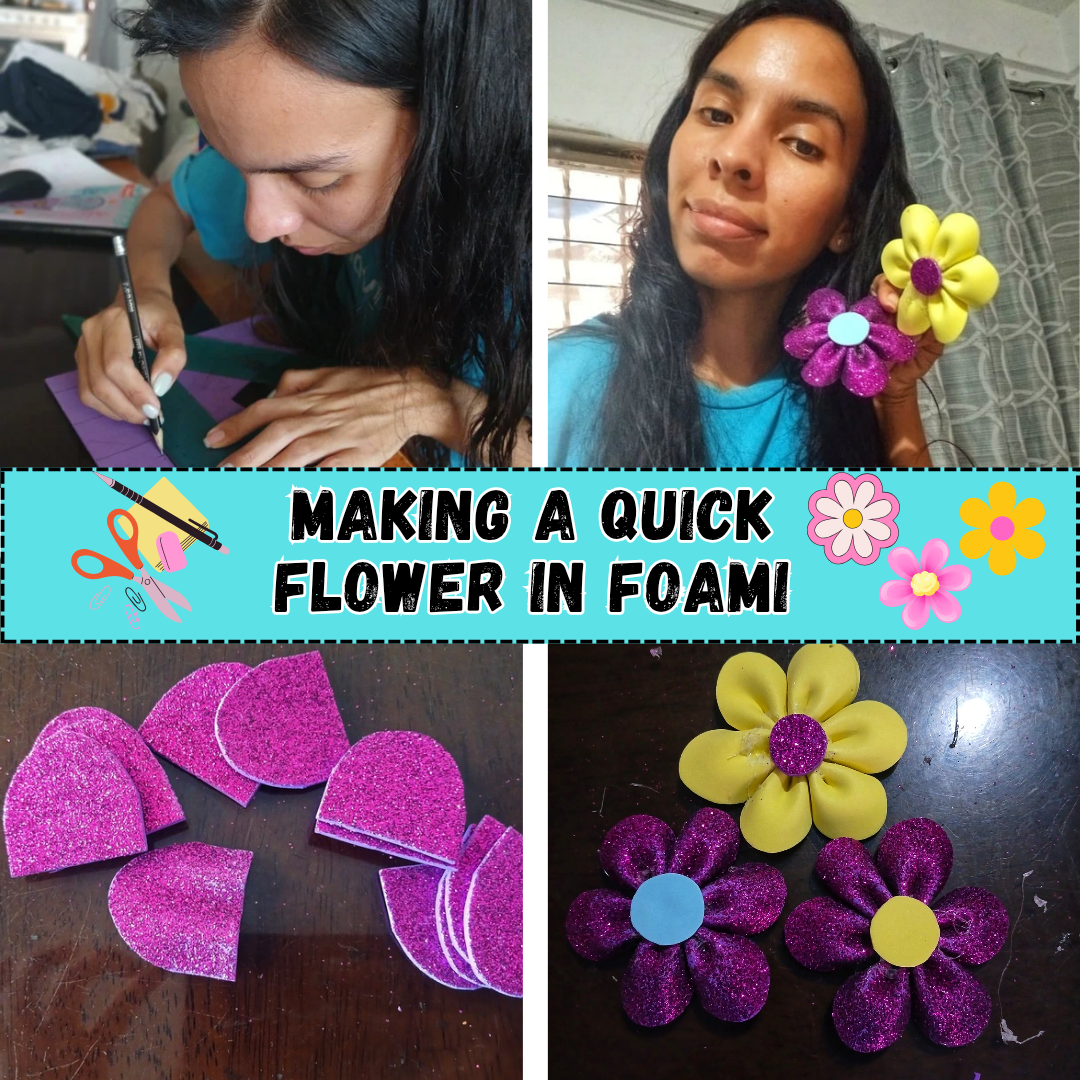

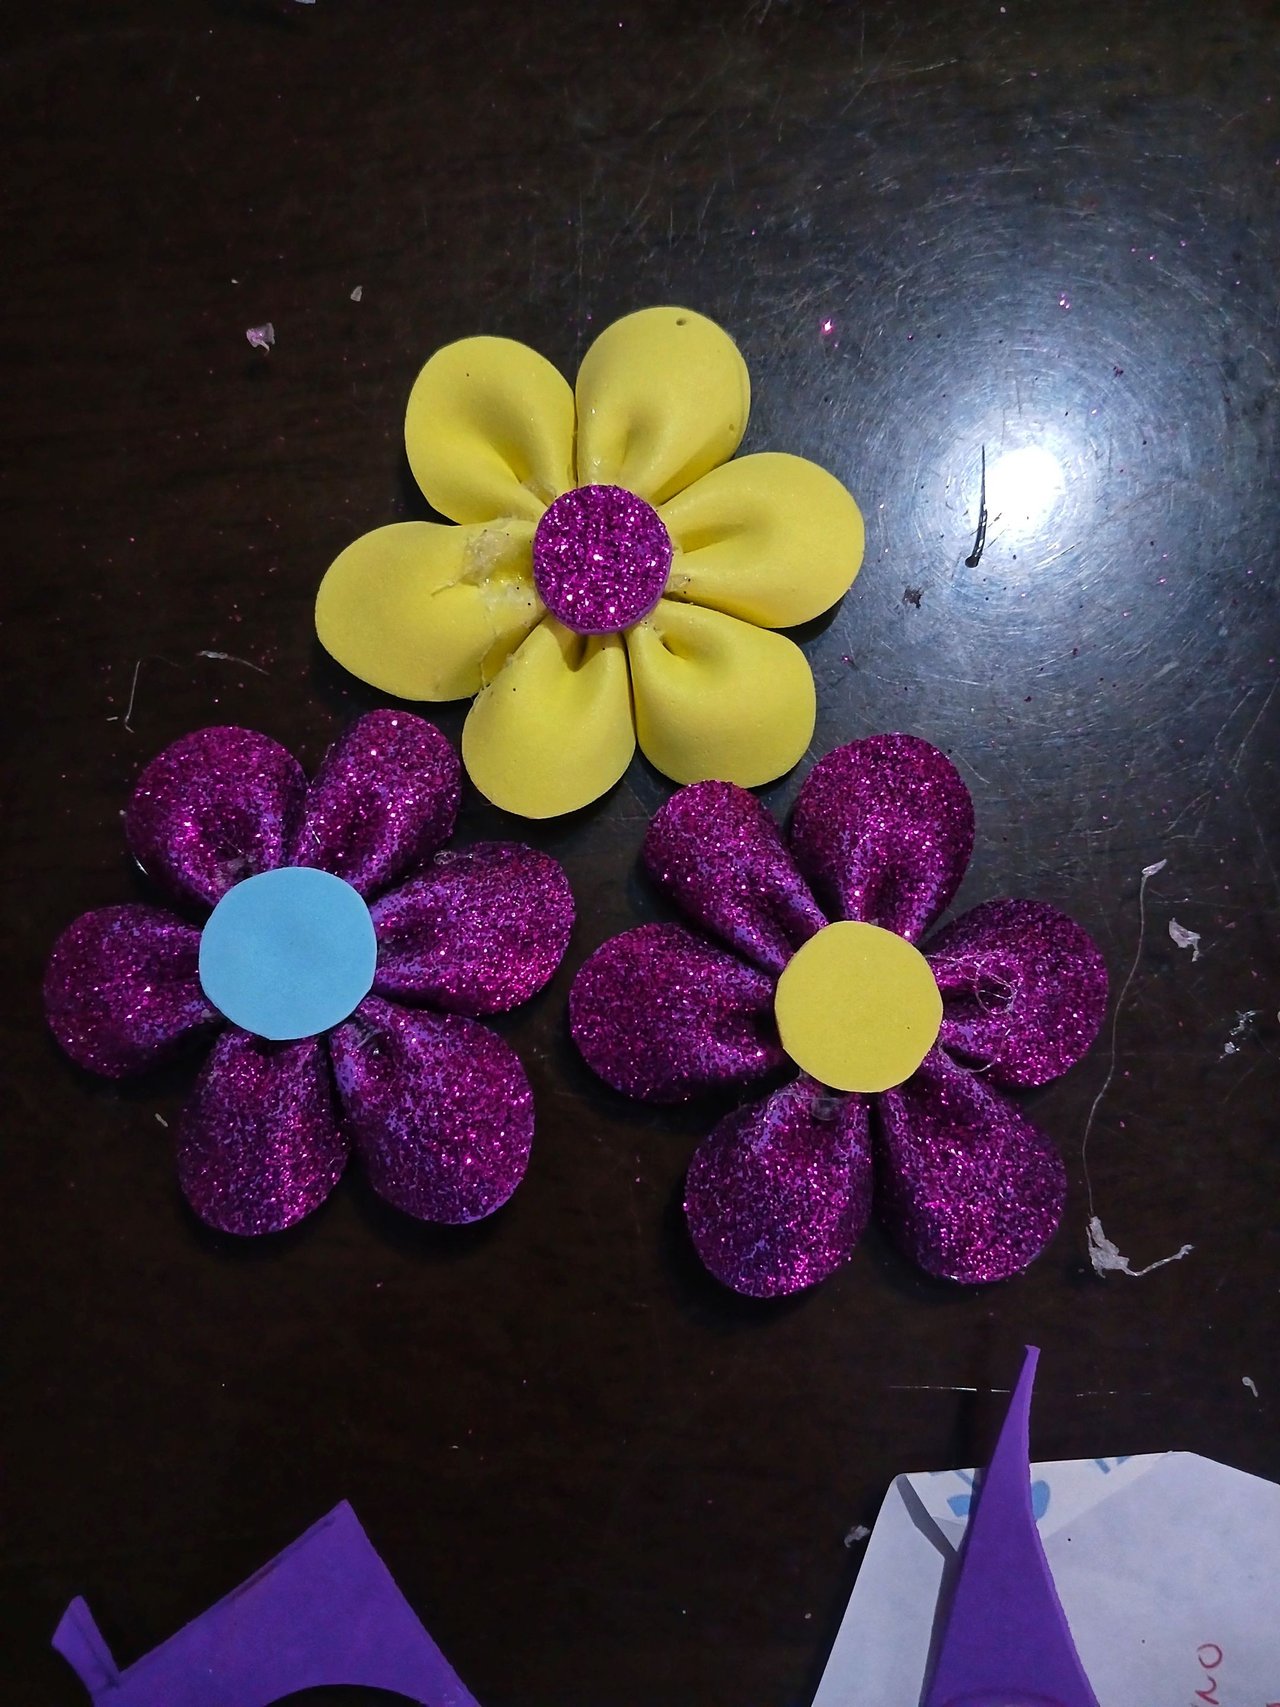
Hello! Dear friends of this beautiful community I hope you are all well and your weekend is full of tranquility so you can recharge your energies for this new week to come, in my son's school they still continue with the activities and more that Mother's Day is approaching, but this week were few, this time they sent to make some flowers to all students to decorate the door, the flowers had to be pink or fuchsia, but I did not have much of that material so I made the ones I could according to the material I had at home.
For this we used the following materials:
- 1/2 fuchsia frosted foami sheet
- 1/4 yellow foami
- 1/2 silicone stick
- silicone gun
- scissors
- 1 small circle of blue foami
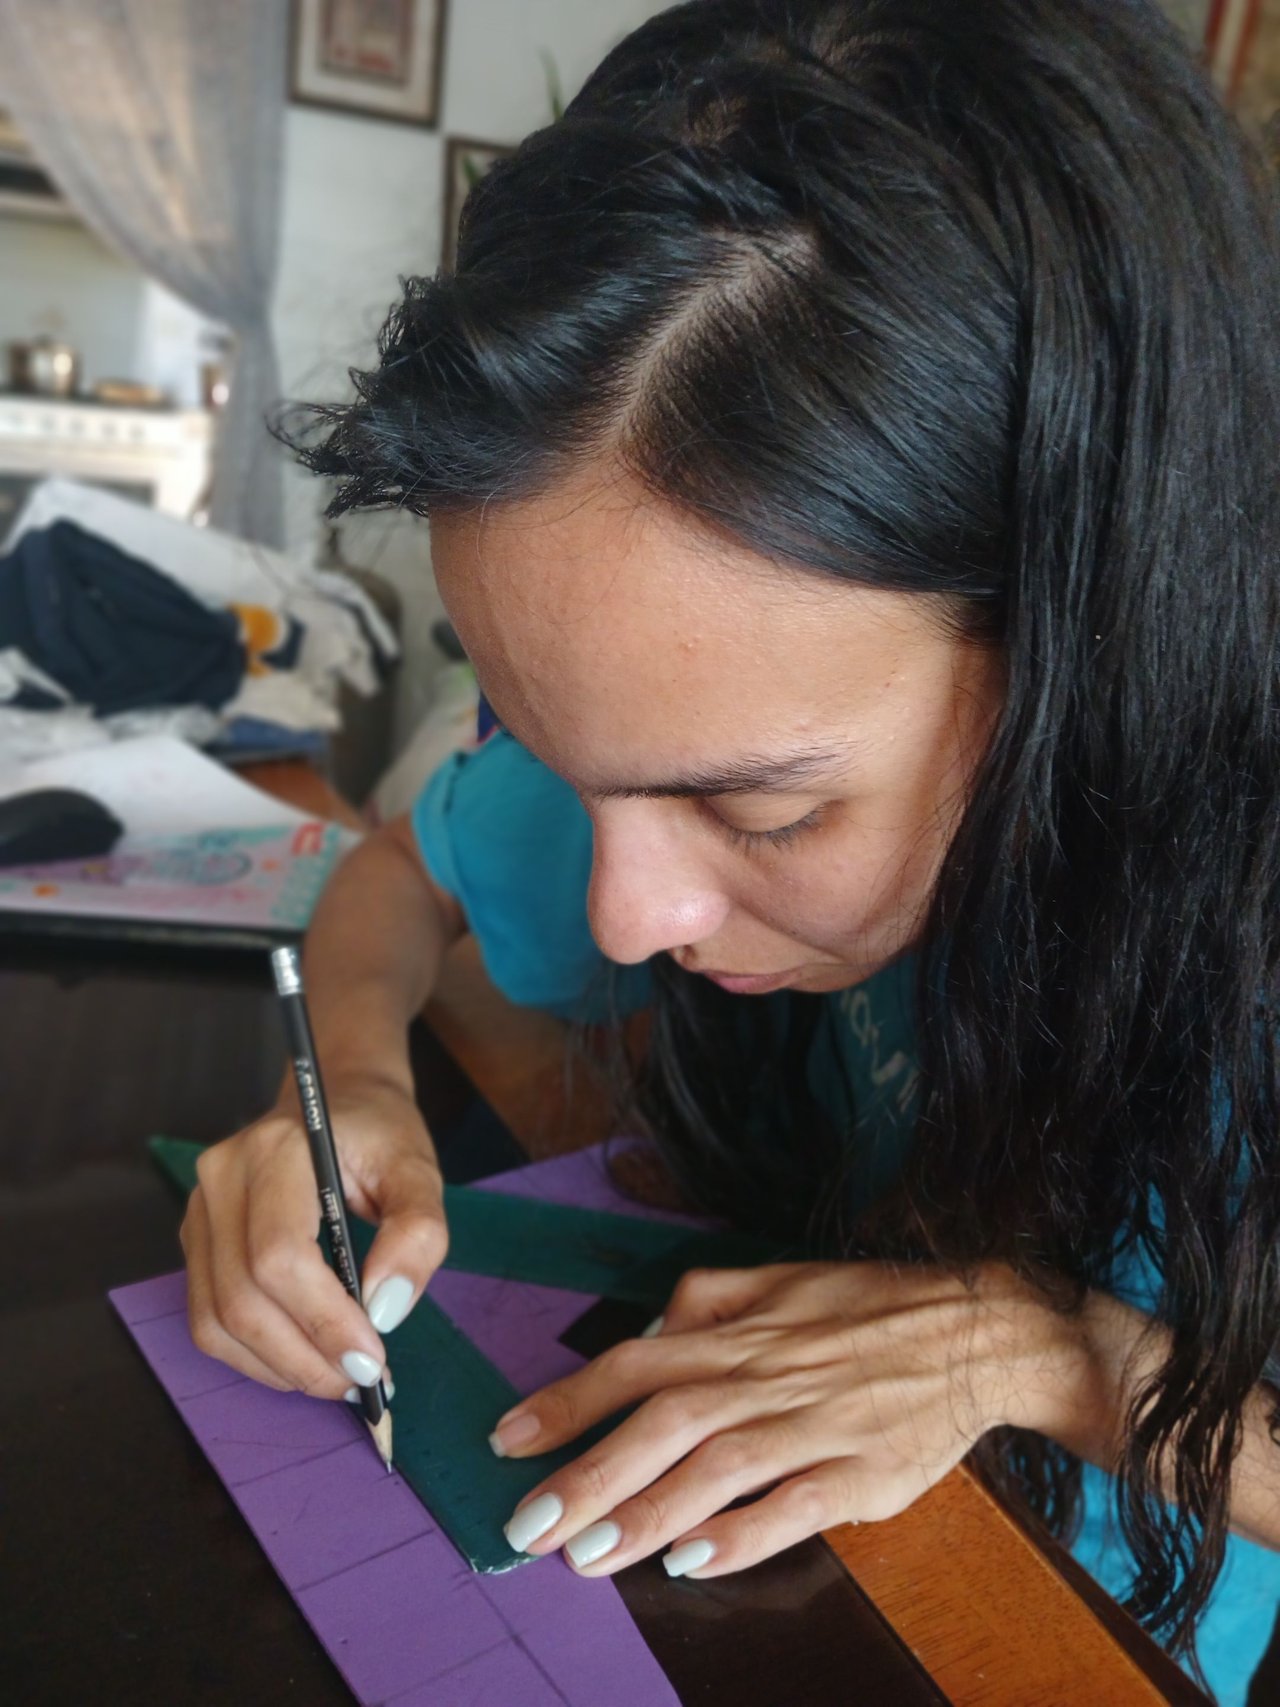
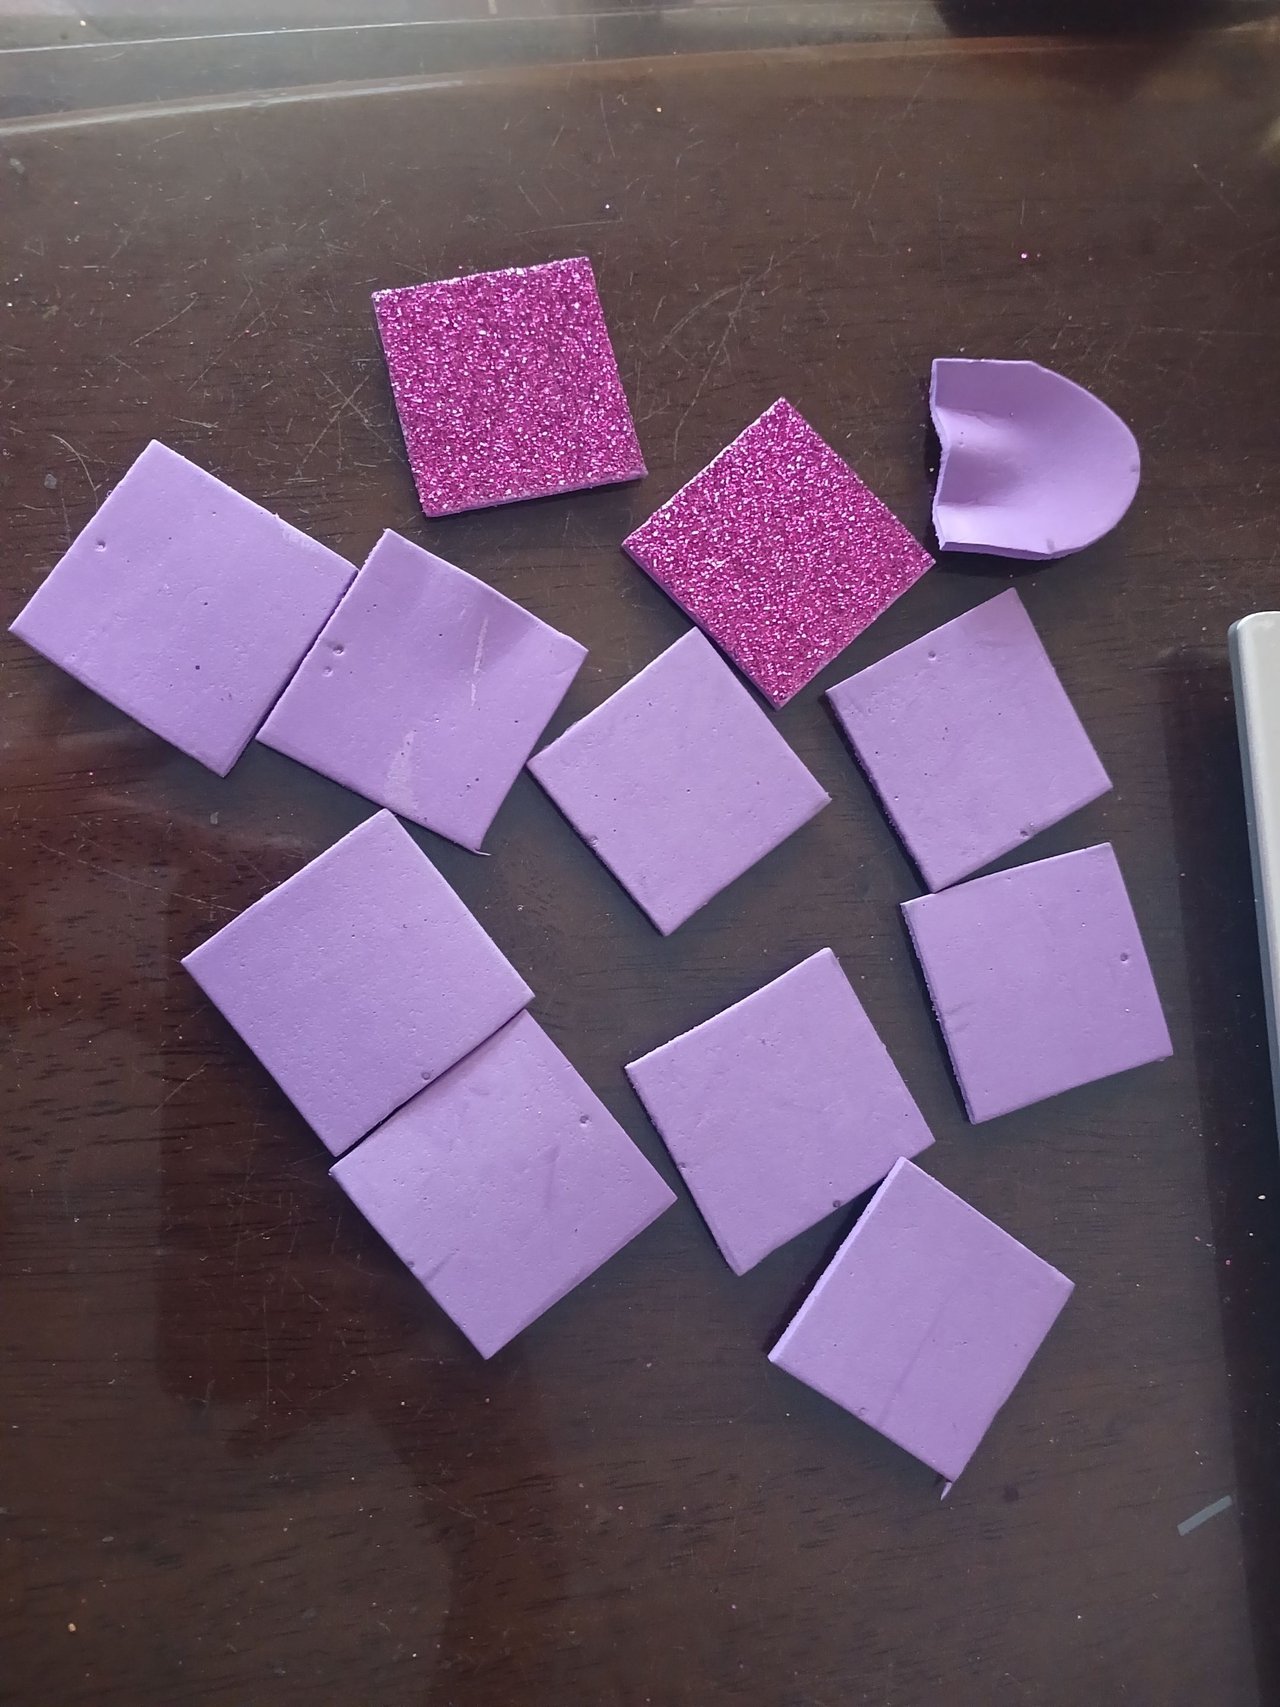
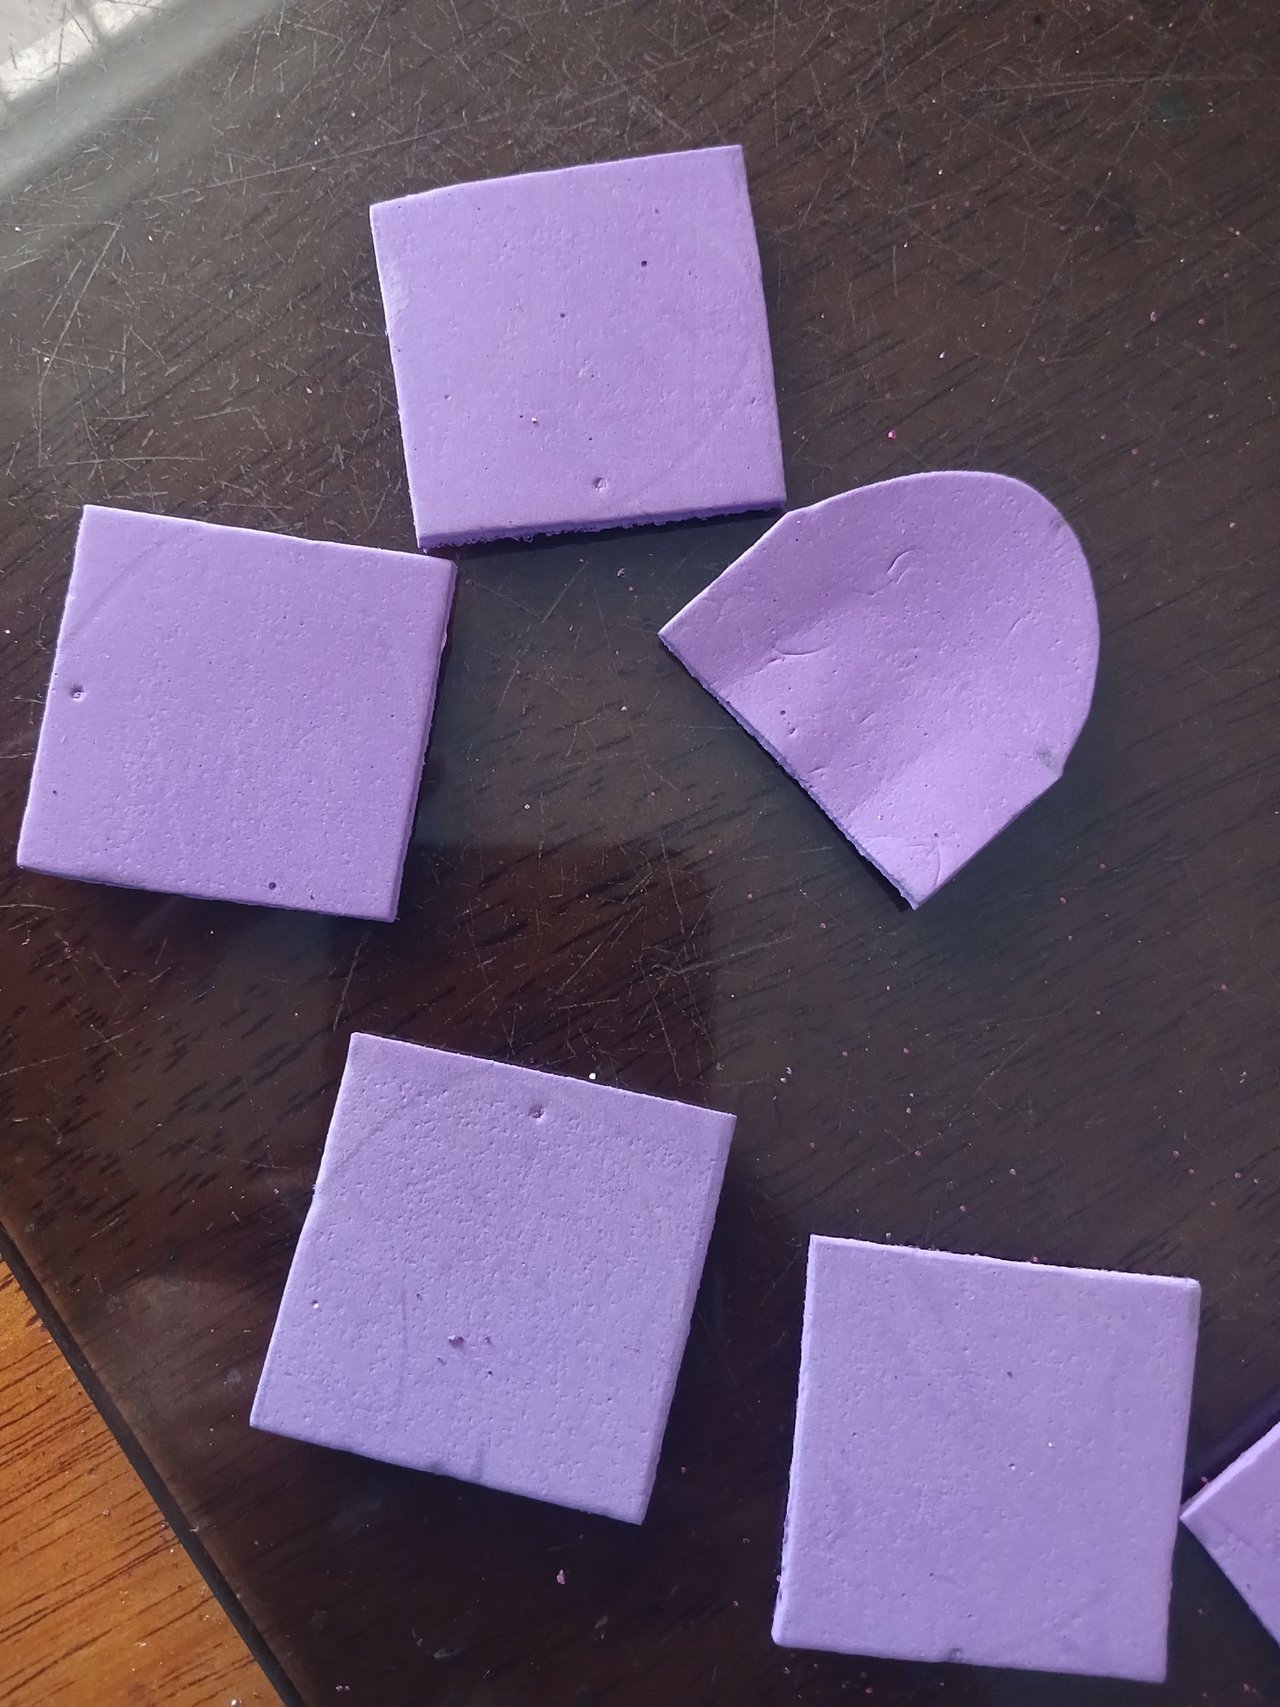
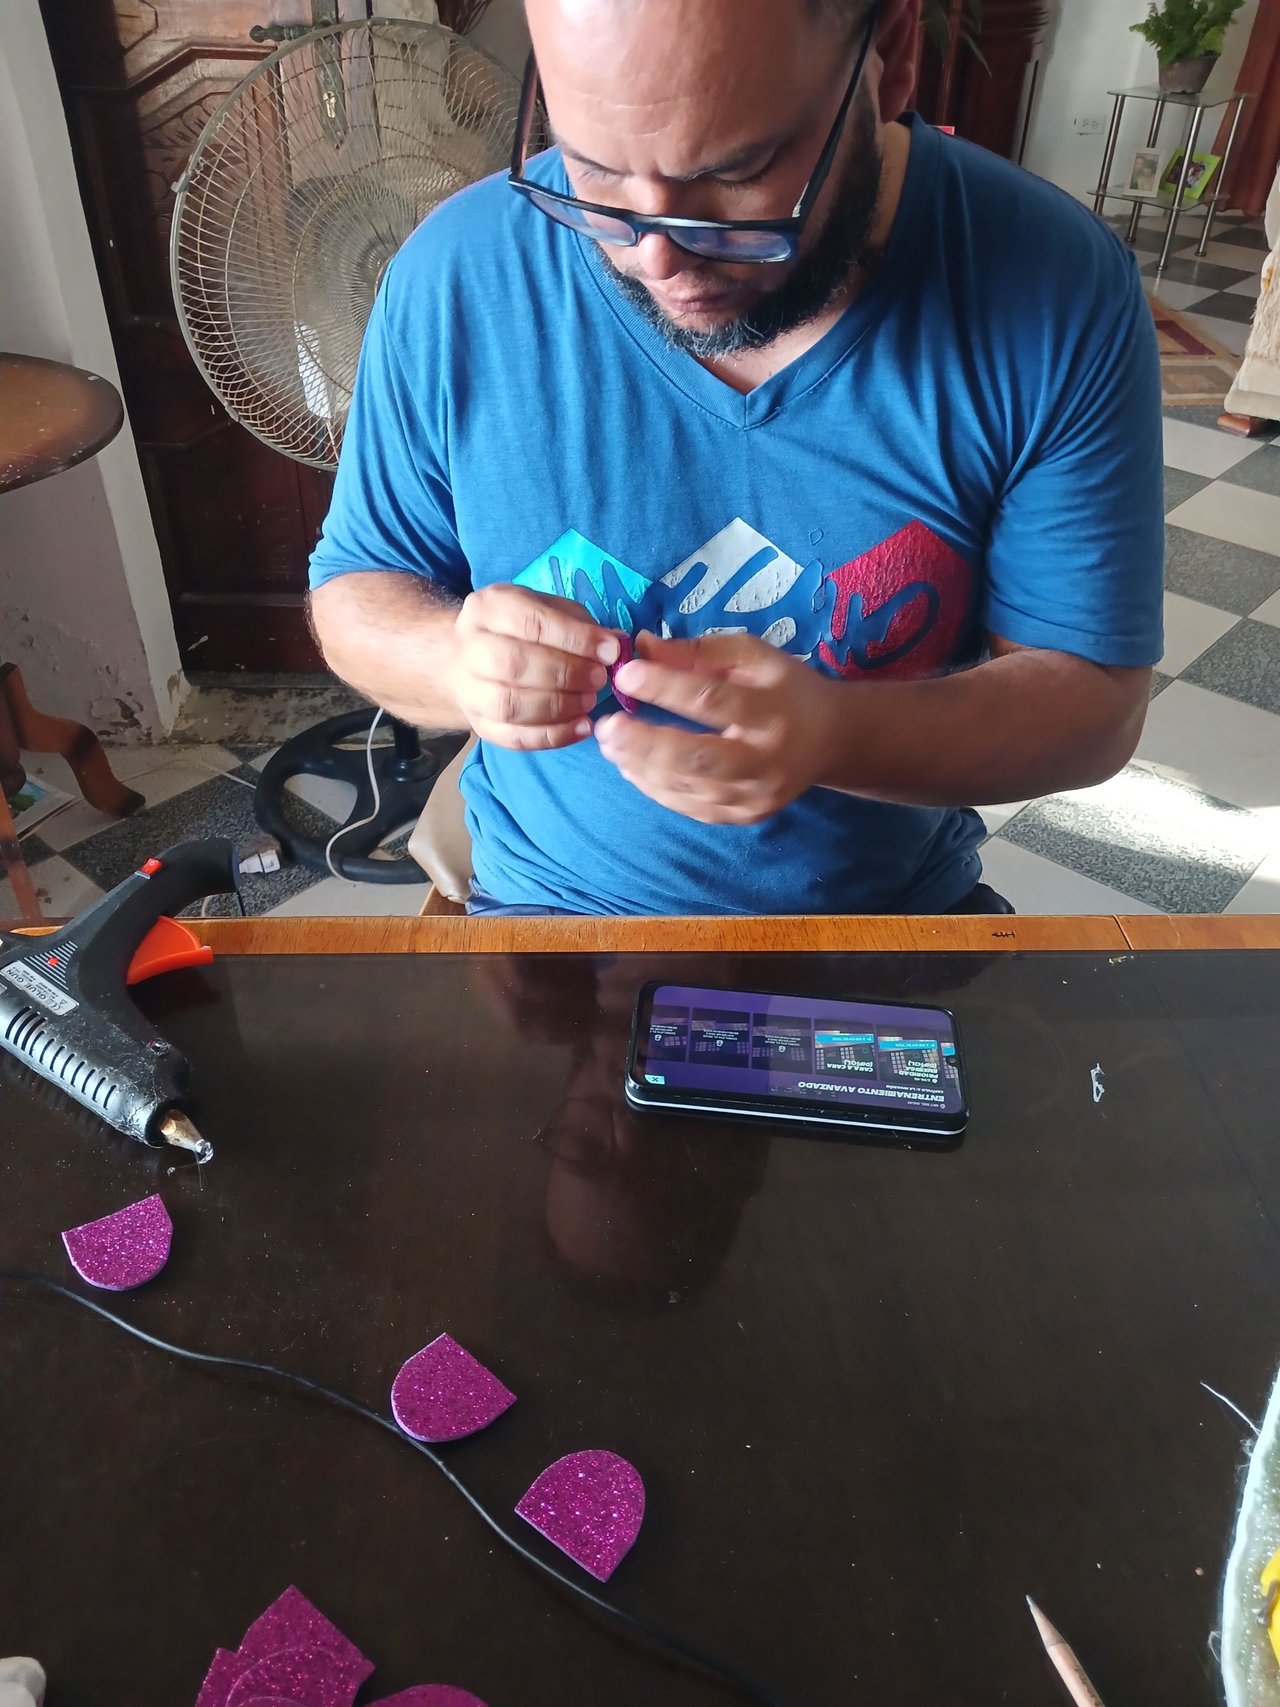
We begin by marking with a pencil on the back of the foami where the frosting is not. Squares of 2 cm x 2 cm for each flower are 6 squares each.
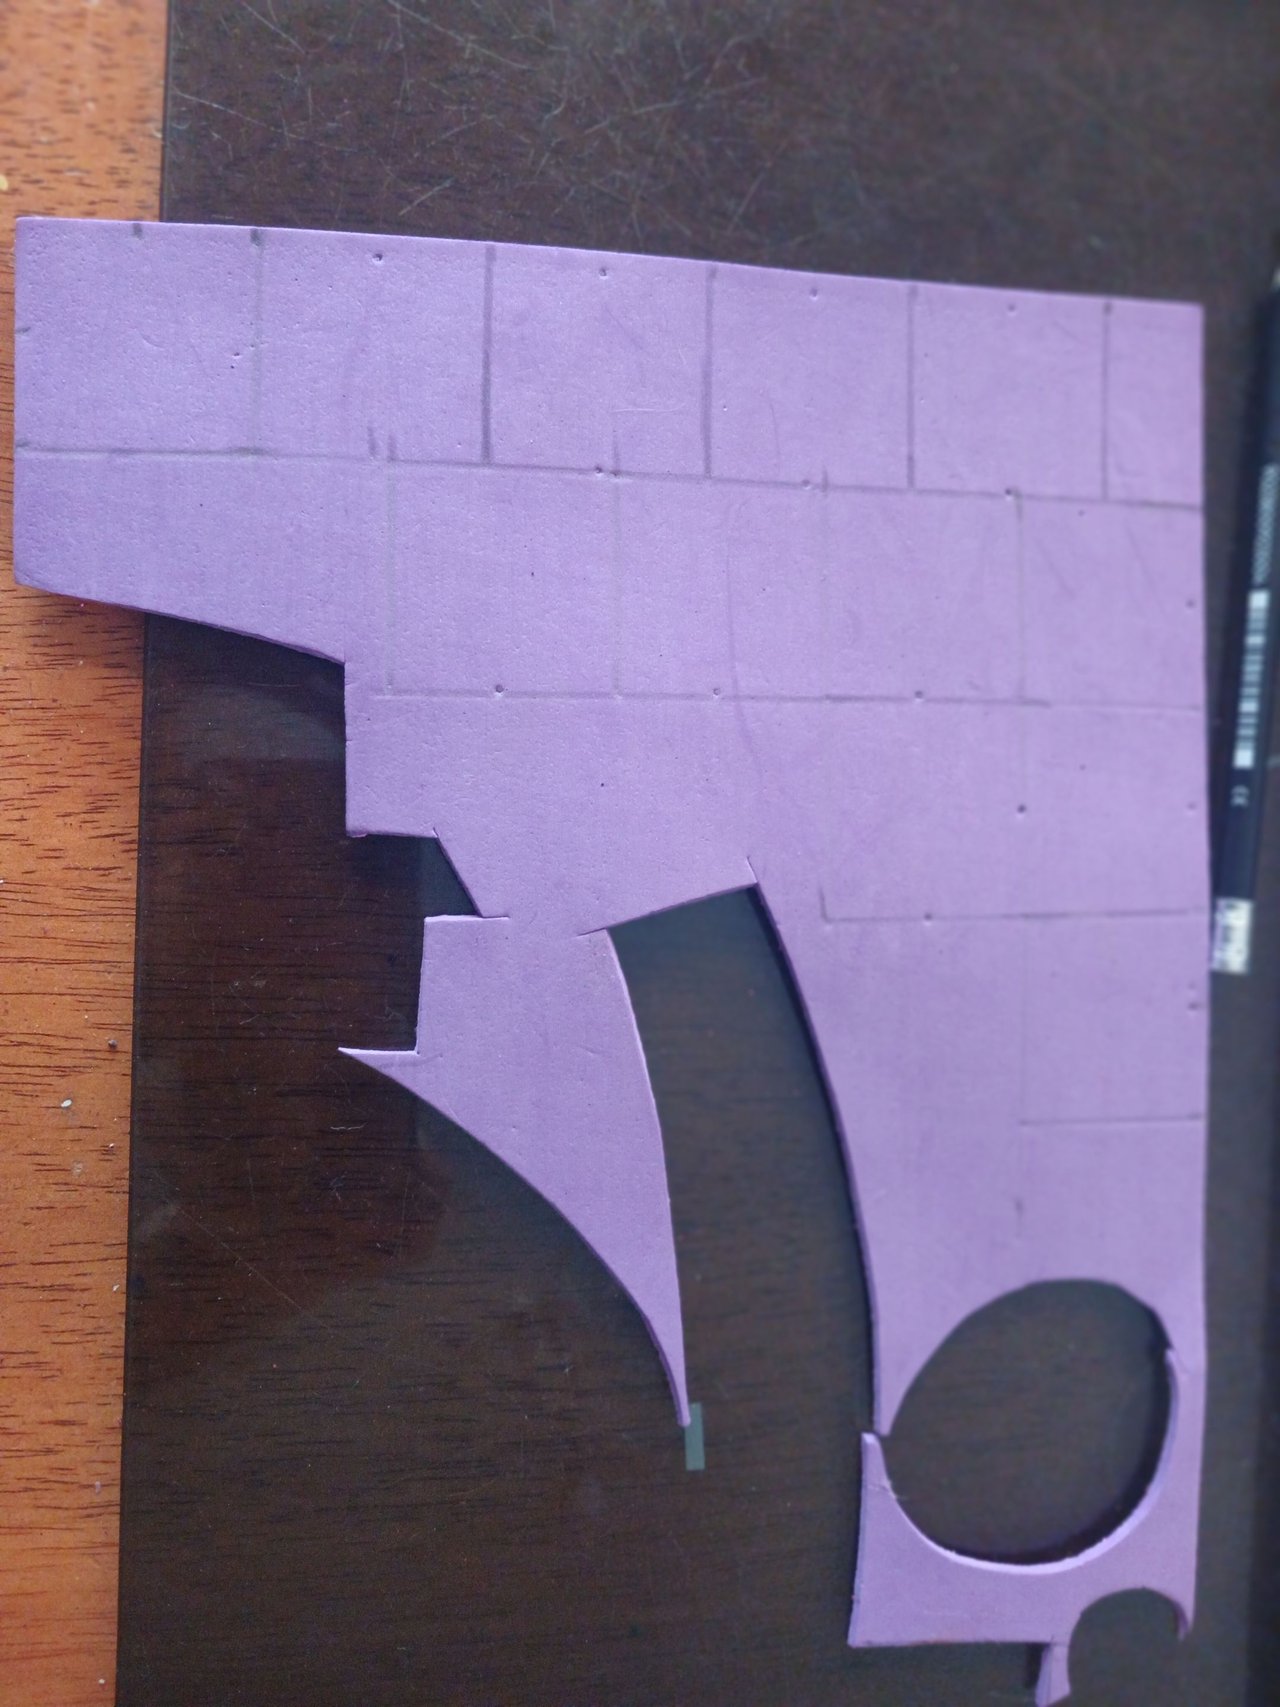
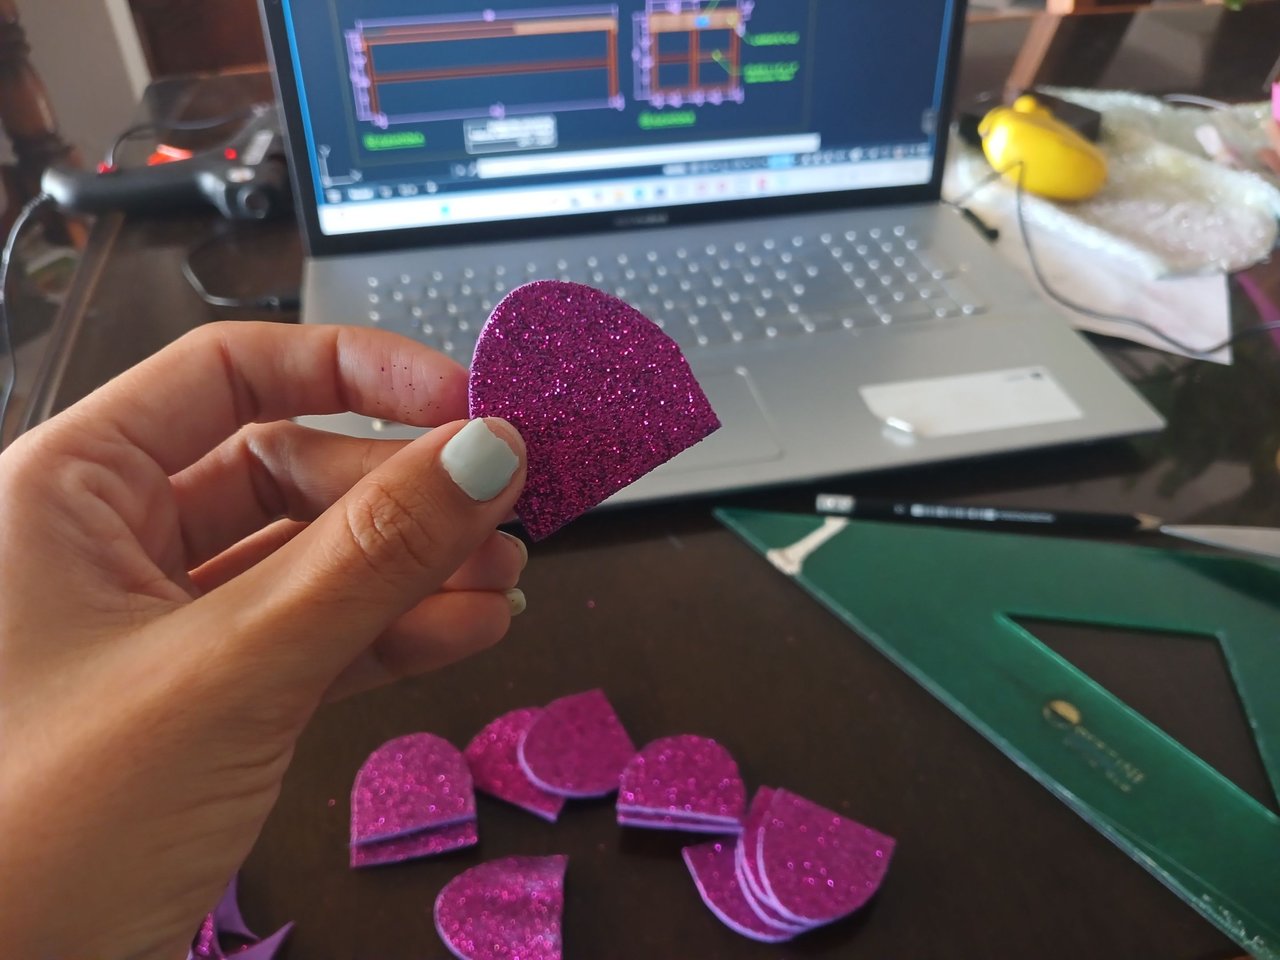
Once we have all the squares cut, we mark the middle by three of its sides, and then join them making arches joining point to point. When we have all the squares already marked, we cut them one by one by the part where we marked the arches, so we would have a straight side and the other curved, so it is already taking shape.
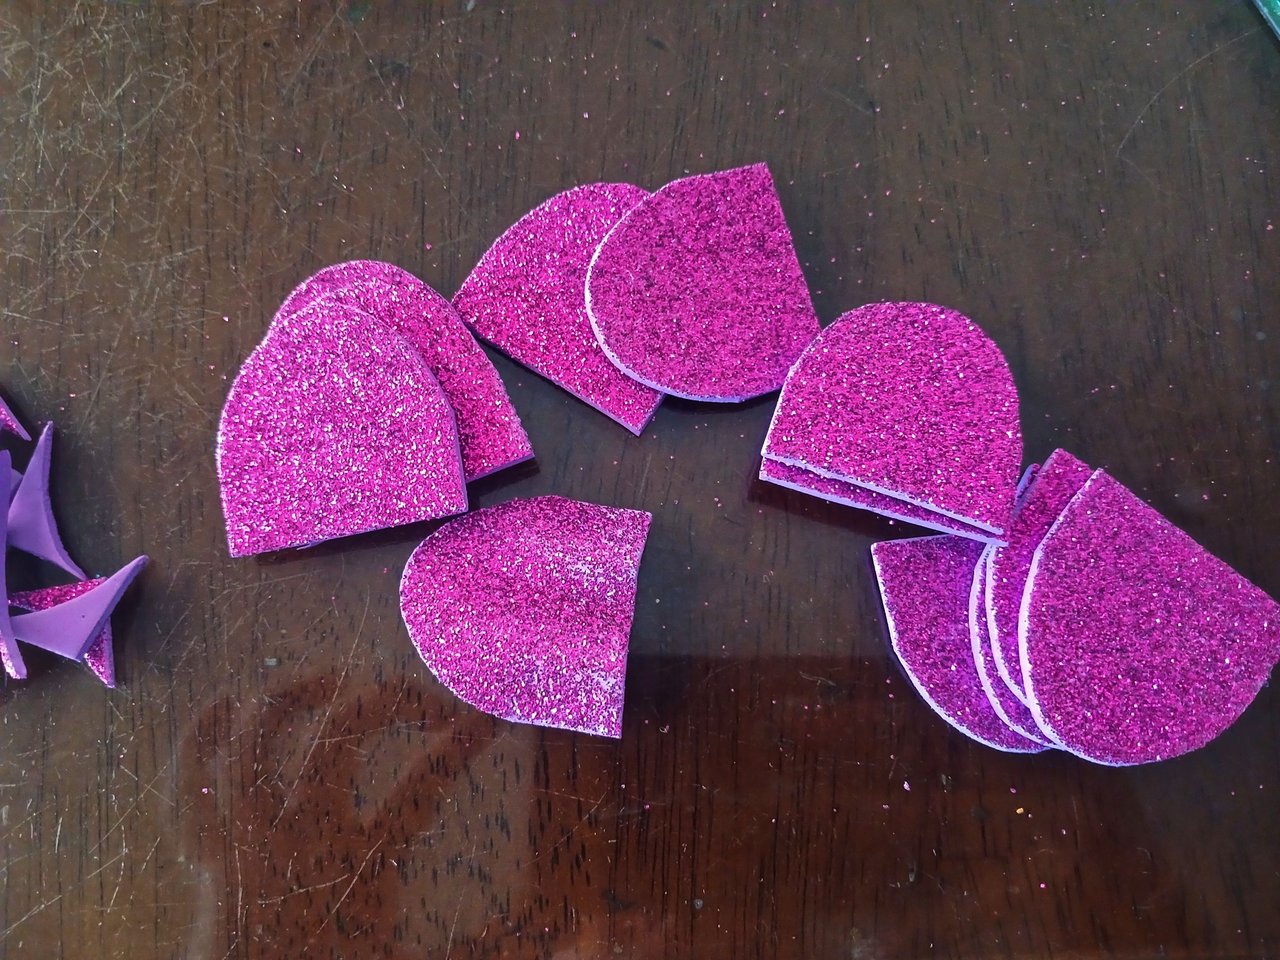
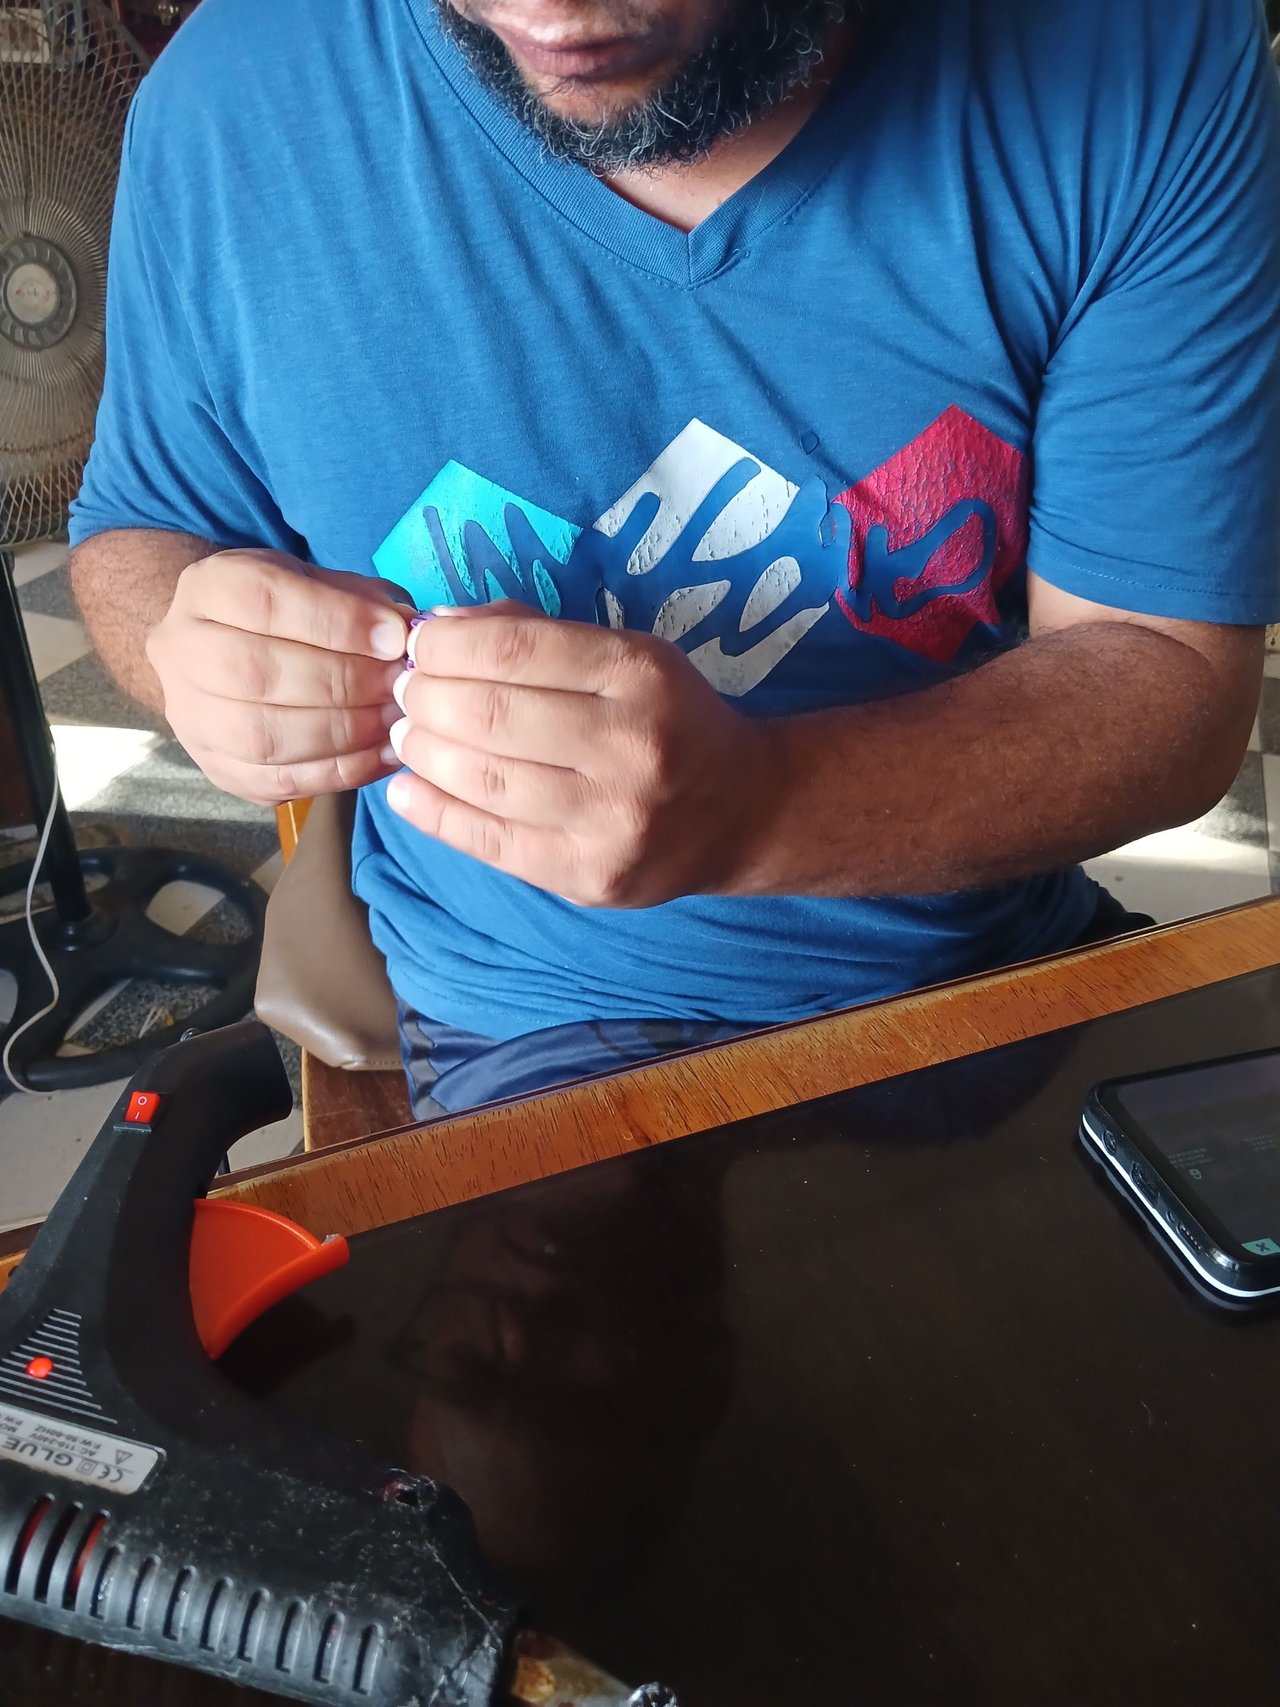
Then, on the straight side, we fold it into three equal parts and glue them together, so we can assemble the petals one by one to get a nicer shape.
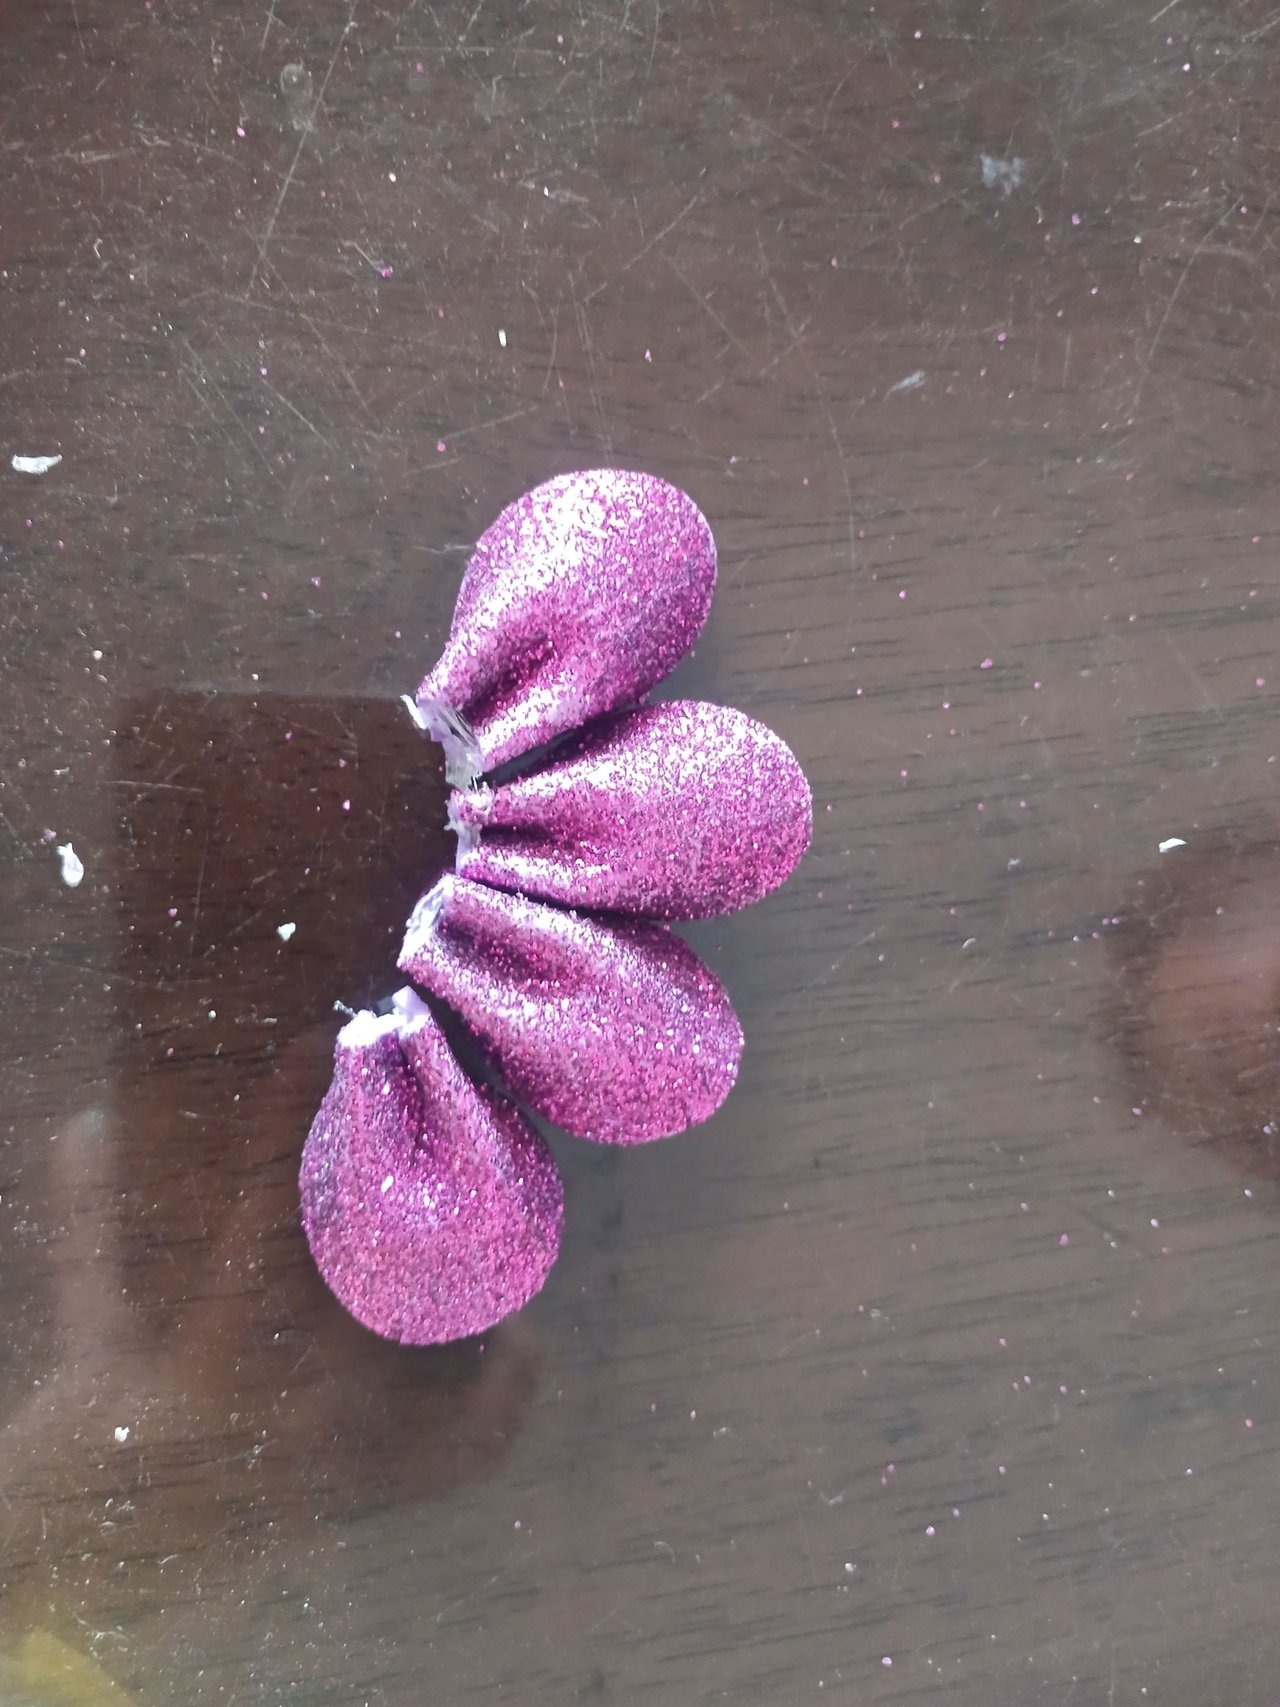
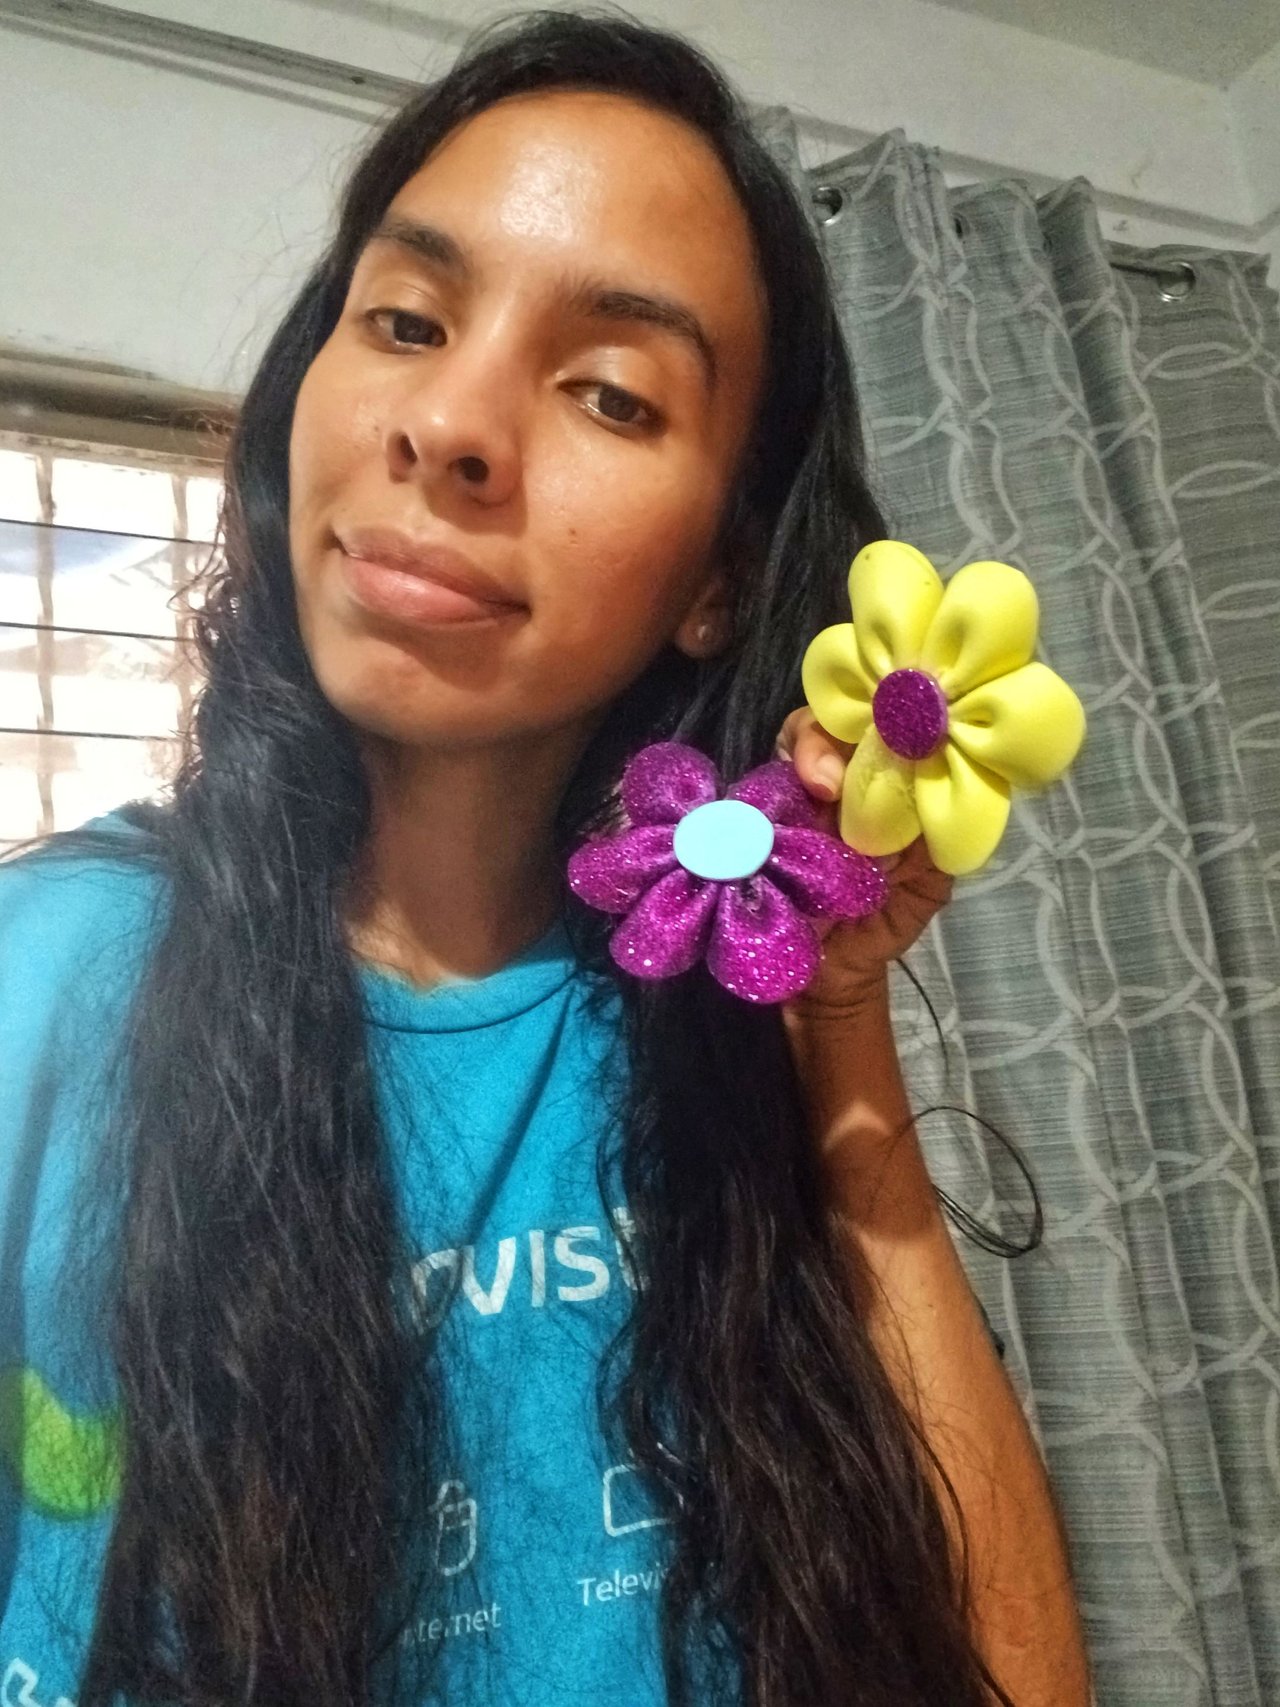
When we have all the petals formed we begin to join them one by one until we have the six petals already united forming a beautiful flower, when we have them all together we mark on a piece of blue, yellow and fuchsia foami we mark a circle to cut it out and this would create what would be the center of the flower to then glue it and ready we have our beautiful flower ready to be taken to school.
I found it super easy to do, and best of all as I have always had the help of my husband to assemble the petals, although he has no patience because he did not expect the silicone to dry the important thing was that he made the attempt ha, ha, ha, ha ... then I had to go over everything again to start assembling the flowers, because not gluing well the three divisions that were made would be deformed.
They were very nice and easy to make, and they can be made with little material, although the teacher returned the yellow one because she only asked for the pink ones and well, I didn't have that one at home, since it was something I didn't notice in time and had to solve overnight, I sent it anyway because as she asked for three and that was what I had of material, I preferred to comply even if it was not the color she had required, because for me the important thing is to make the attempt and comply even if it is not quite perfect. ¡Hola! Queridos amigos de esta hermosa comunidad espero que todos se encuentren bien y su fin de semana este lleno de tranquilidad para que puedan recargar energías para esta nueva semana que viene, en el colegio de mi hijo aún siguen con las actividades y más que se acerca el día de las madres, pero esta semana fueron pocas, en esta oportunidad mandaron hacer unas flores a todos los alumnos para adornar la puerta, las flores tenían que ser rosadas o fucsias, pero yo no tenía mucho de ese material por eso realice las que podía según el material que tenía en casa. Para eso utilizamos los siguientes materiales: Comenzamos marcando con un lápiz en la parte de atrás del foami donde no está lo escarchado. Cuadros de 2 cm x 2 cm por cada flor son 6 cuadros que se llevan cada una. Al tener todos los cuadros cortados, marcamos el medio por tres de sus lados, para luego unirlos haciendo arcos uniendo punto con punto. Al tener todos los cuadros ya marcado, los recortamos uno por uno por la parte donde marcamos los arcos, así nos quedaría un lado recto y el otro curvo, así ya va agarrando forma. Seguidamente, en la parte recta, la doblamos en tres partes iguales y las pegamos, así vamos armando uno a uno los pétalos para que quede una forma más agradable. Al tener todos los pétalos formados comenzamos a unirlos una a uno hasta tener los seis pétalos ya unidos formando una hermosa flor, al tenerlos todo unido marcamos en un pedazo de foami azul, amarillo y fucsia marcamos un círculo para recortarlo y esto crearía lo que sería el centro de la flor para seguidamente pegarlo y listo tenemos nuestra hermosa flor lista para ser llevada al colegio. Me pareció superfácil de hacer, y lo mejor de todo como siempre he contado con la ayuda de mi esposo para armar los pétalos, aunque él no tiene paciencia porque no esperaba que se secara la silicona lo importante fue que hizo el intento ja, ja, ja... después me toco repasar todo de nuevo para comenzar a armar las flores, ya que al no pegar bien las tres divisiones qué se hicieron quedarían deformes. Nos quedaron muy bonitas y son sencillas de hacerlas, y se pueden realizar con poco material, aunque la maestra me devolvió la de color amarillo porque ella solo pidió las de colores rosados y pues bueno esa no le tenía en casa, ya que fue algo que no aviso con tiempo y tenía que resolver de un día para otro, yo igualmente la envié porque como pidió tres y eso era lo que tenía de material, prefería cumplir así no fuera del color que ella había requerido, ya que para mí lo importante es hacer el intento y cumplir así no sea del todo perfecto.
VERSIÓN EN ESPAÑOL
 |  |  |  |
|---|
 |  |  |  |
|---|
 |  |  |  |
|---|

THANKS TO SEPARATOR AND BANNER/GRACIAS A SEPARADOR Y PANCARTAS
https://peakd.com/hive-148441/@ikasumanera/eng-es-i-made-hive-free-use-art-of-for-all-of-you-part-1-dividers-and-banners-or-hice-arte-de-libre-uso-para-todos-parte-1
Comments