Recommended Posts
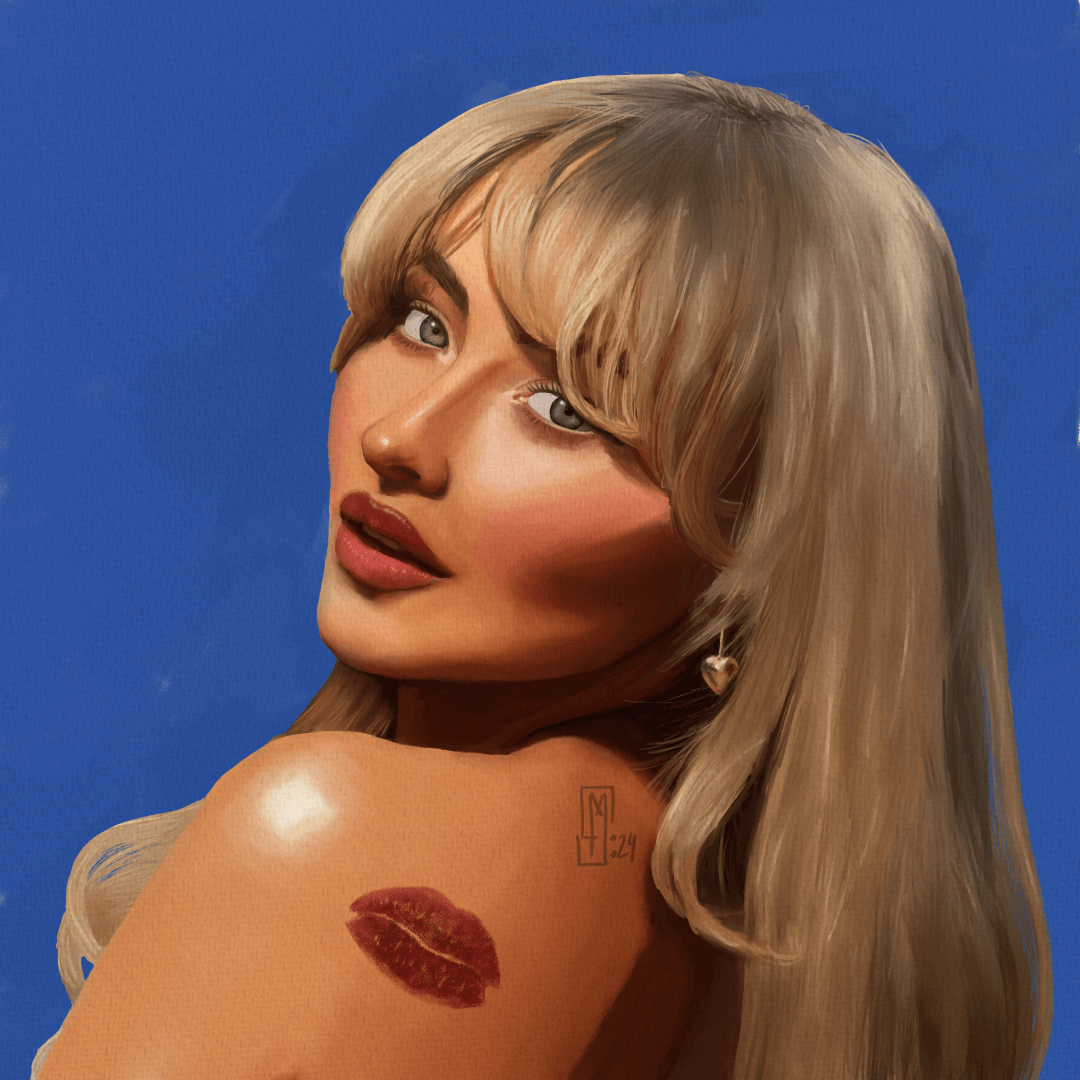
Sabrina Carpenter Portrait with detailed creation Process
18 comments
Hello!
It seems I'm more active, so posting again just a week later instead of months hehe.
Anyway here is another celebrity portrait :) this time it's Sabrina Carpenter, to be honest I had no idea who she was until I got to do this portrait haha, she's beautiful and I kinda mistook her for Chloe Grace Moretz...
Here bellow is all the detailed creation process for you to snoop maybe learn something, I hope you like it :3
Technical Info:
Digital Portrait painted with Clip Studio Paint Ex v2
3543px square Canvas at 300dpi
Process pt 1
Click to see in full size
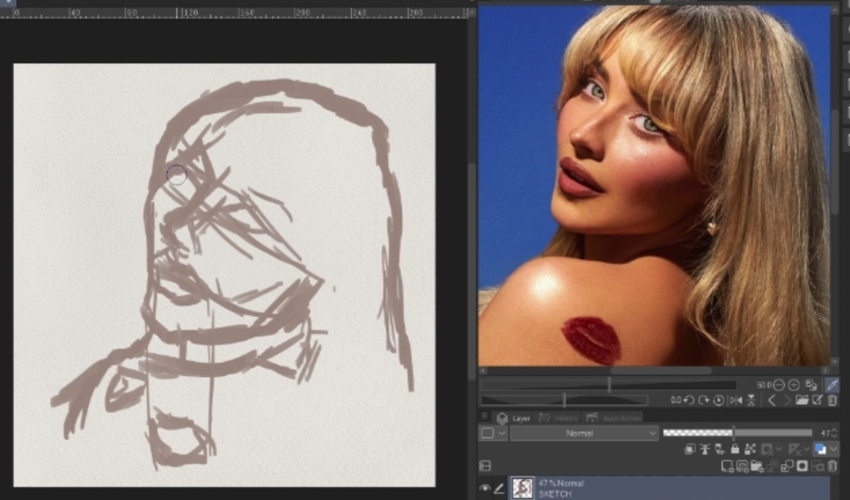
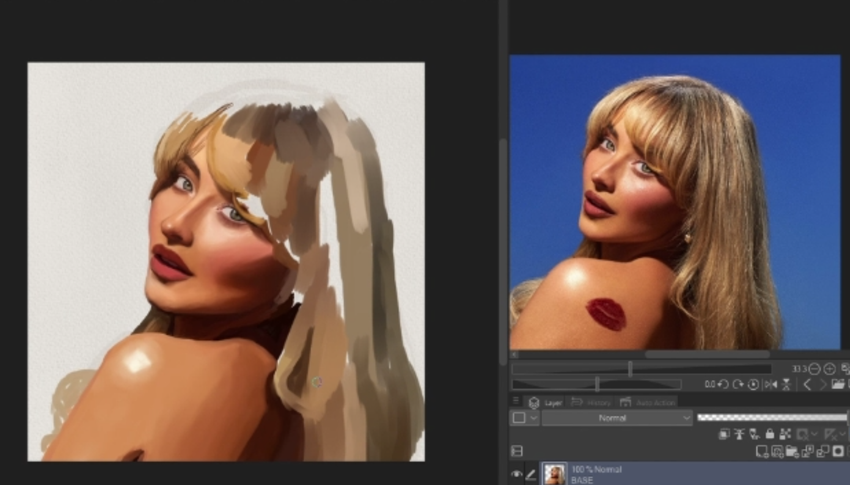
First I started blocking the shapes of the portrait with a big brush.
Process pt 2

Click to see in full size
Then on top of it I make a sketch with more details of where things go, like eyes, mouth, etc.
Process pt 3

Click to see in full size
We start applying the colours regions before we can blend them for a smooth effect.
Process pt 4
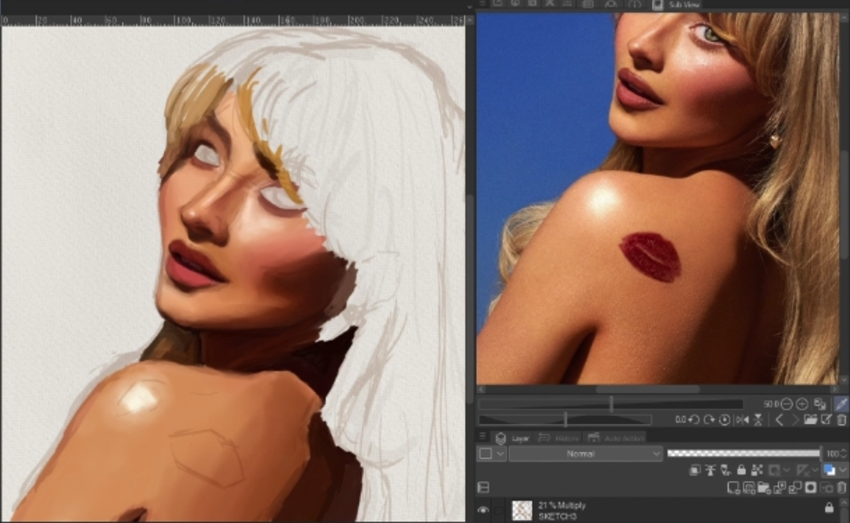
Click to see in full size
We do the same for the other parts aside of the face and blend.
Process pt 5
Click to see in full size
Process pt 6
Click to see in full size
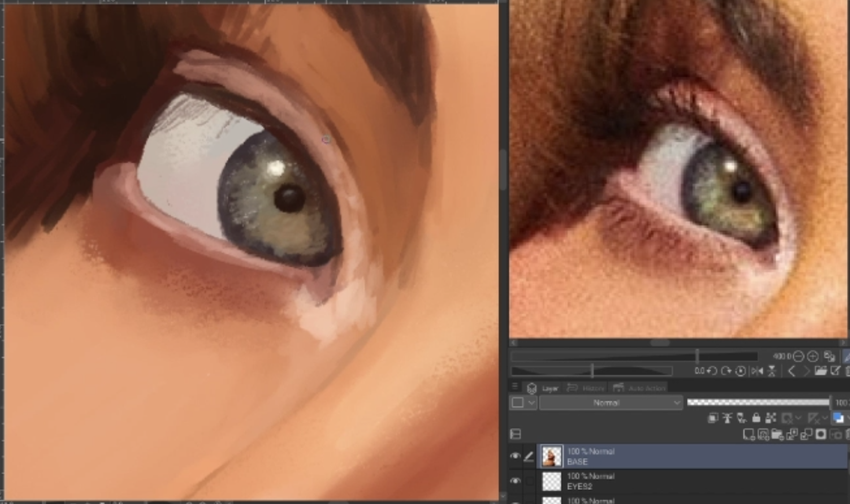
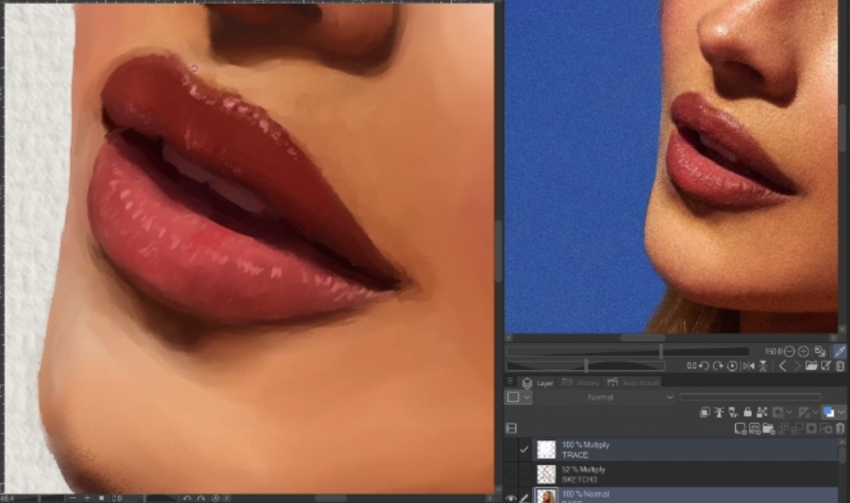
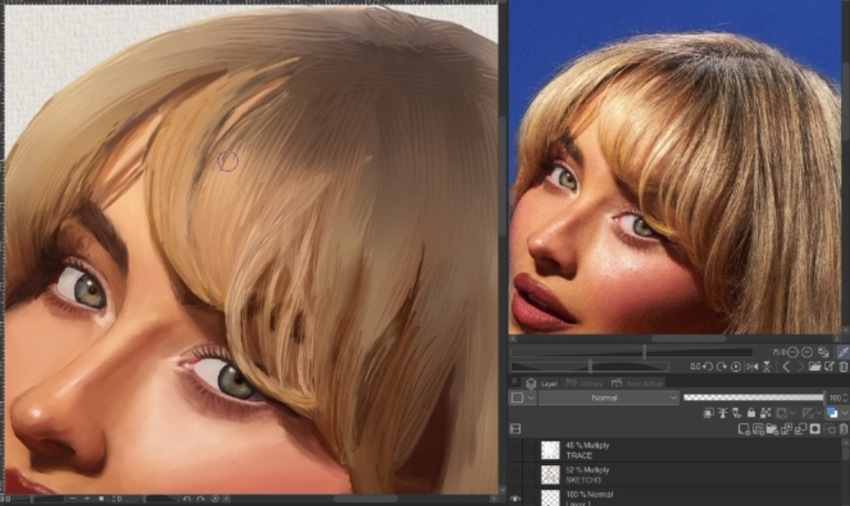
Now that we have a base for the skin, we start working on details like the lips, eyes and make up.
Process pt 7
Click to see in full size
Now it's time to paint the hair, I think it's the hardest part for me.
Process pt 8
Click to see in full size
More details on the hair.
Process pt 9

Click to see in full size
And now that we have finished the portrait we add the background colour.
Final Art

Click to see in full size
And that's all :)
I hope you enjoyed my brief explanation of what I did, until next time!


Comments