Recommended Posts
Forest healer fan art |holozing
1 comment
Hello👋 beautiful people and Holozing community, how are you all? I hope you are all well and enjoying your beautiful life. I have not been able to post on Holozing community for a long time due to my busy schedule. So today after a long time, I am posting on ecency.Because of my papers are also over and I have little free time today.
So let's go without further delay, let's move on to the procedure from today's step-by-step.
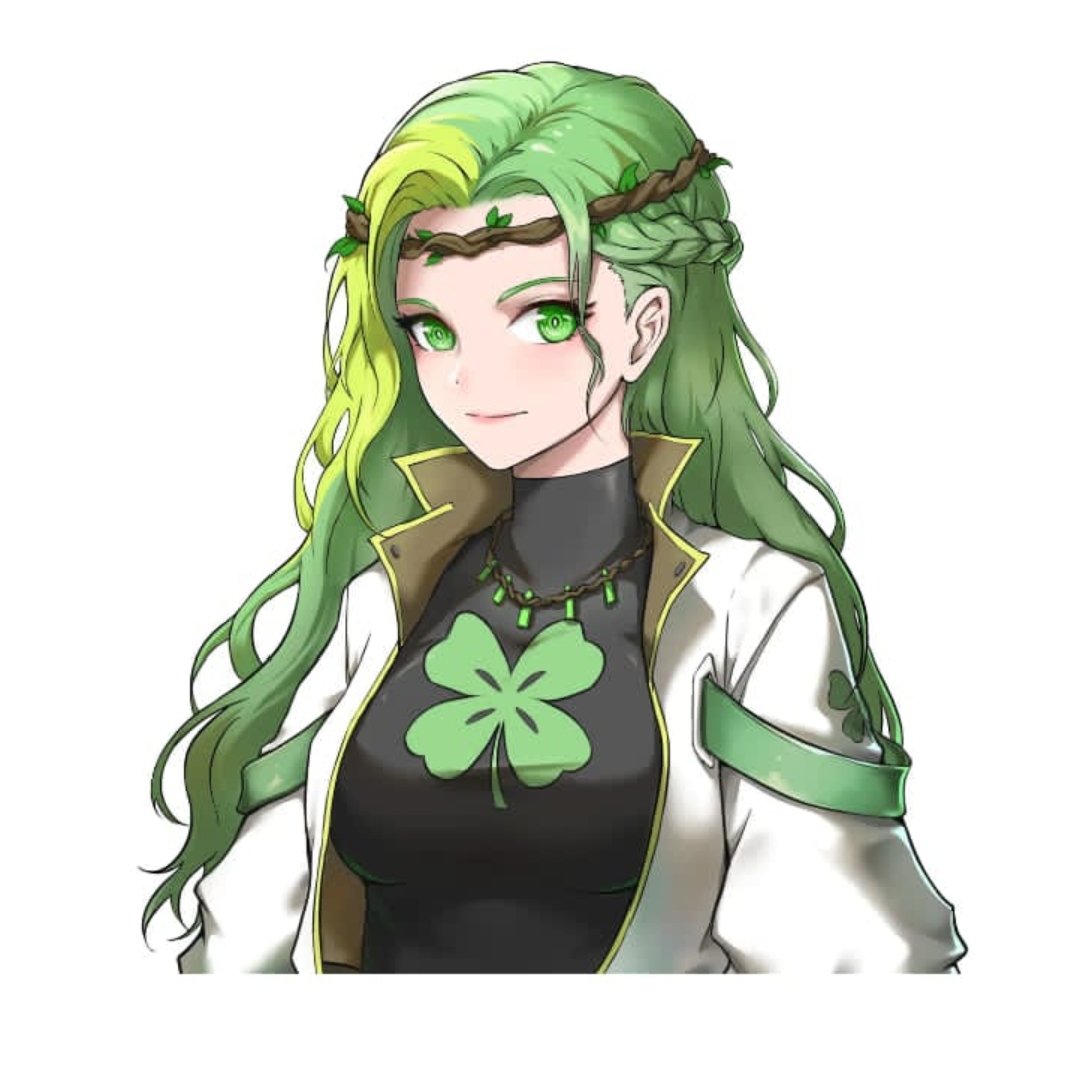
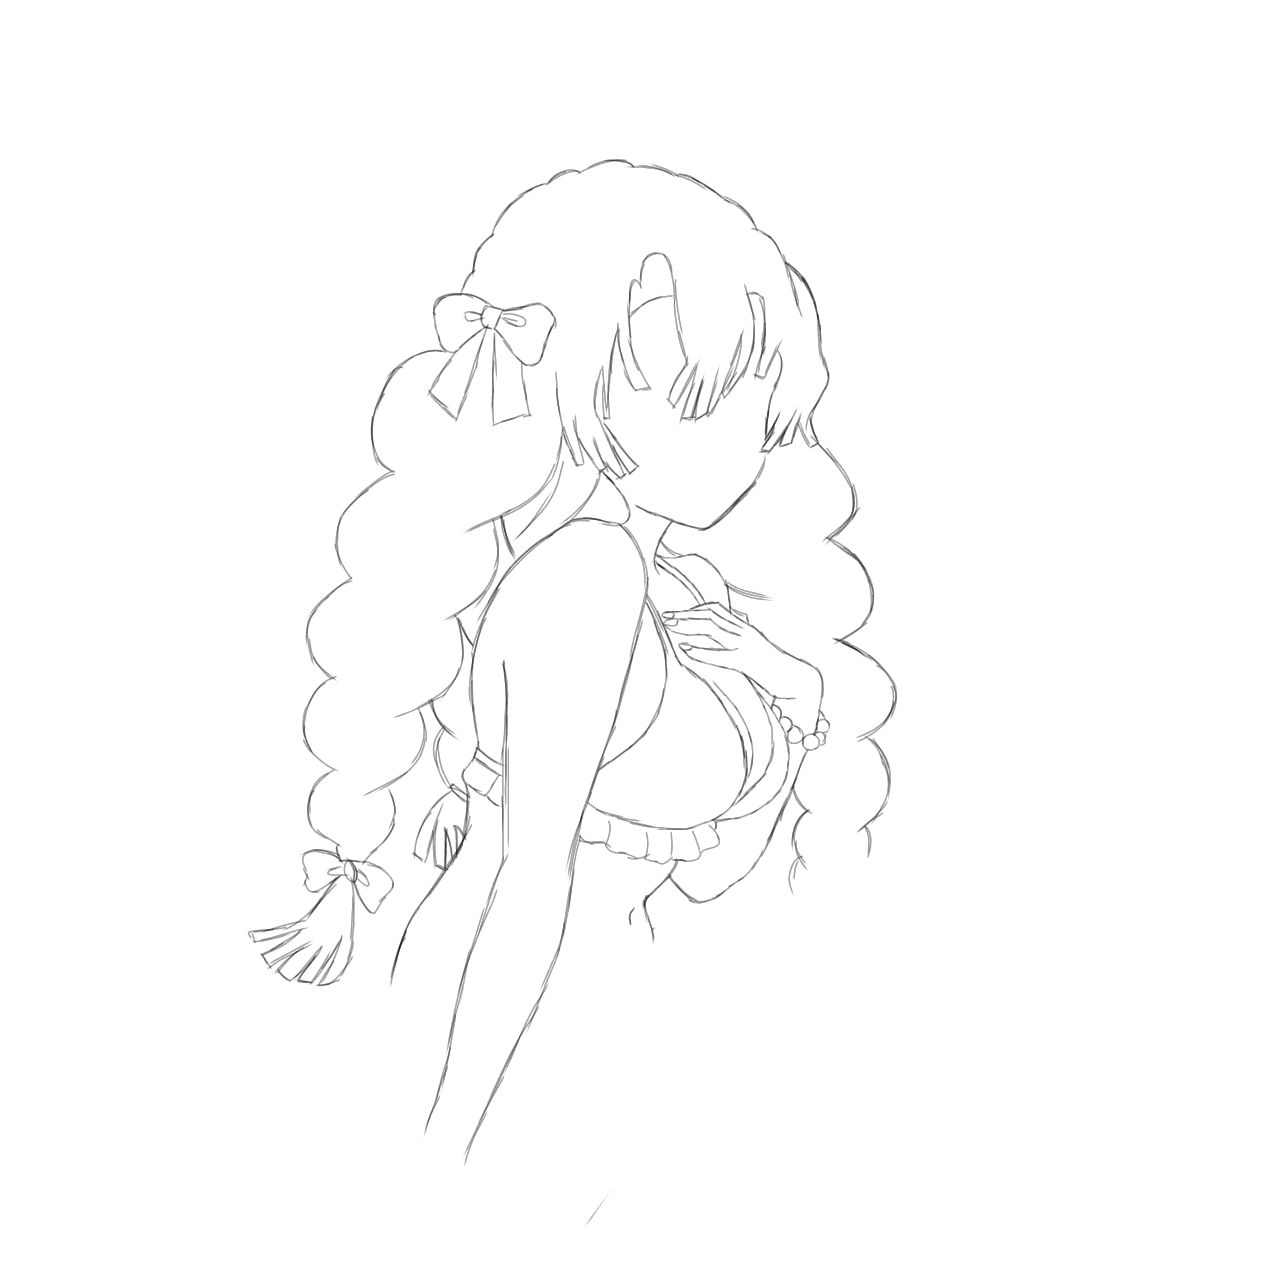
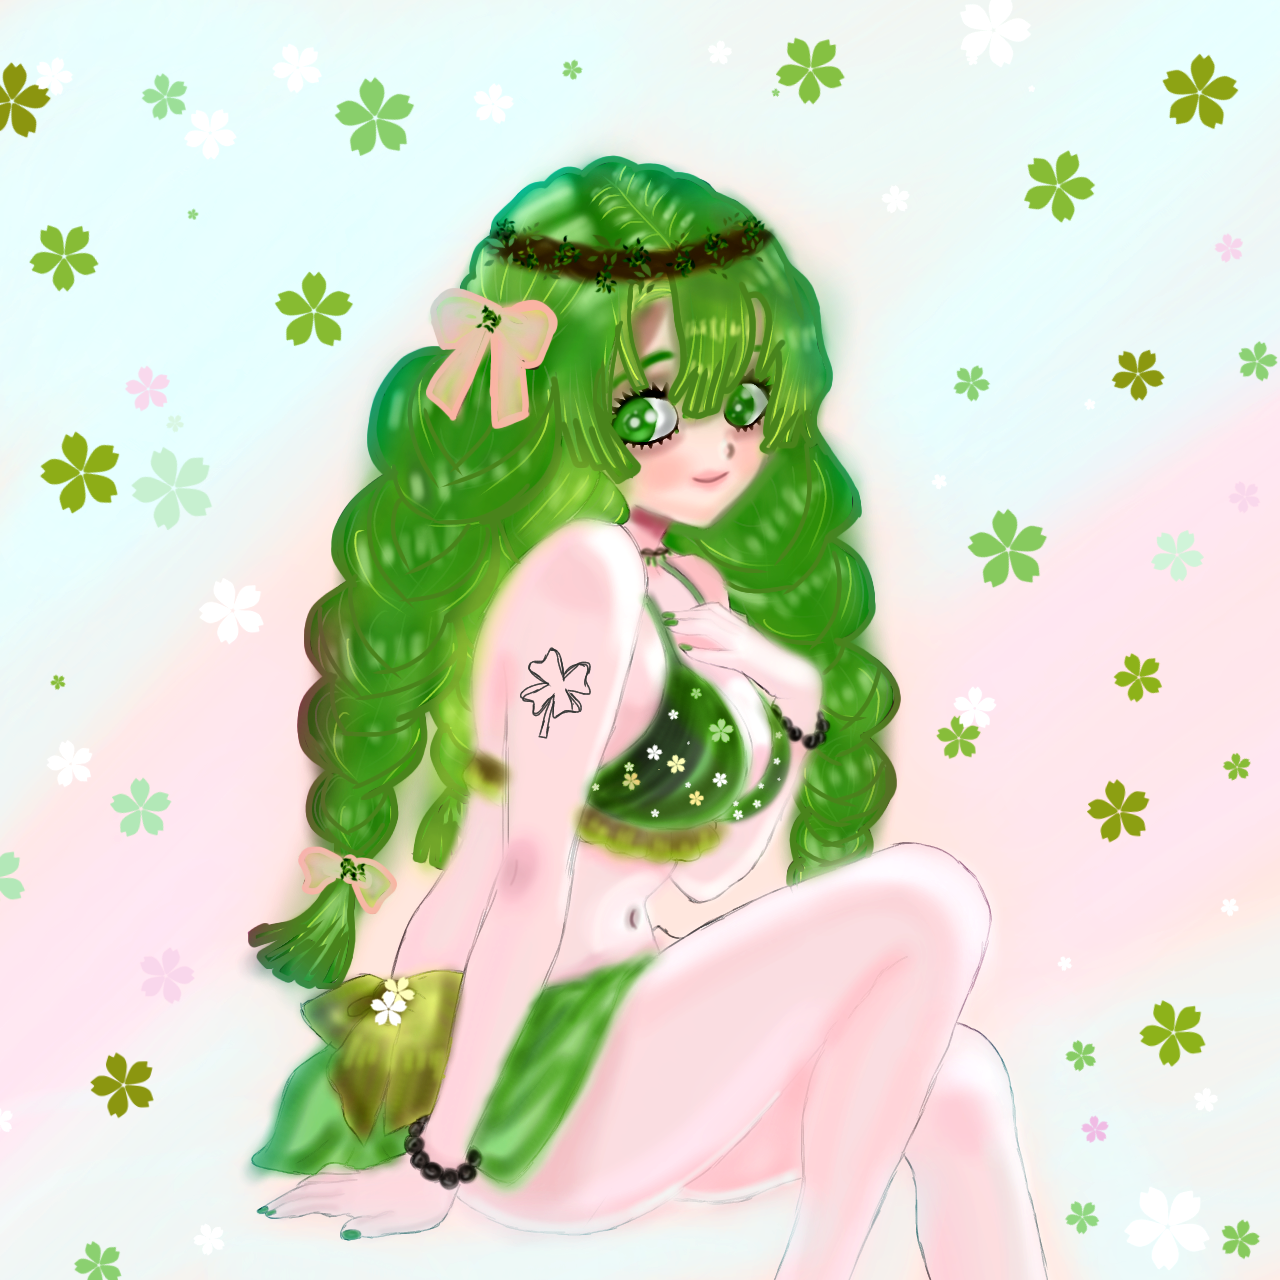
Here is the original picture of forest healer.
Material:-
Mobile phone
Stylus
Image
Own hands
felt pen
Air brush
Colour brush for colouring
Procedure:-
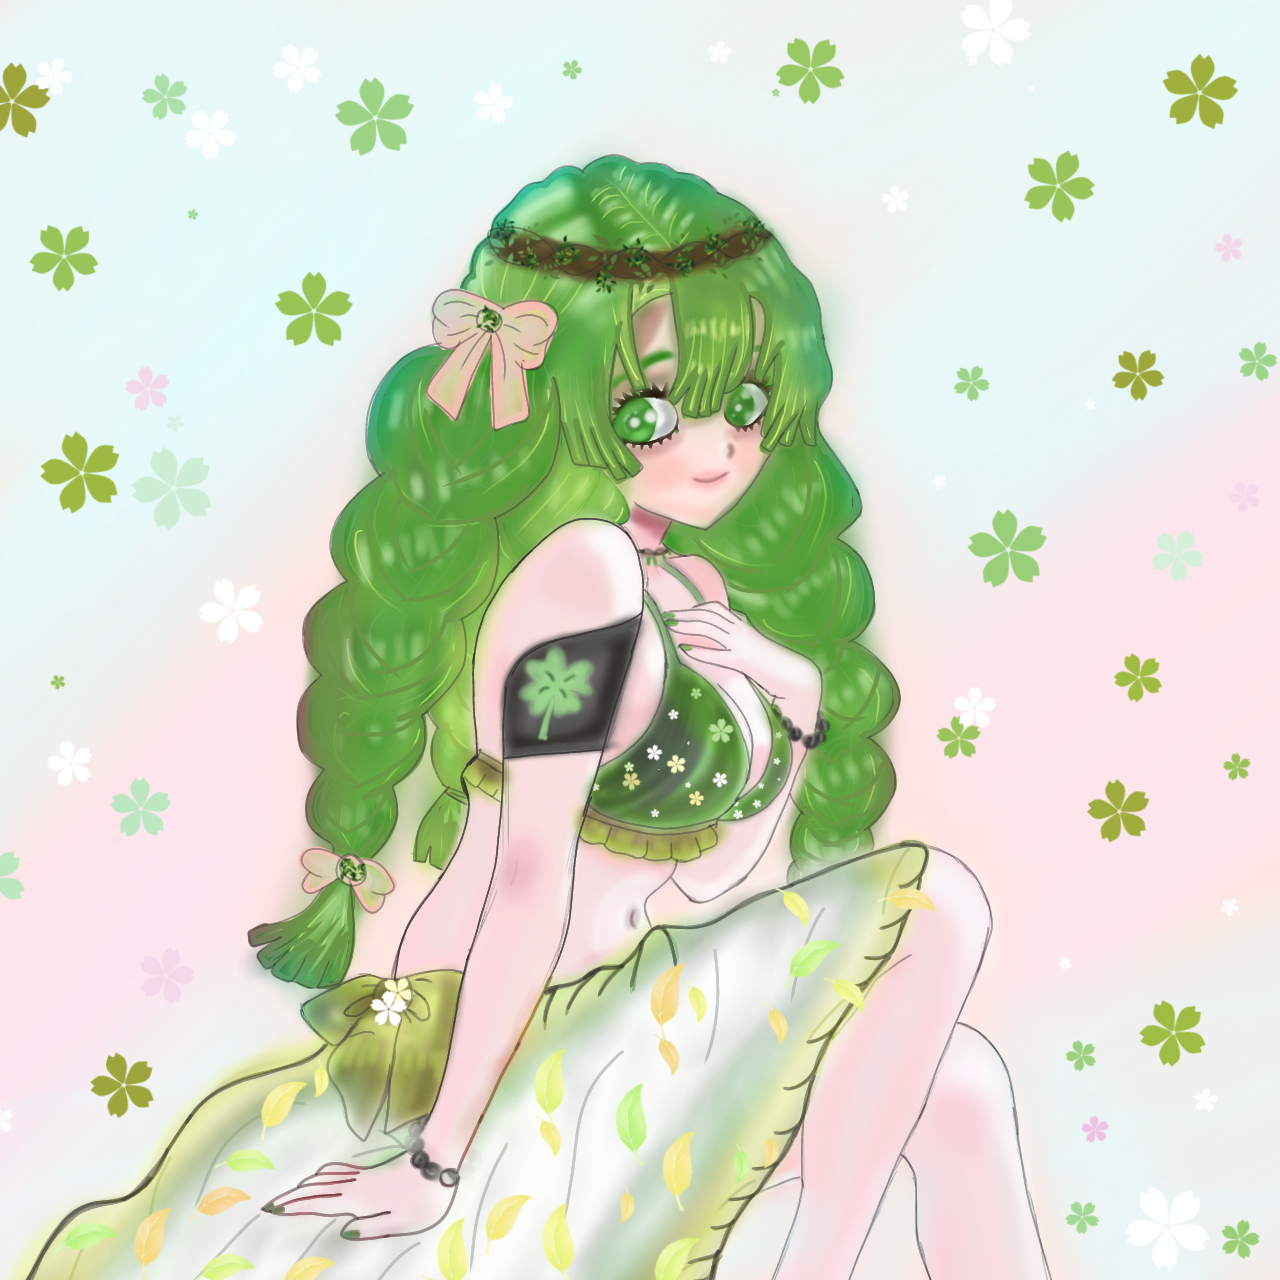
In step number one, I first drew the forest healer.
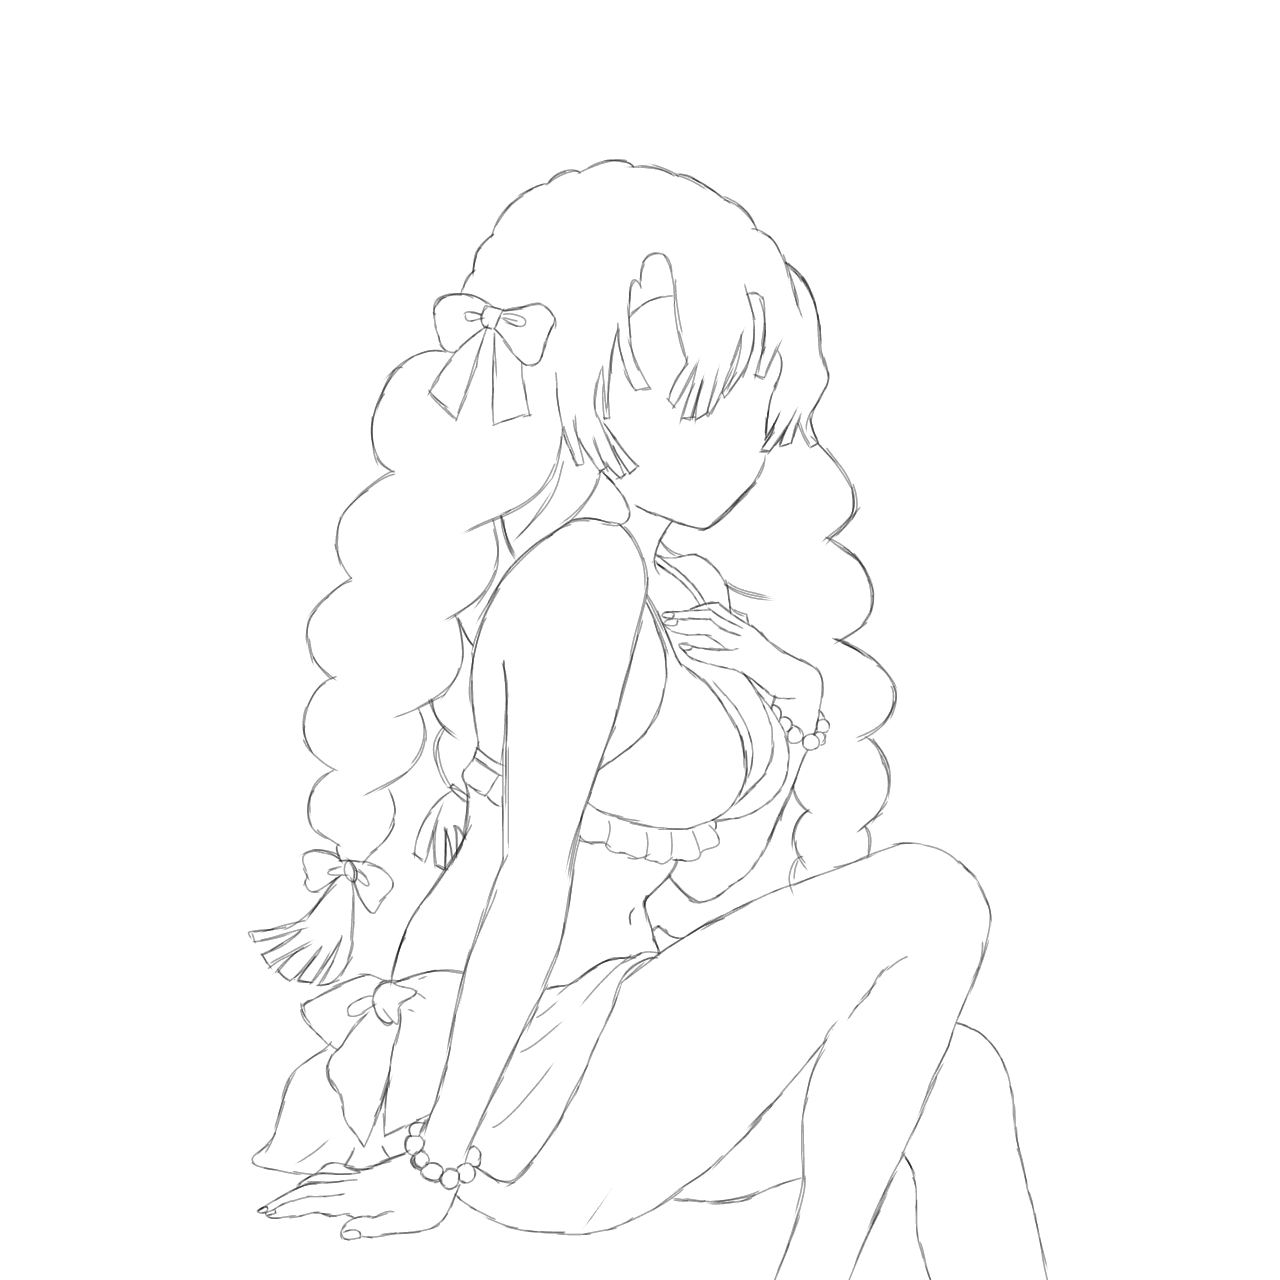
In step number two, when I drew the sketch of the forest healer, I colored the entire page with possible lights skin color so that it would be easy to give details later. Then, first, I completed her facial features and their detailing.
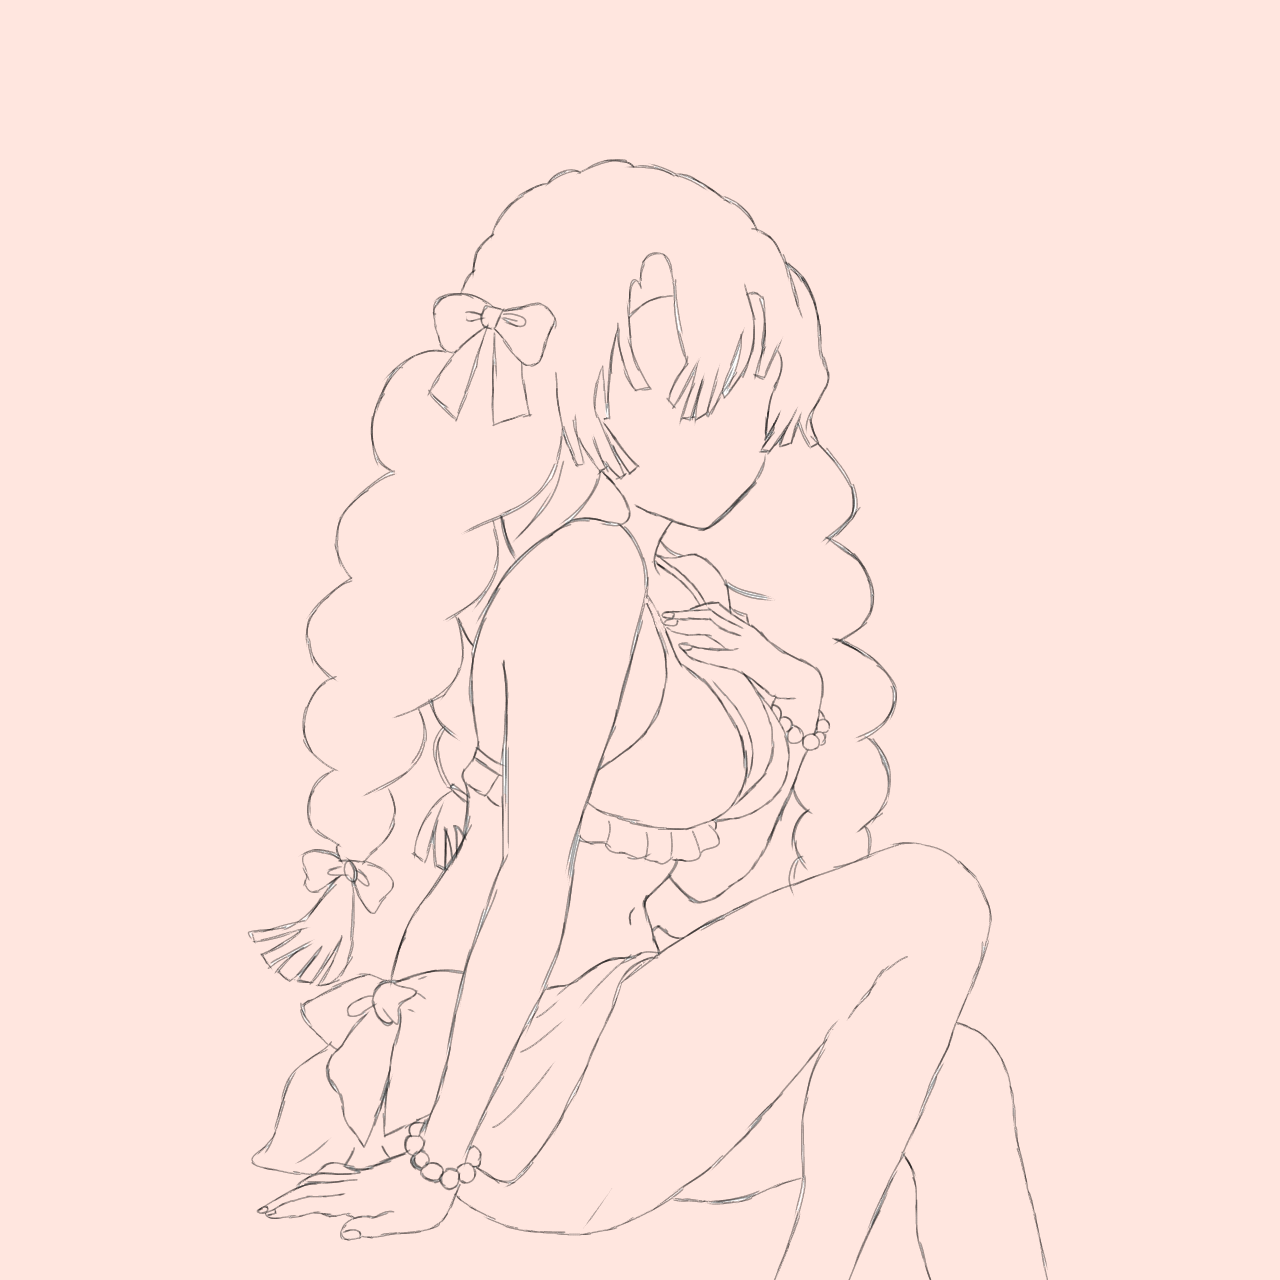
After completing the face, I completed all the details of the hair of the forest healer, including the shading and details. After completing the hair, I immediately colored the skin of her including her neck, belly, and legs. After that, when the face, hair, and skin were complete.


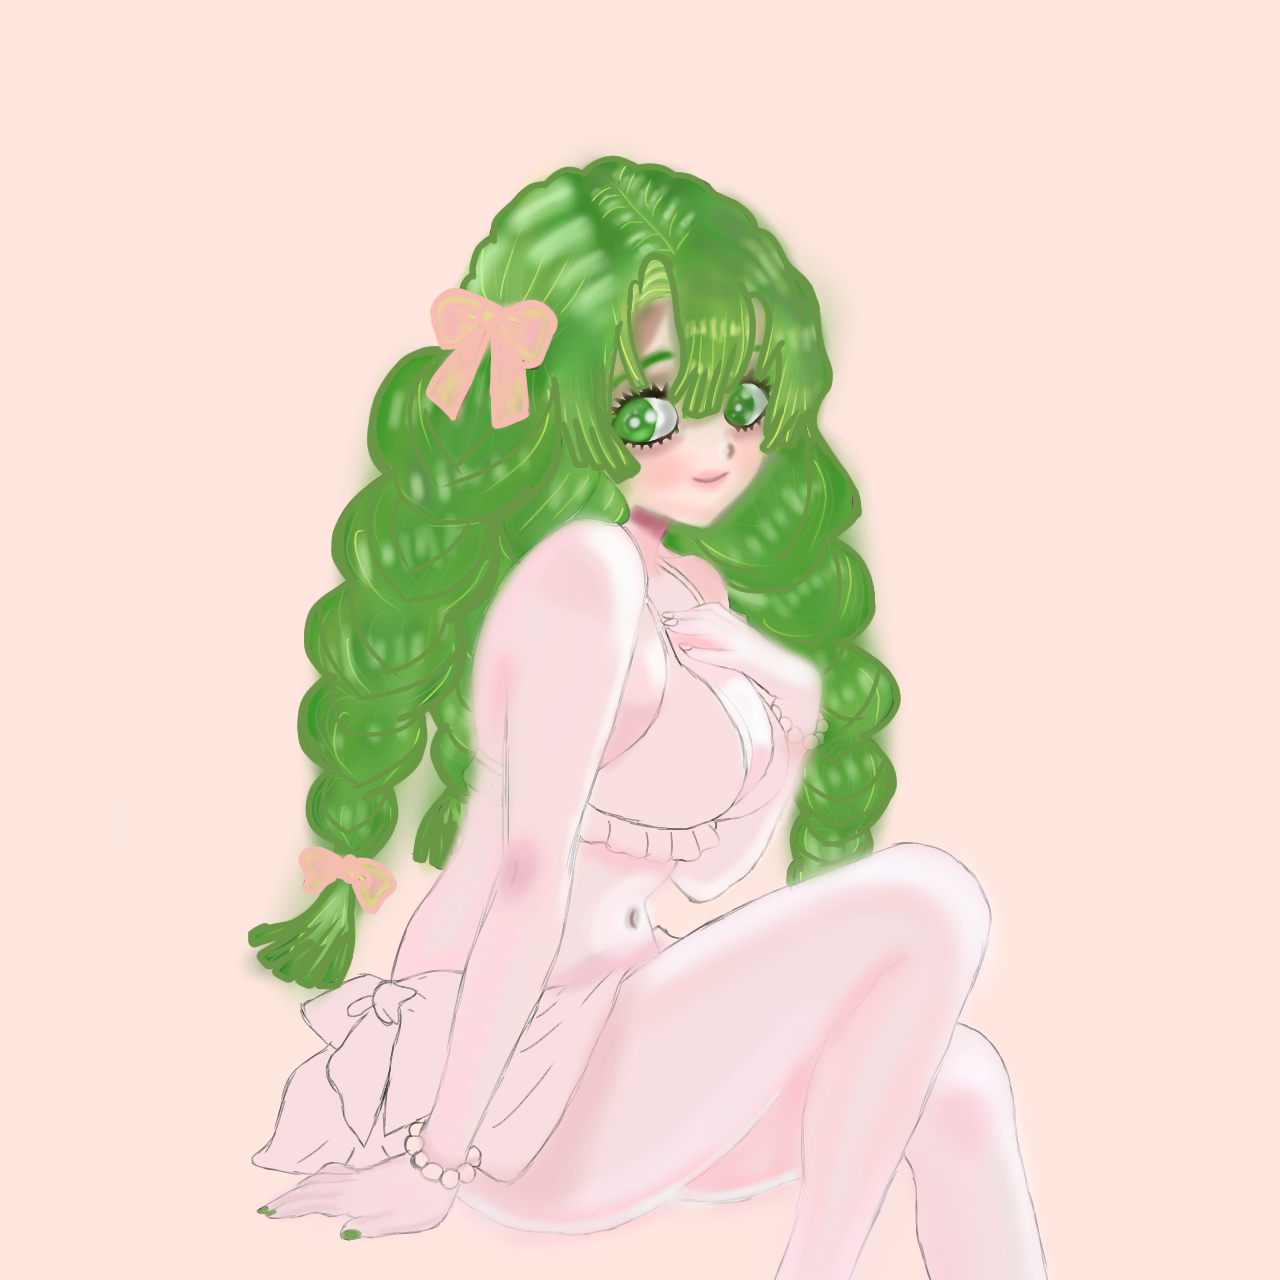
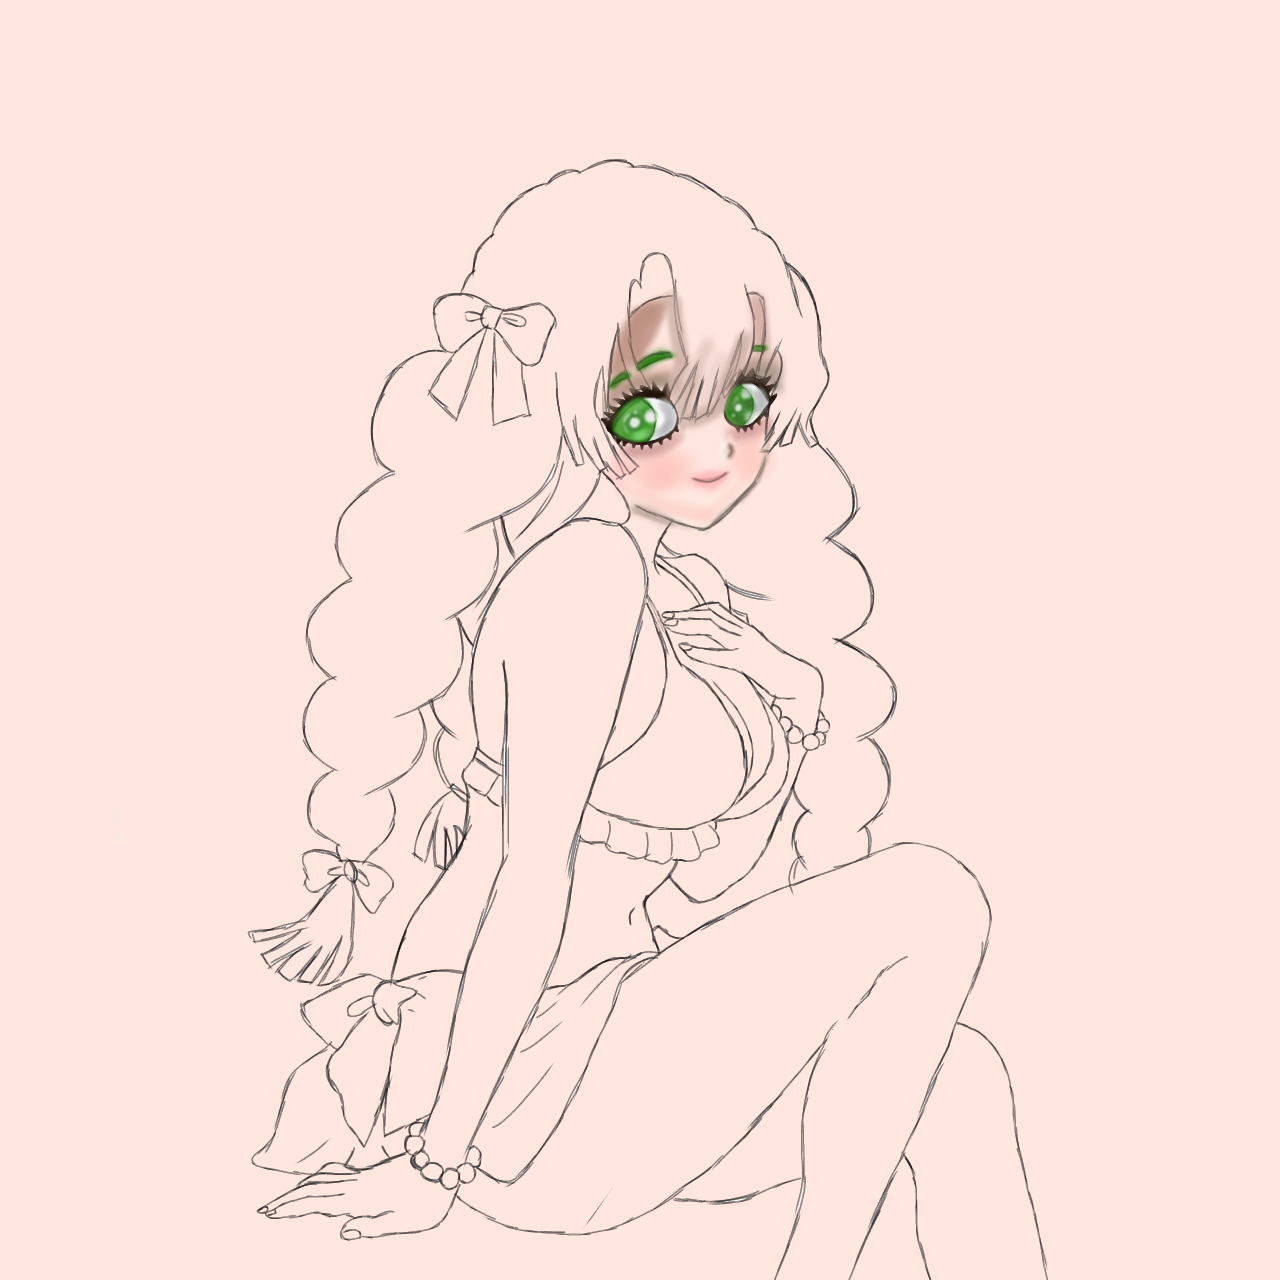
Then I colored the inside of her dress. After coloring the inside of the dress.
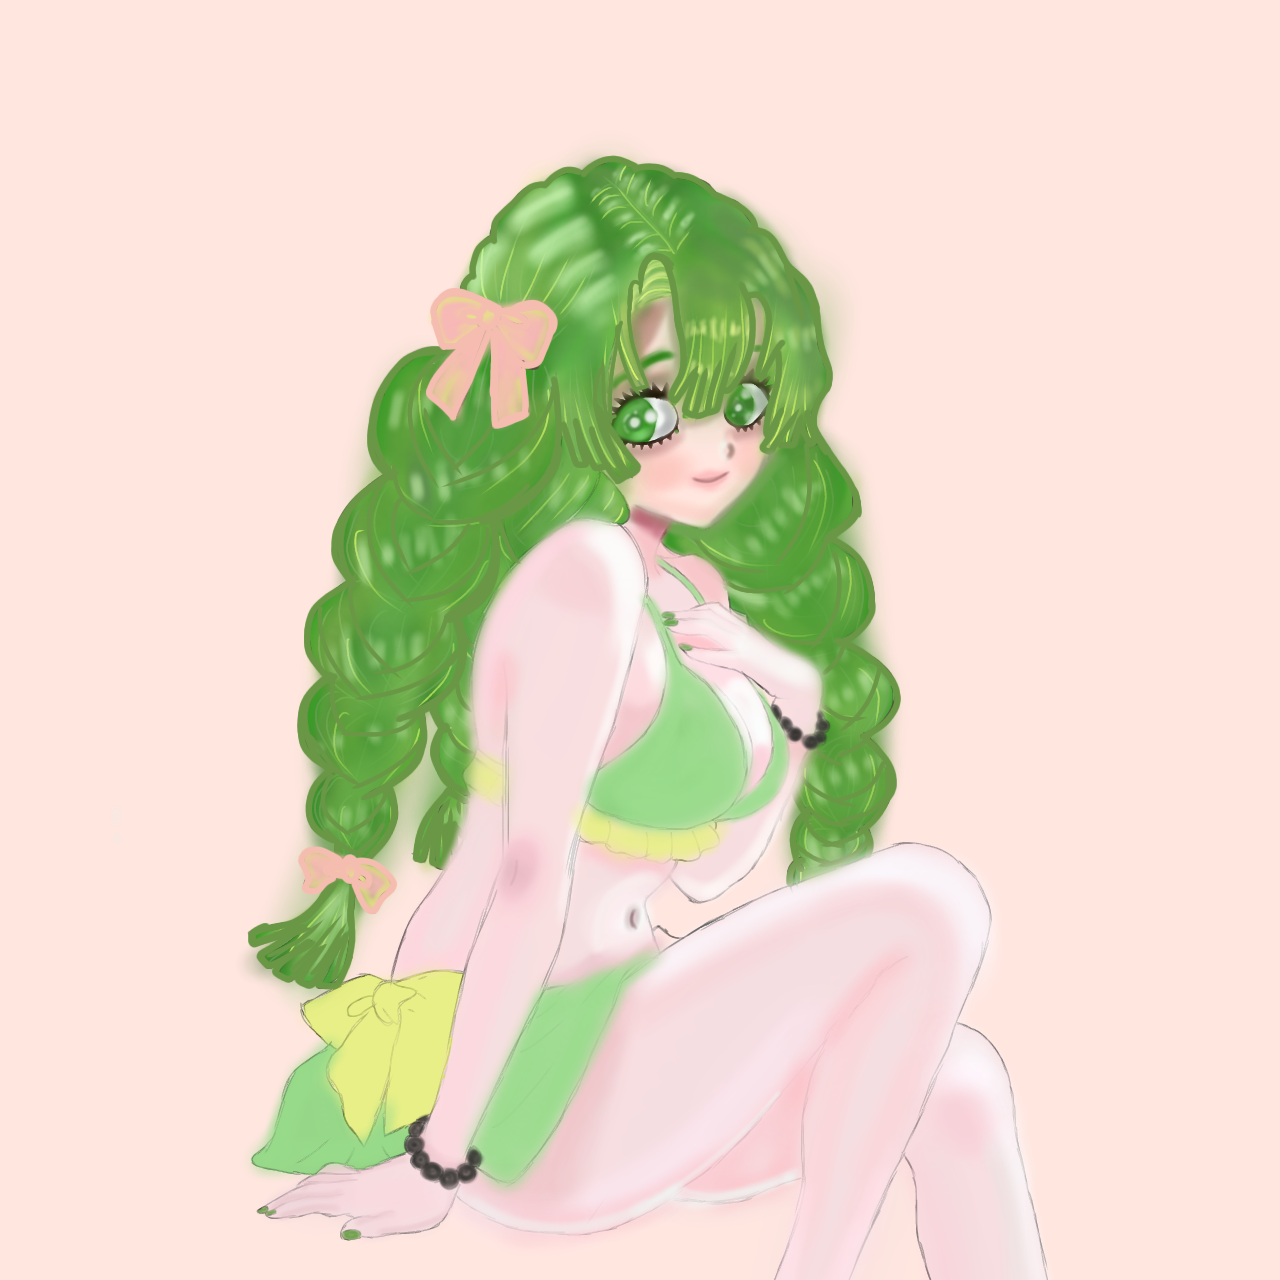
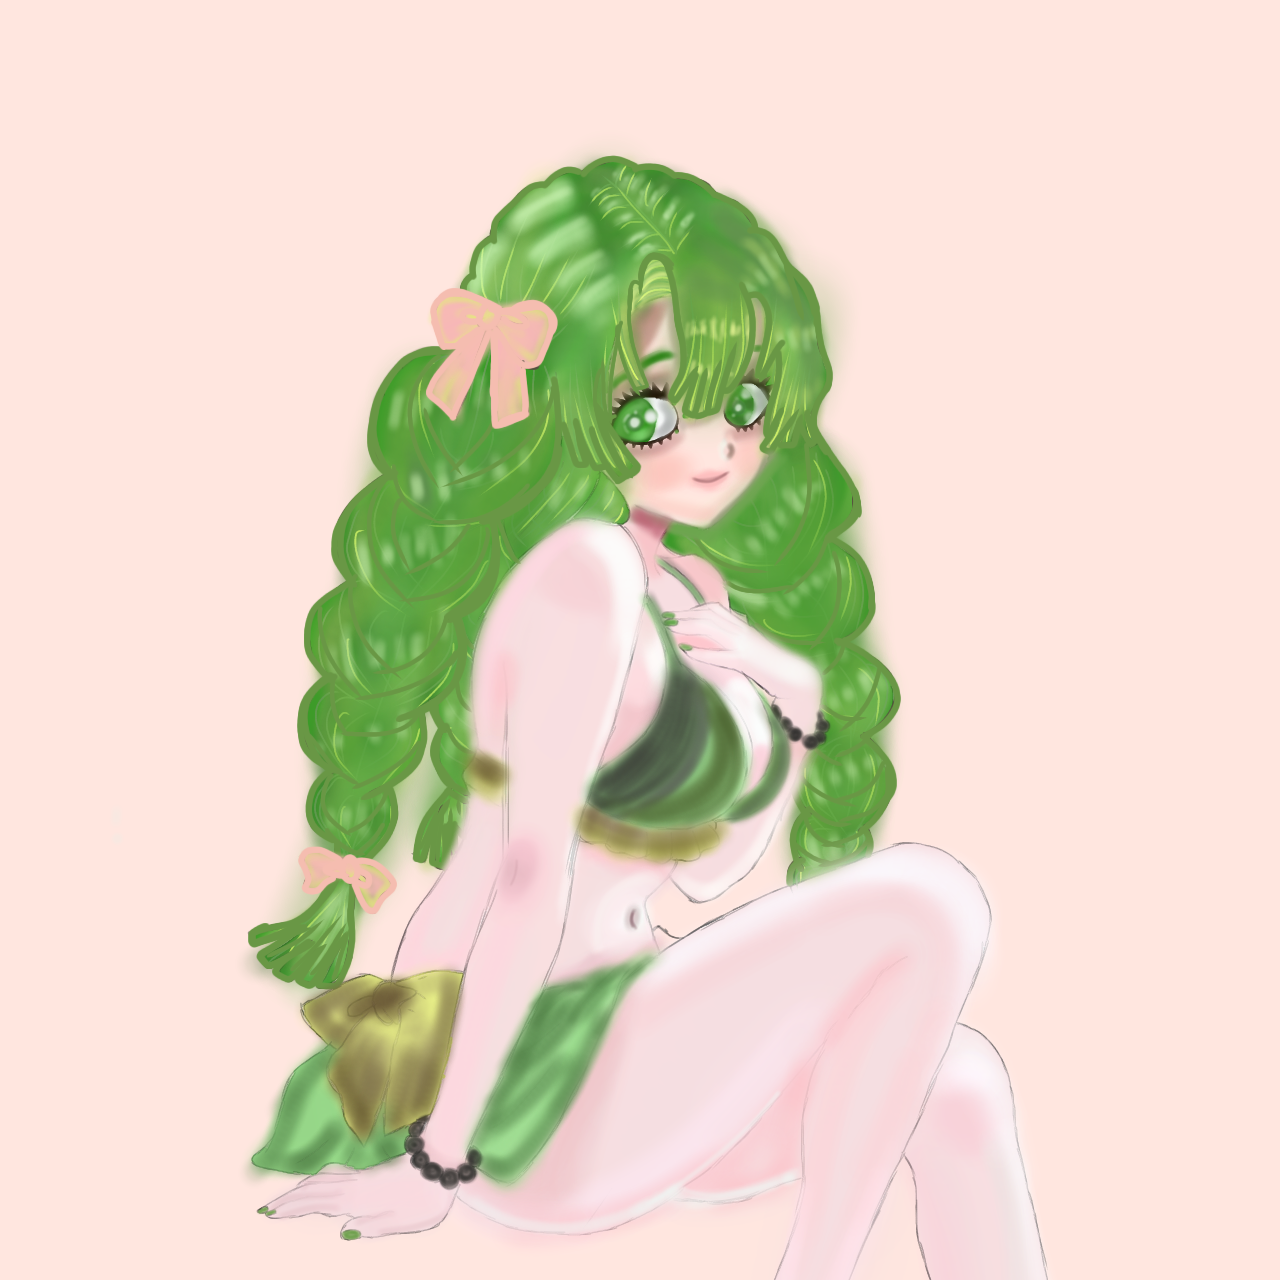
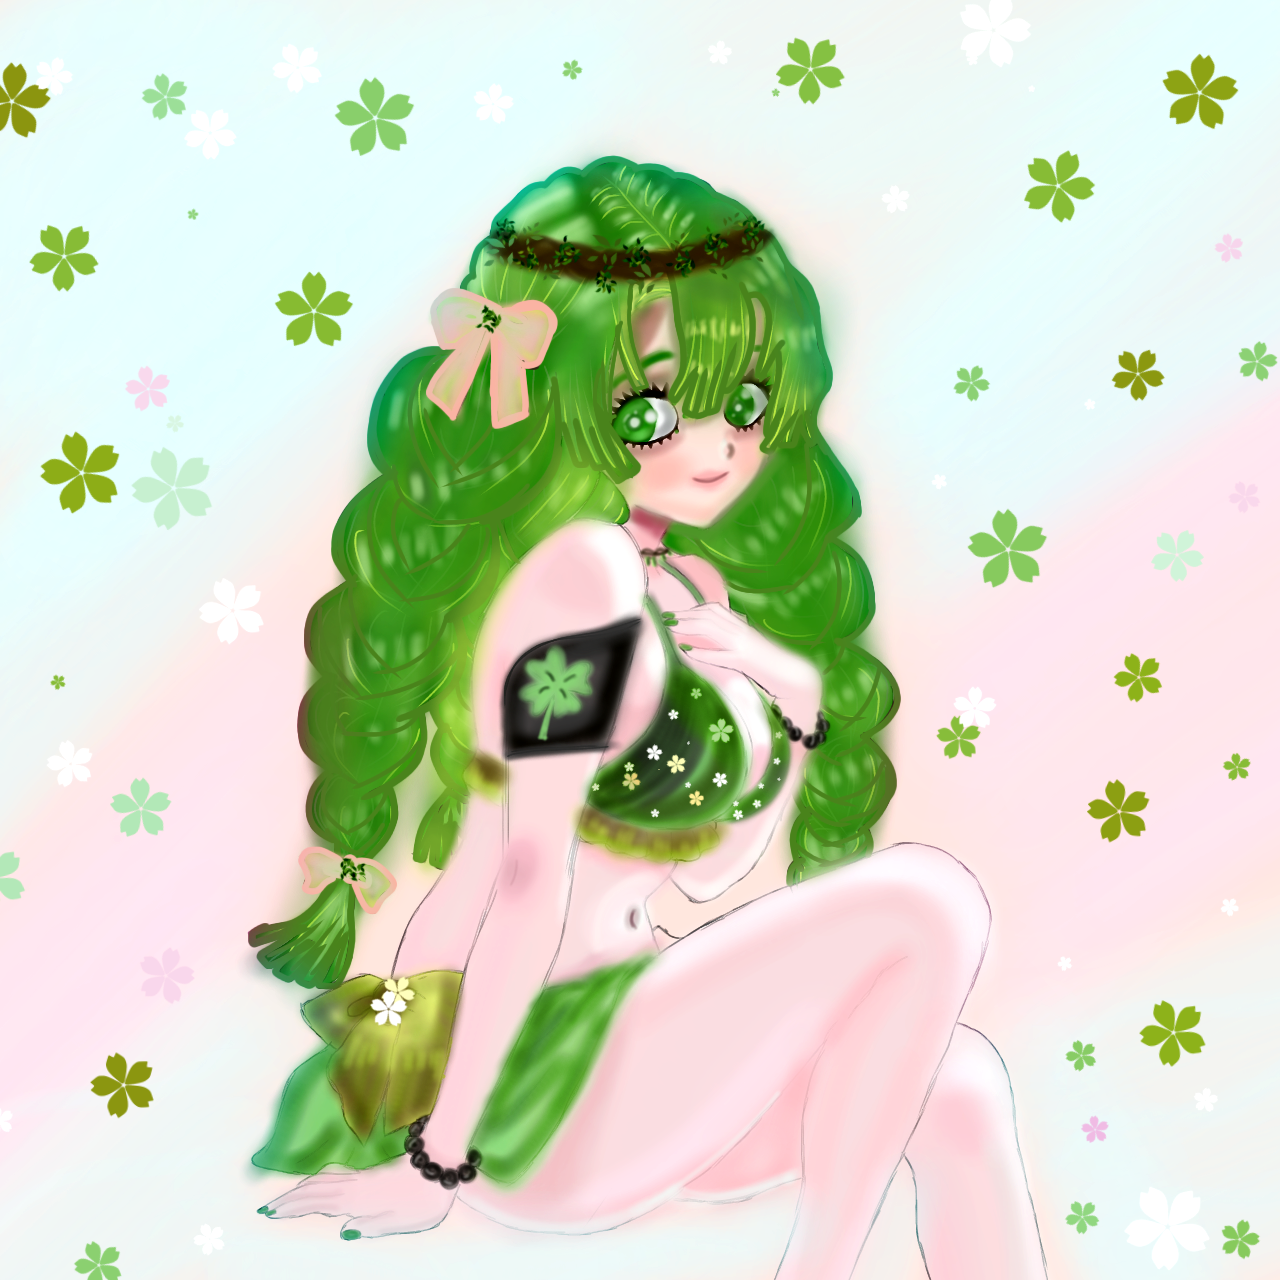
After that, I created the background behind the forest healer, first I made it a light blue-pink color and then I made flowers on top of it. After completing it , I noticed that her dress was too short, which made the picture not look so good.
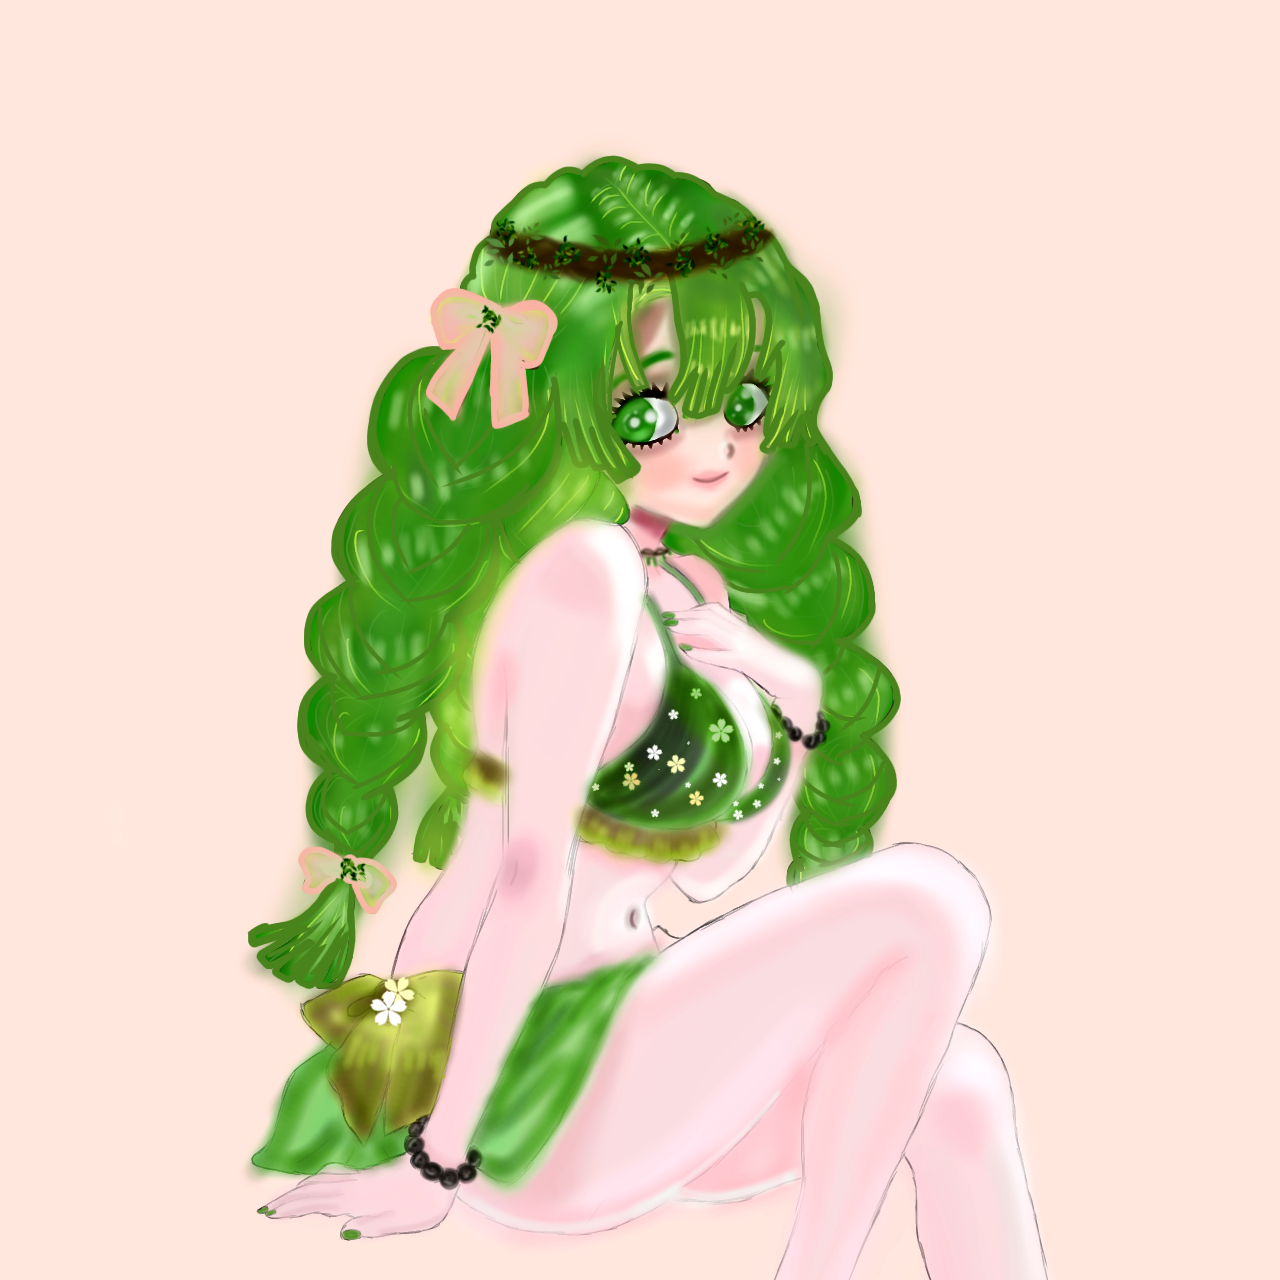
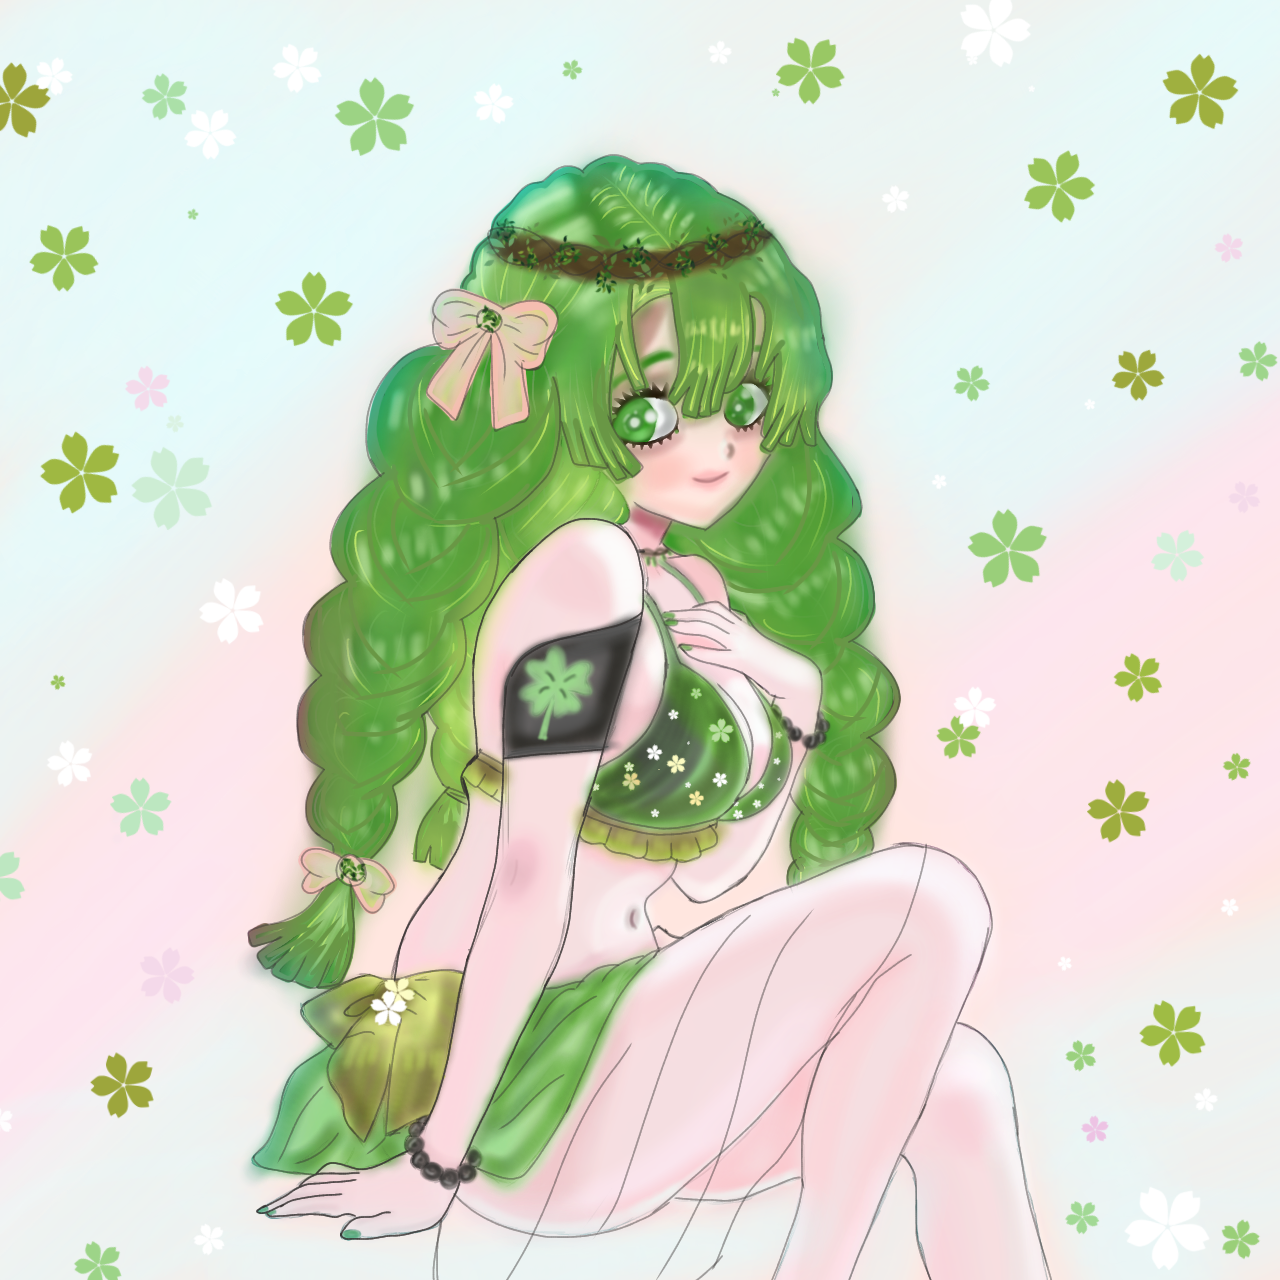
So, to make her dress longer, I first applied a simple line, then colored it green, then light green, then white on top of it, and after white, I shaded the dress with the help of yellow-gray and green.
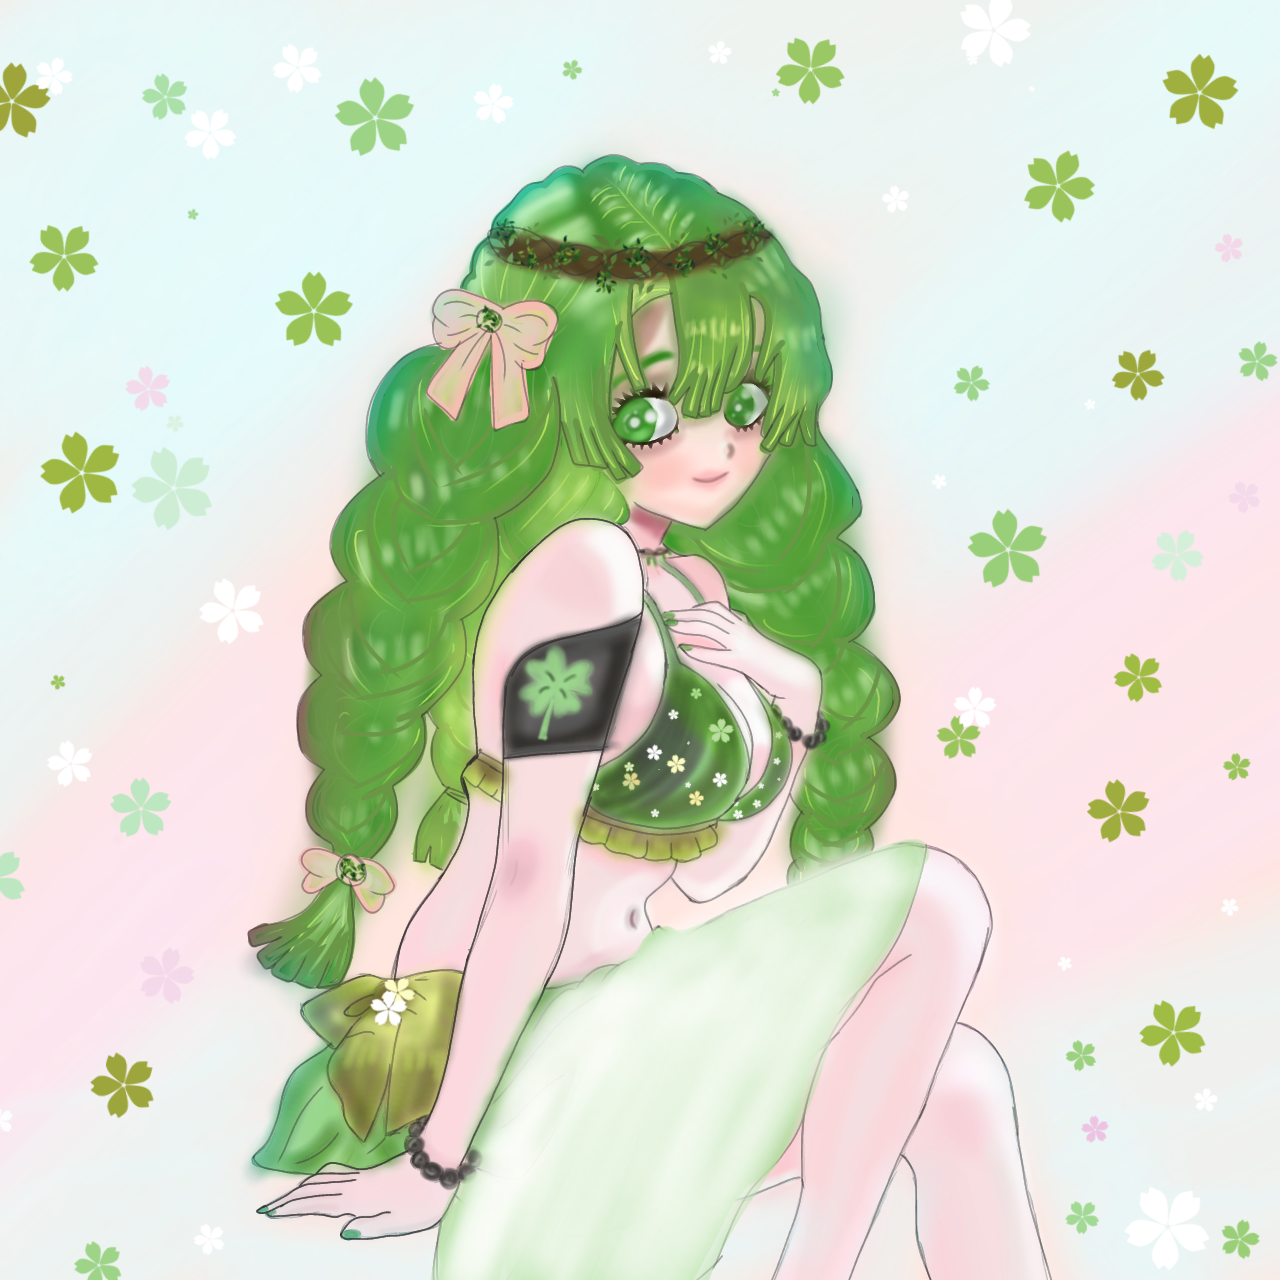
And after that, I gave it an outline and gave it a proper look. After that, I completed the color adjustment and this is the final look of my forest healer fan art. I hope you all like it.
That's all for today. See you in the next post Allah Hafiz🌹❤✨.
Simple source:-
Comments