Recommended Posts


Project Update : The Final Output
3 comments
Hello, my dear Hivers!

This is the third time I’m sharing about this, and yes, here you will finally see the final output of our 3D molecular formulas.
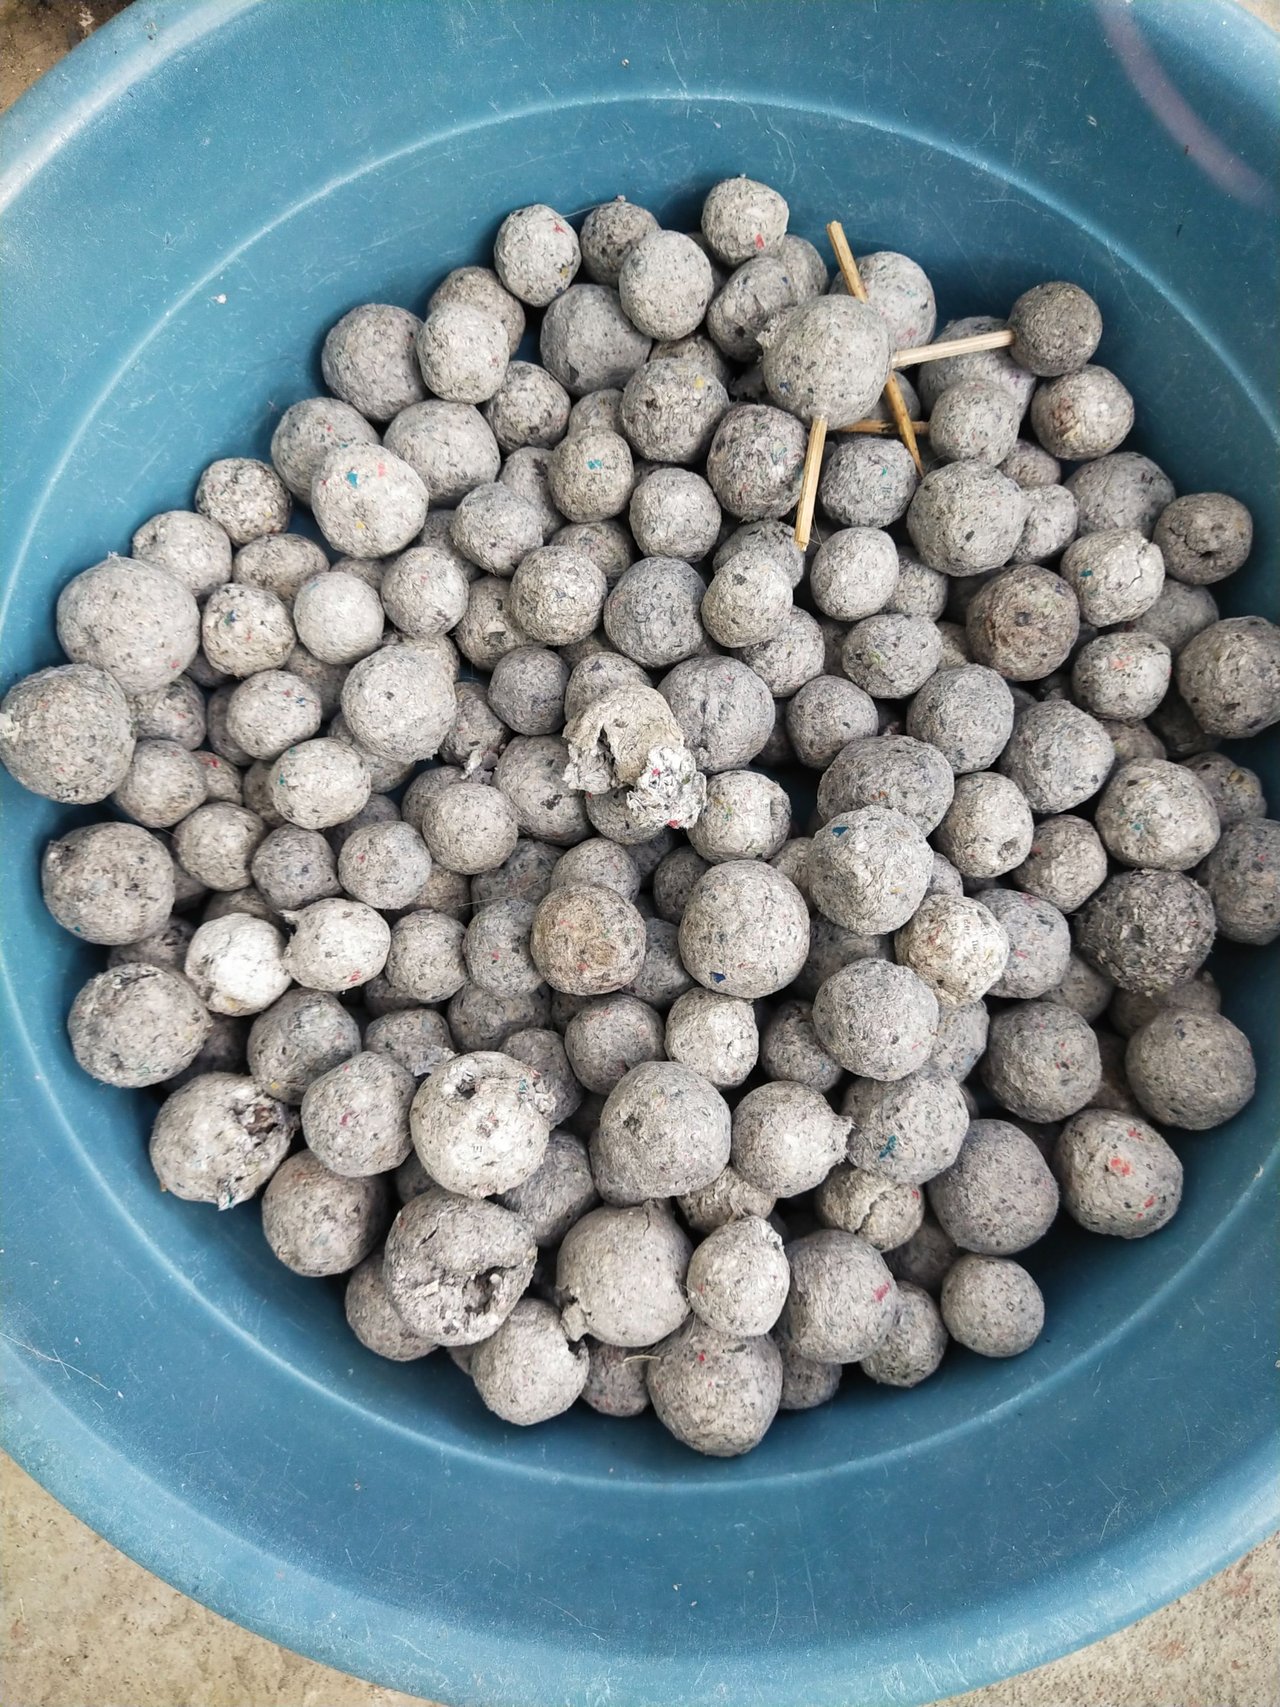
If you’ve read my previous blog, you would know that we used paper mache, made from newspapers and glue, to form the structures. However, after some time, when we attached them to barbecue sticks, they cracked and didn’t look good.
So, after discussing whether to continue with the paper mache since we had already started or to buy new materials like pingpong balls—which would make the output more presentable—we decided to go with the pingpong balls.

Although it was pricey since each pingpong ball now costs 8 pesos (whereas other groups had previously bought them for just 3 pesos each), we had no choice but to buy them. We needed around 200+ balls.
We didn’t focus too much on the total cost since there were many of us contributing.
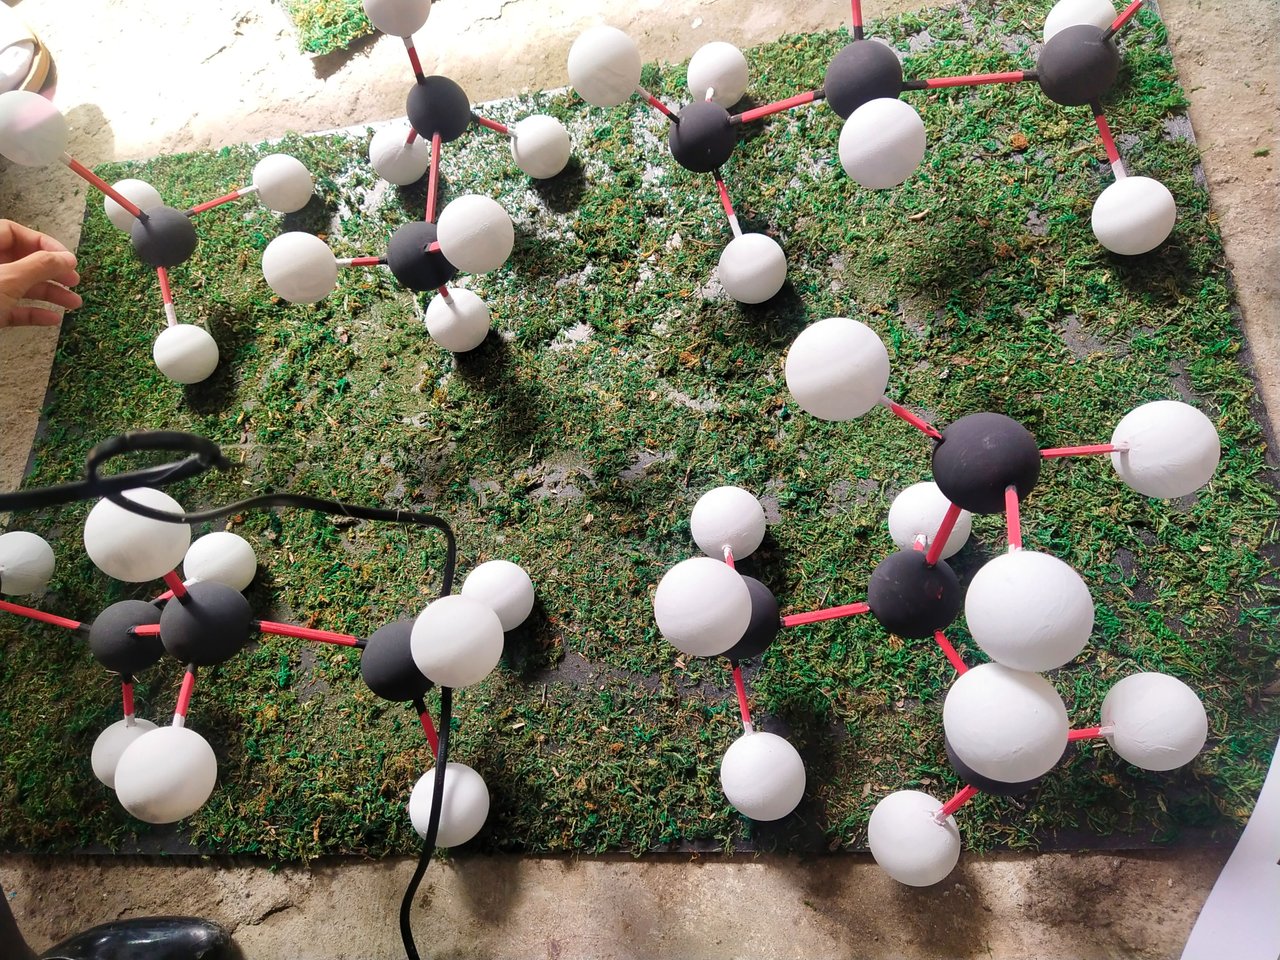
One of my group members works in an office, and in their office, they had some artificial grass (similar to Bermuda grass) that they bought from the supermarket. Since they weren’t using it, he brought it for us to add as decoration.
And guess what? The combination of artificial Bermuda grass and the colorful pingpong balls looked amazing! We also finished painting everything, and the final output turned out really nice.

Once the painting and assembly were complete, the only thing left was labeling the molecules. Originally, we planned to print the labels for a clean and uniform look. However, since we were pressed for time, we had to handwrite them instead. Thankfully, one of our group members had beautiful penmanship, so we were still able to achieve a neat and readable output.
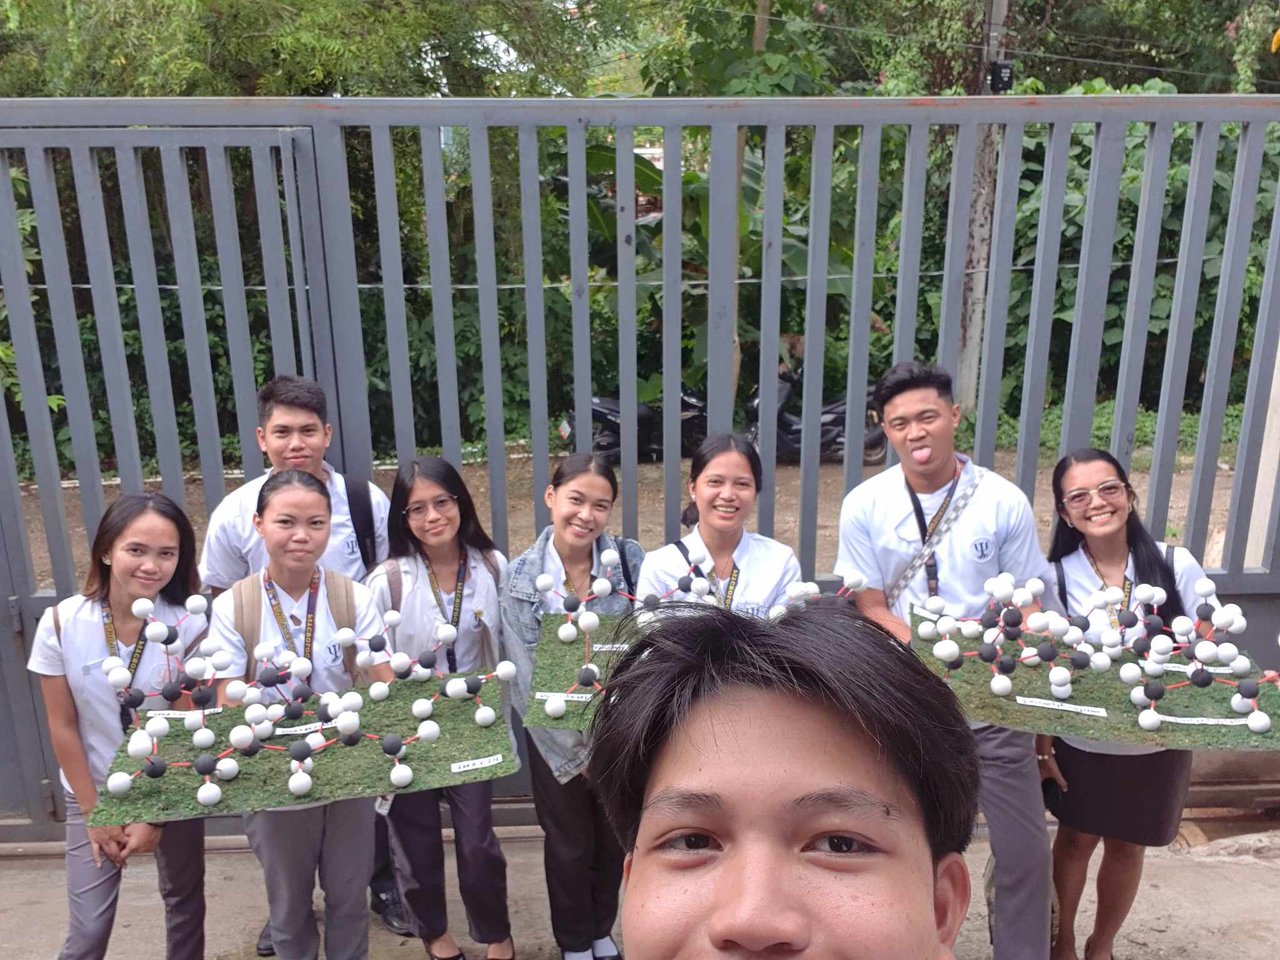
With everything completed, we prepared to transport the project to school. Since the house where we worked was quite far from the campus, we had to carefully consider how to bring the project without damaging it. I gave the group two options:
- Take a tricycle, which would be a faster option, but there was a risk that the wind and movement would damage the models.
- Walk to school, while sending our bags ahead on a motorcycle to reduce the weight we had to carry.
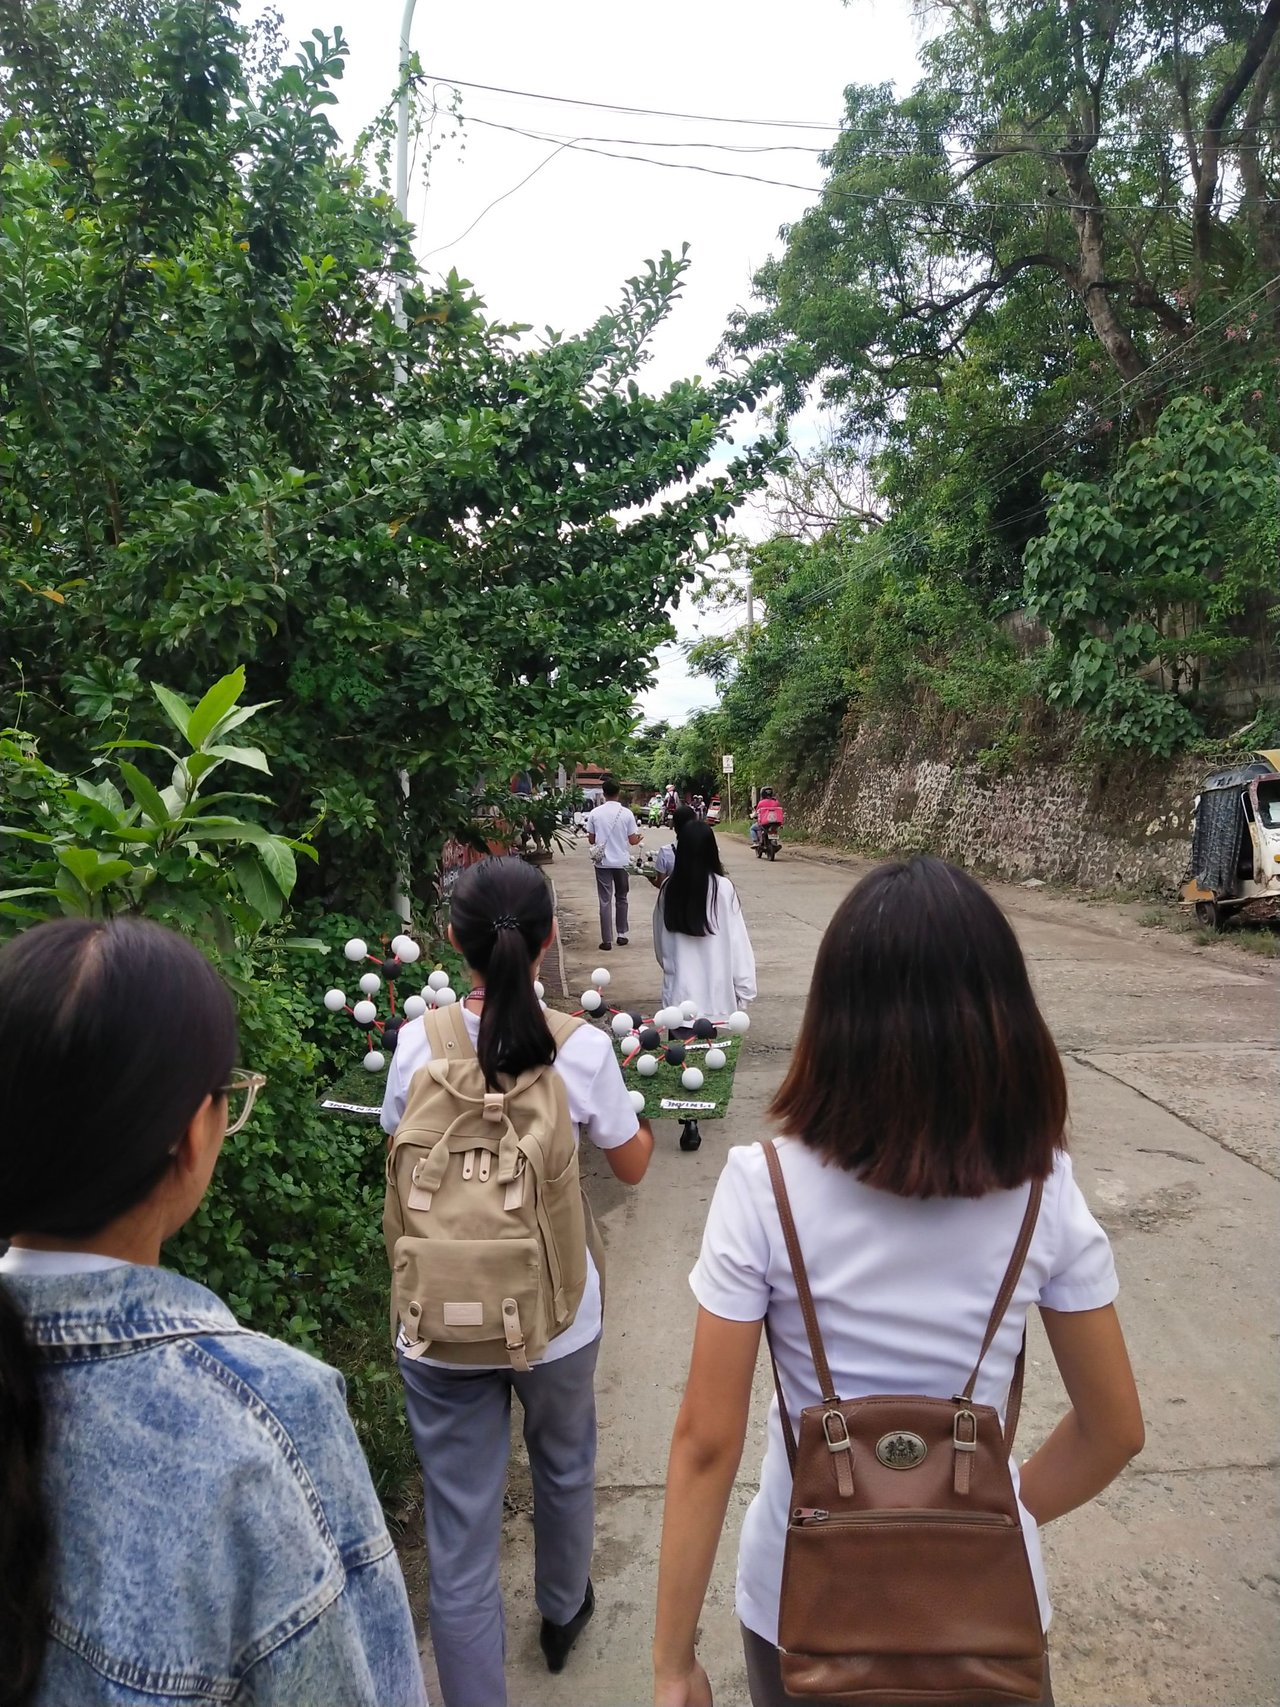
After discussing, we chose to walk to ensure the safety of our project. It was a bit tiring, but when we finally arrived at school, the molecular models were still in perfect condition. Our teacher was truly amazed by the final output, and we felt all the effort was worth it.
And that’s all for now, my dear Hivers! Thank you for reading and following our journey.
Comments