How to make a farmhouse themed organizer. [ENG+ESP]
20 comments

Greetings, community.
A few days ago I was looking for how to make a small organizer to store some USB sticks and adapters that I always have scattered around my desk. I saw several designs, but I didn't like any of them, so I decided to come up with one with a farm theme.
I'm not a fan of the farm, although I do like animals a lot, I chose this theme for convenience in terms of color availability. Also, since I used a fence as a side structure, it would save a lot of material by having empty spaces.
In the end I was quite satisfied with the result. I may have gone a little overboard adding a vine around the fence line, but hey, it adds a very nice touch. I'm just missing some rubber cow and sheep figurines to keep my PC accessories company inside this farm-themed organizer.
Saludos comunidad.
Hace unos días estaba buscando cómo hacer un organizador pequeño para almacenar algunas memorias USB y adaptadores que siempre tengo regados por mi escritorio. Vi varios diseños, pero ninguno me gustó, así que decidí inventar uno con temática granjera.
No soy fanático de las granjas, aunque sí me gustan mucho los animales, elegí esta temática por conveniencia en cuanto a la disponibilidad de colores. Además, como utilicé una valla como estructura lateral, ahorraría mucho material al tener espacios vacíos.
Al final quedé bastante satisfecho con el resultado. Puede que se me haya ido un poco la mano agregando un viñedo alrededor de la valla de la cerca, pero bueno, le da un toque muy lindo. Solo me faltan algunas figuritas de goma de vacas y ovejas para que le hagan compañía a mis accesorios de PC dentro de este organizador con temática granjera.
https://images.hive.blog/0x0/ | https://images.hive.blog/0x0/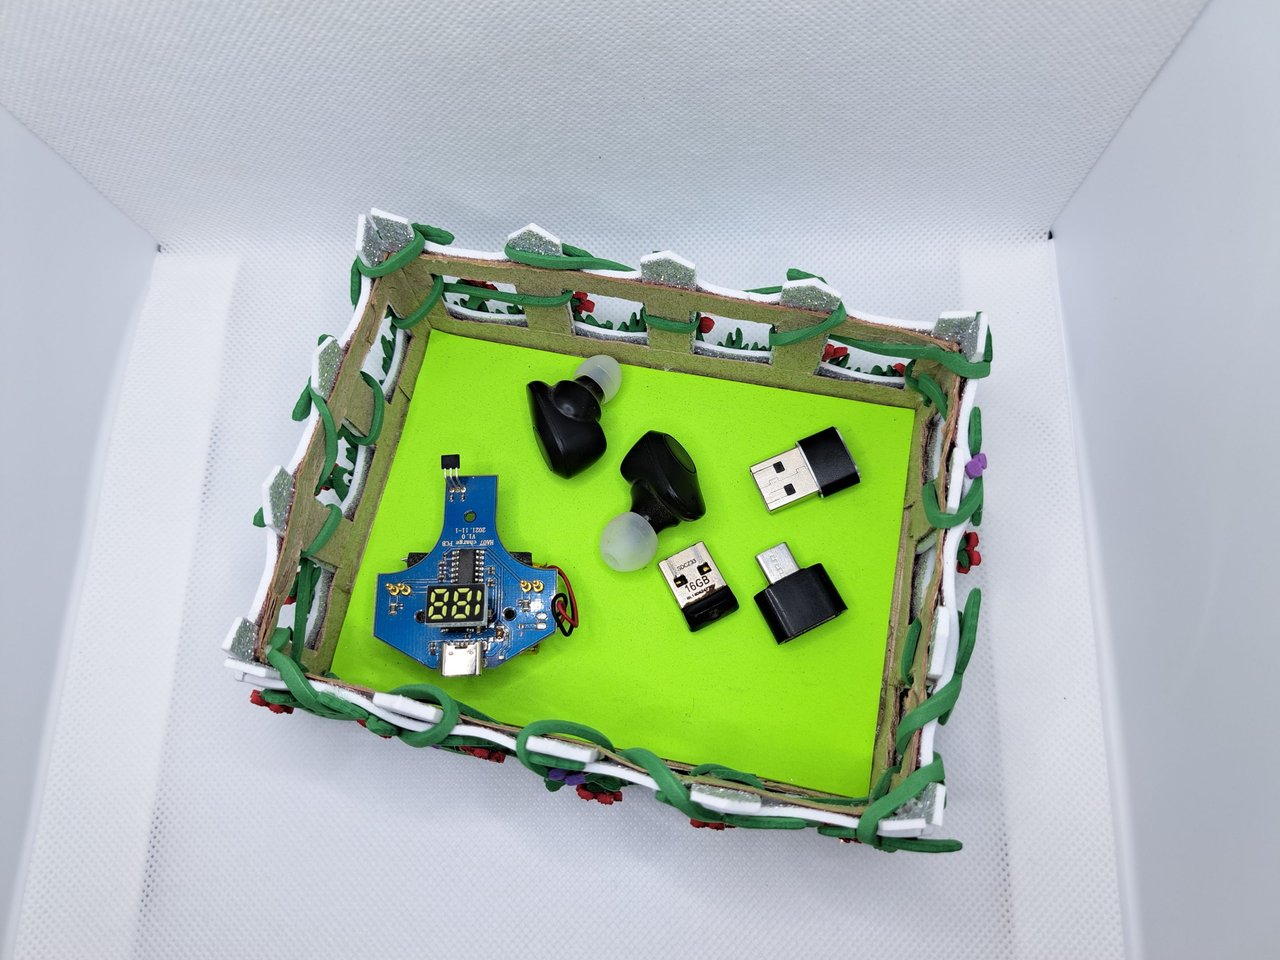 |
Materials // Materiales
| English | Español |
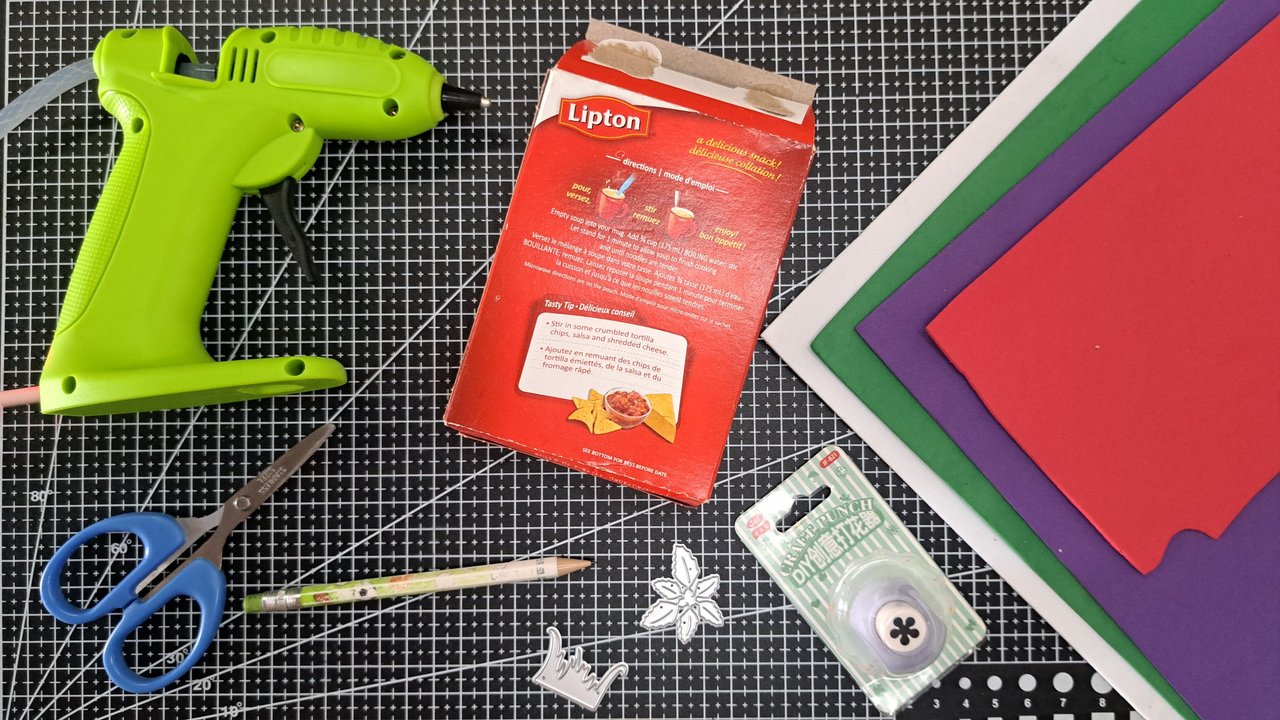
| ✔️ White, green, violet and red Fomi | ✔️ Fomi blanco, verde, violeta y rojo |
| ✔️ Small cardboard box | ✔️ Caja de cartón pequeña |
| ✔️ Metal cutting dies with grass and leaf shapes | ✔️ Troqueles metálicos de corte con forma de hierba y hojas |
| ✔️ Flower-shaped hole punch | ✔️ Perforadora con forma de flor |
| ✔️ Pencil and scissors | ✔️ Lápiz y tijera |
| ✔️ Silicona caliente | ✔️ Silicona claiente |
Step by step // Paso a paso
1️⃣ The first thing to do is to mark on the cardboard box the parts that will be cut out, leaving only the posts and segments of the fence. The fence segments will be 1 cm wide and the height will depend on the size of the cardboard box. After marking, cut out one of the wide sides of the box and the inner squares of the fence. In light green fomi, a piece corresponding to the measurements of the box will be cut out and glued to the inside of the box.
Lo que se debe hacer primero es marcar sobre la caja de cartón las partes que se recortarán, quedando solamente los postes y segmentos de la valla. Los segmentos de la valla serán de 1 cm de ancho y el alto dependerá del tamaño de la caja de cartón. Luego de marcar, se recortará una de las caras anchas de la caja y los cuadrados internos de la valla. En fomi verde claro, se recortará una pieza correspondiente con las medidas de la caja para pegarla en el interior de esta.
https://images.hive.blog/0x0/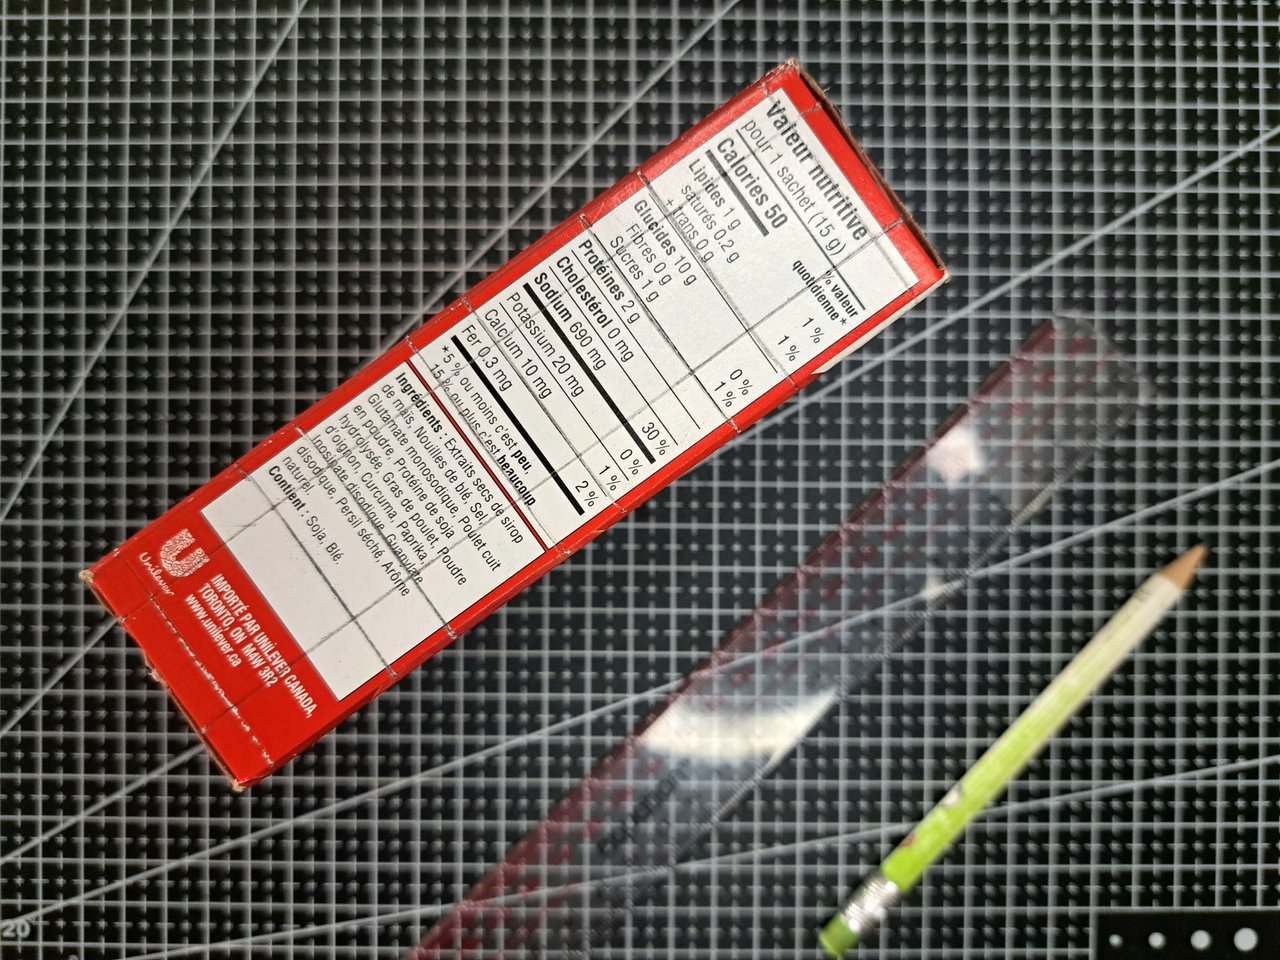 | https://images.hive.blog/0x0/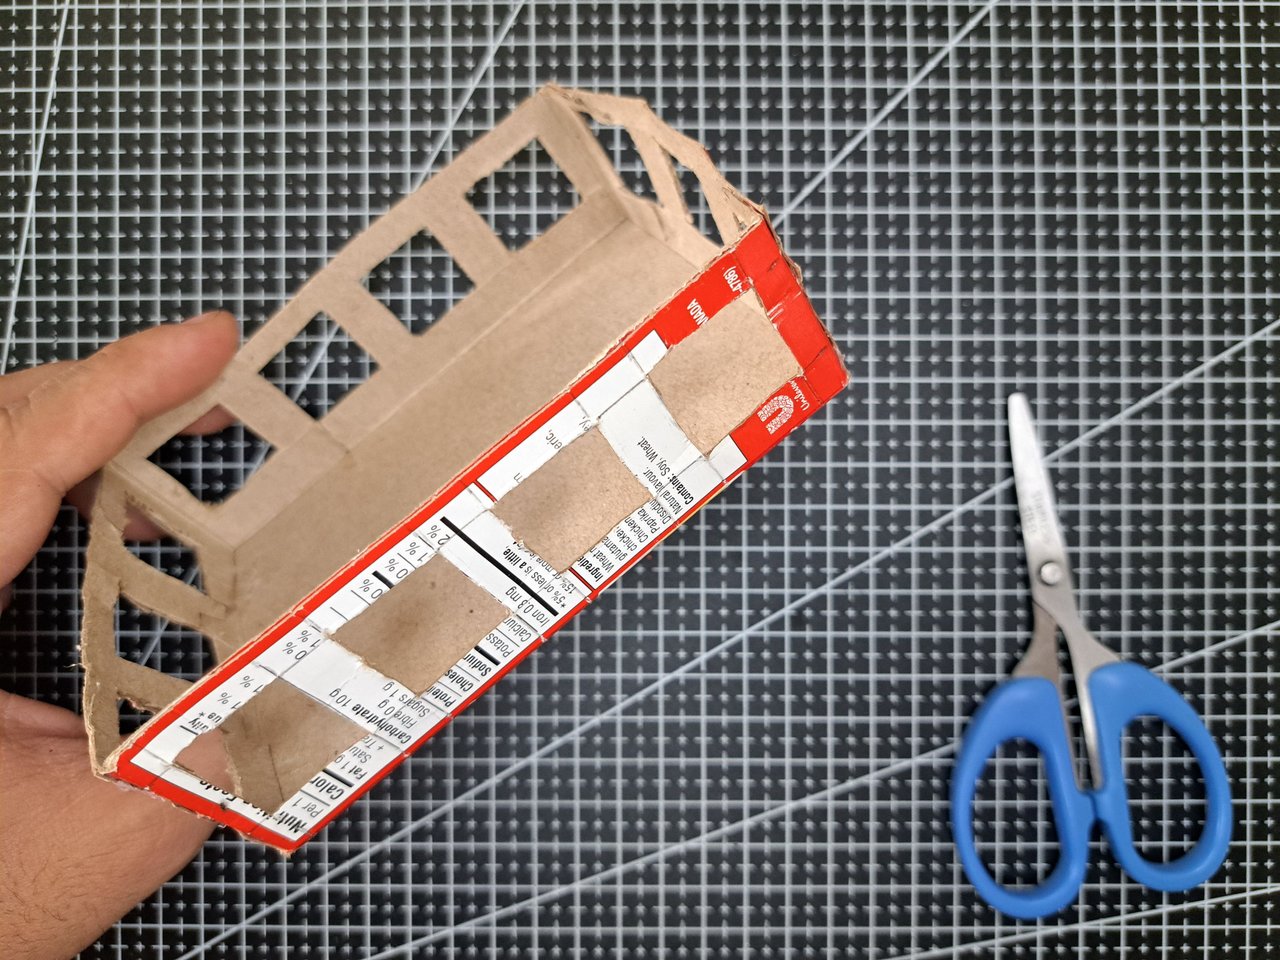 |
https://images.hive.blog/0x0/ | https://images.hive.blog/0x0/ |
2️⃣ Cut long strips of 1 cm wide and some of 0.5 cm wide from the white fomi. With the wide strips you will cover the entire outer surface of the fence. In the case of the corners you can try to use the wide fomi strips, but mine were too thick, so I decided to cut some 0.5 cm to cover the corners on both sides.
Con el fomi blanco se recortarán tiras largas de 1 cm de ancho y algunas de 0.5 cm. Con las tiras anchas se cubrirá toda la superficie exterior de la valla. En el caso de las esquinas se puede intentar utilizar las tiras de fomi anchas, pero las mías eran muy gruesas, así que decidí cortar algunas de 0.5 cm para cubrir las esquinas por ambos lados.
https://images.hive.blog/0x0/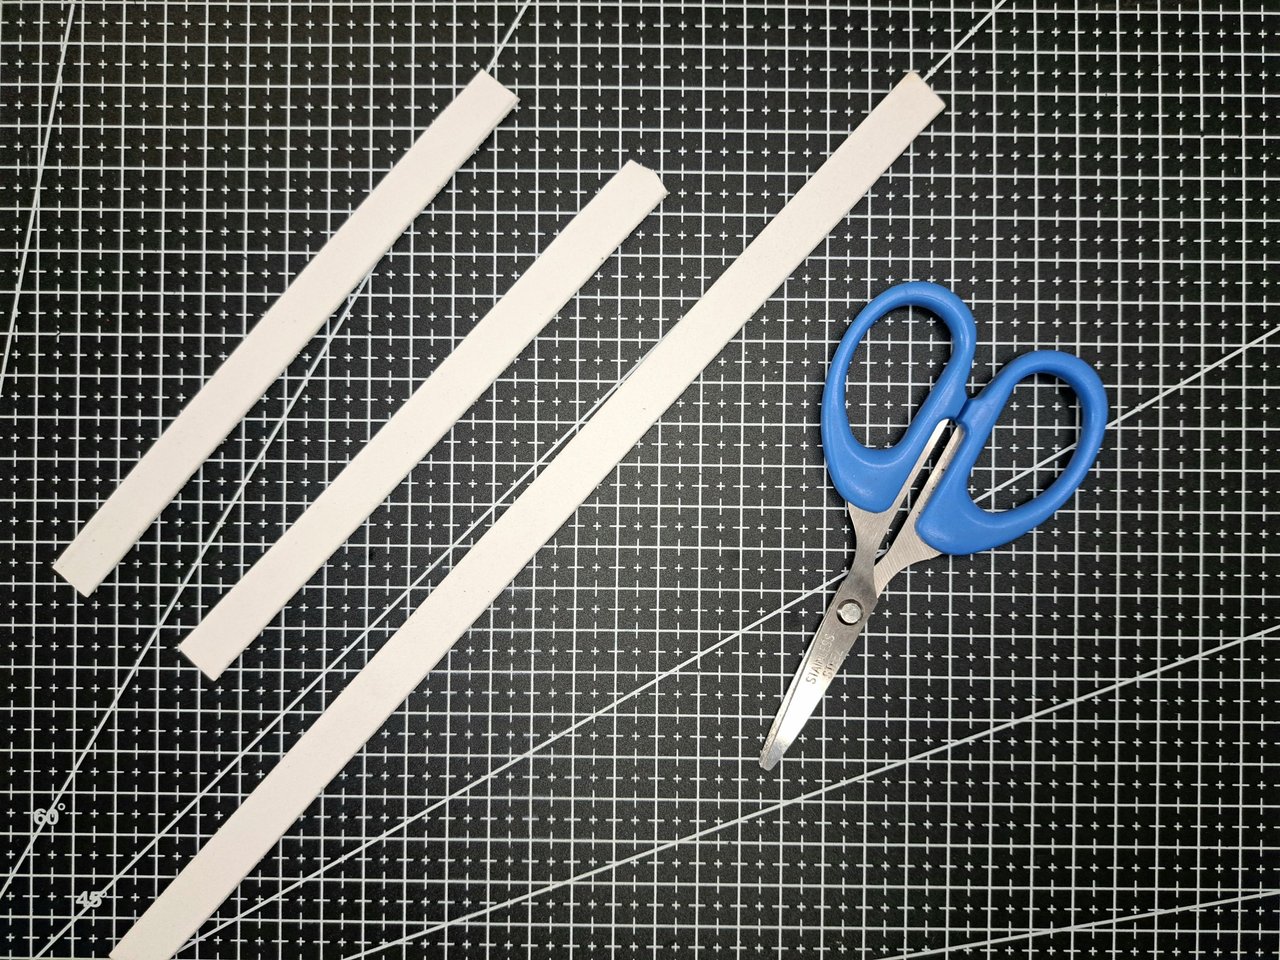 | https://images.hive.blog/0x0/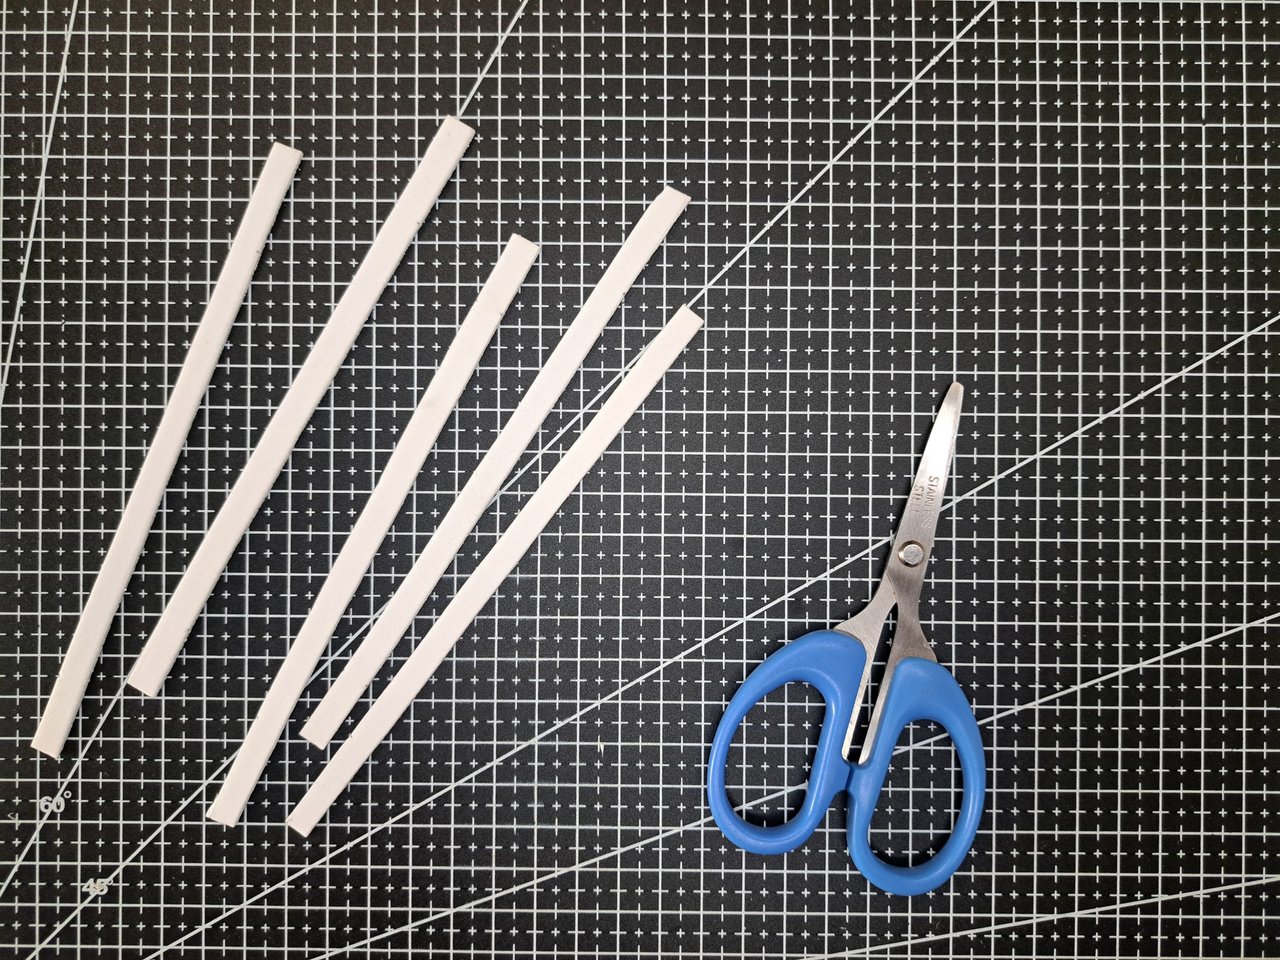 | https://images.hive.blog/0x0/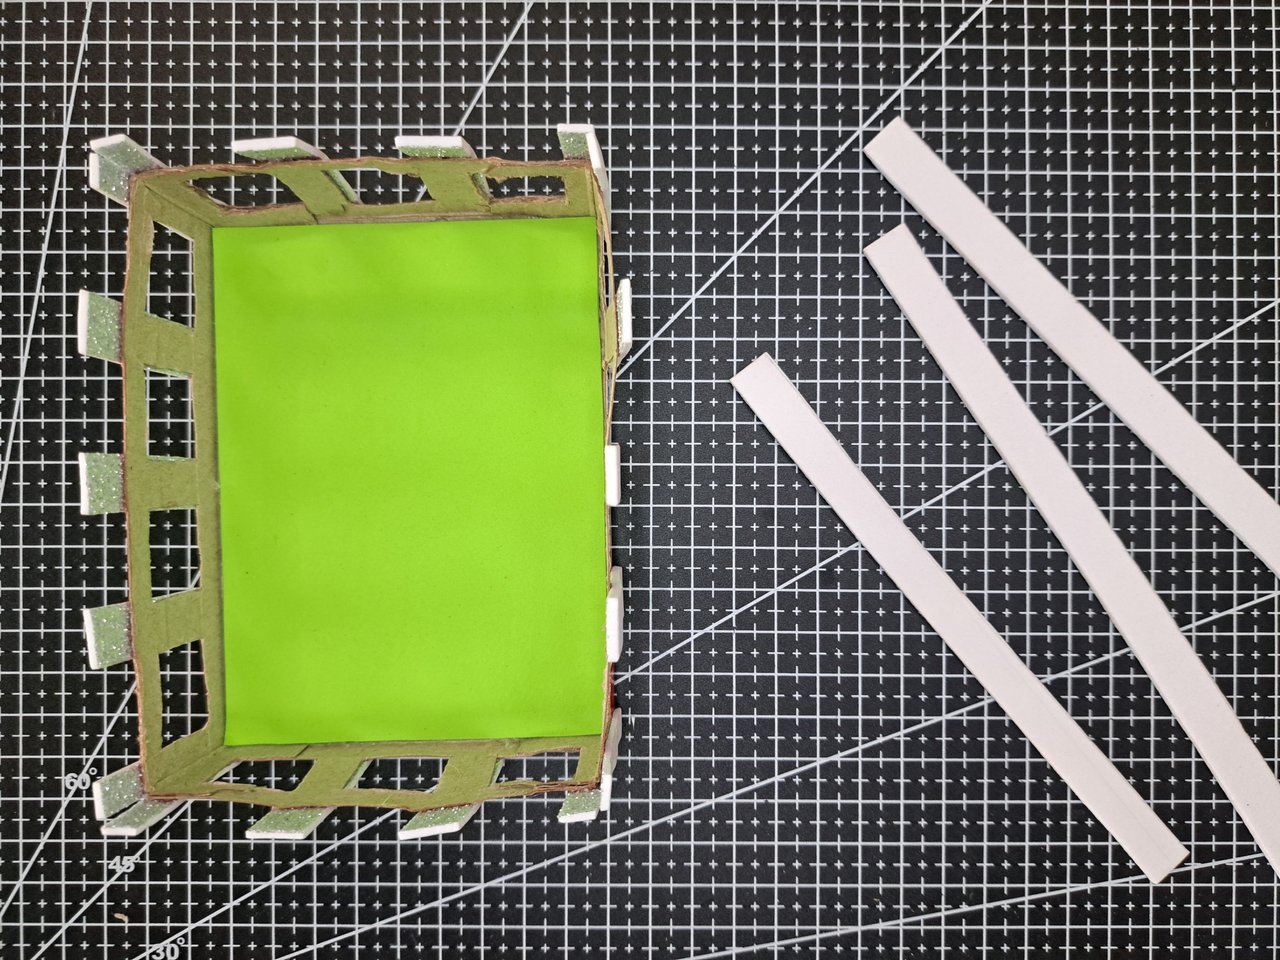 |
https://images.hive.blog/0x0/ | https://images.hive.blog/0x0/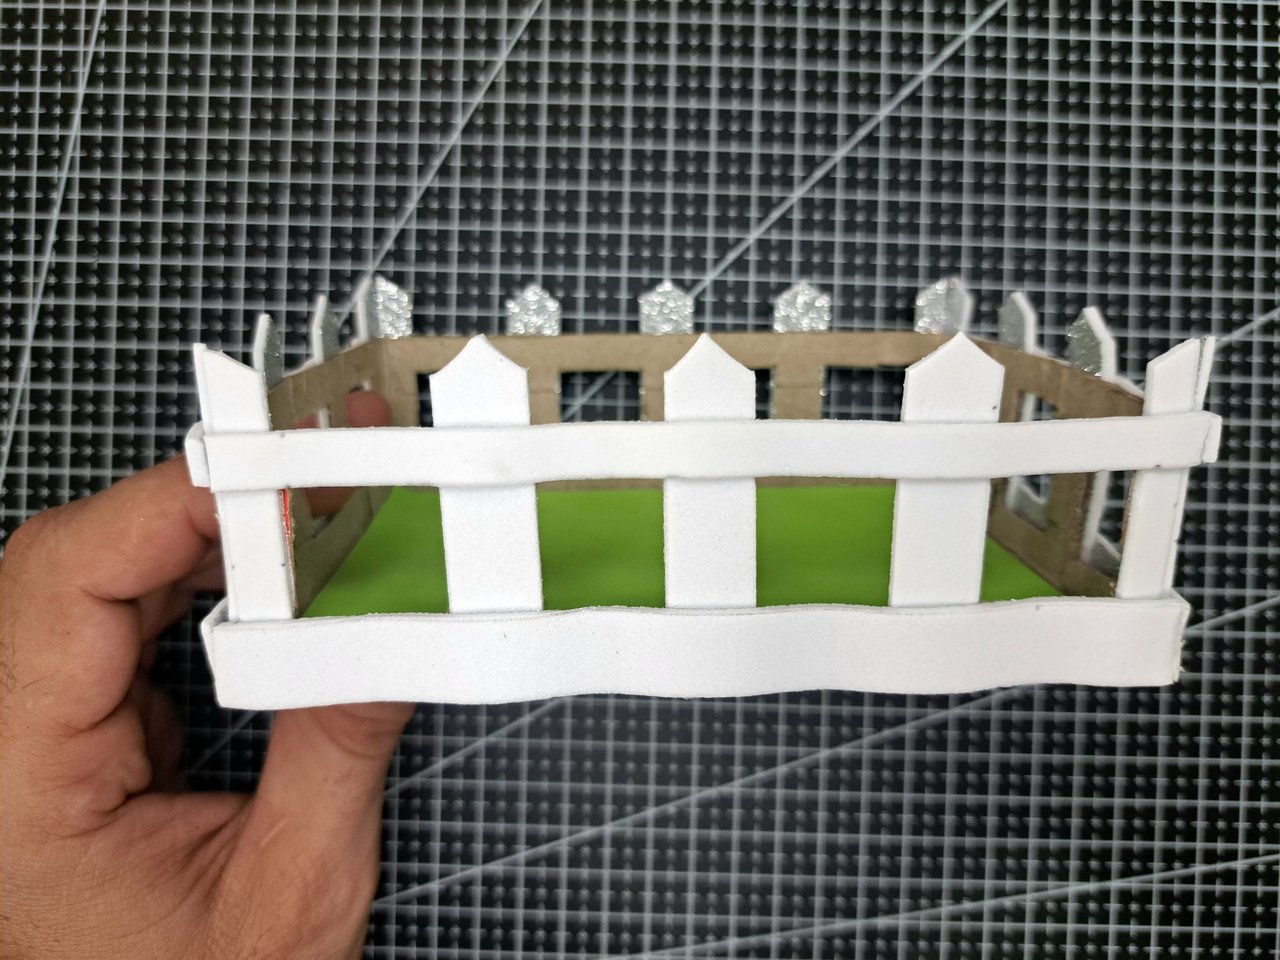 |
3️⃣ Use one of the metal cutting dies to create several pieces of grass to cover the entire bottom edge of the box. If metal cutting dies are not available, a triangular pattern can be drawn on the fomi and cut out.
Con uno de los troqueles metálicos de corte se crearán varias piezas de hierba para cubrir todo el borde inferior de la caja. En caso de no disponer de troqueles metálicos de corte, se puede dibujar un patrón triangular en el fomi y recortarlo.
https://images.hive.blog/0x0/ | https://images.hive.blog/0x0/ |
https://images.hive.blog/0x0/ | https://images.hive.blog/0x0/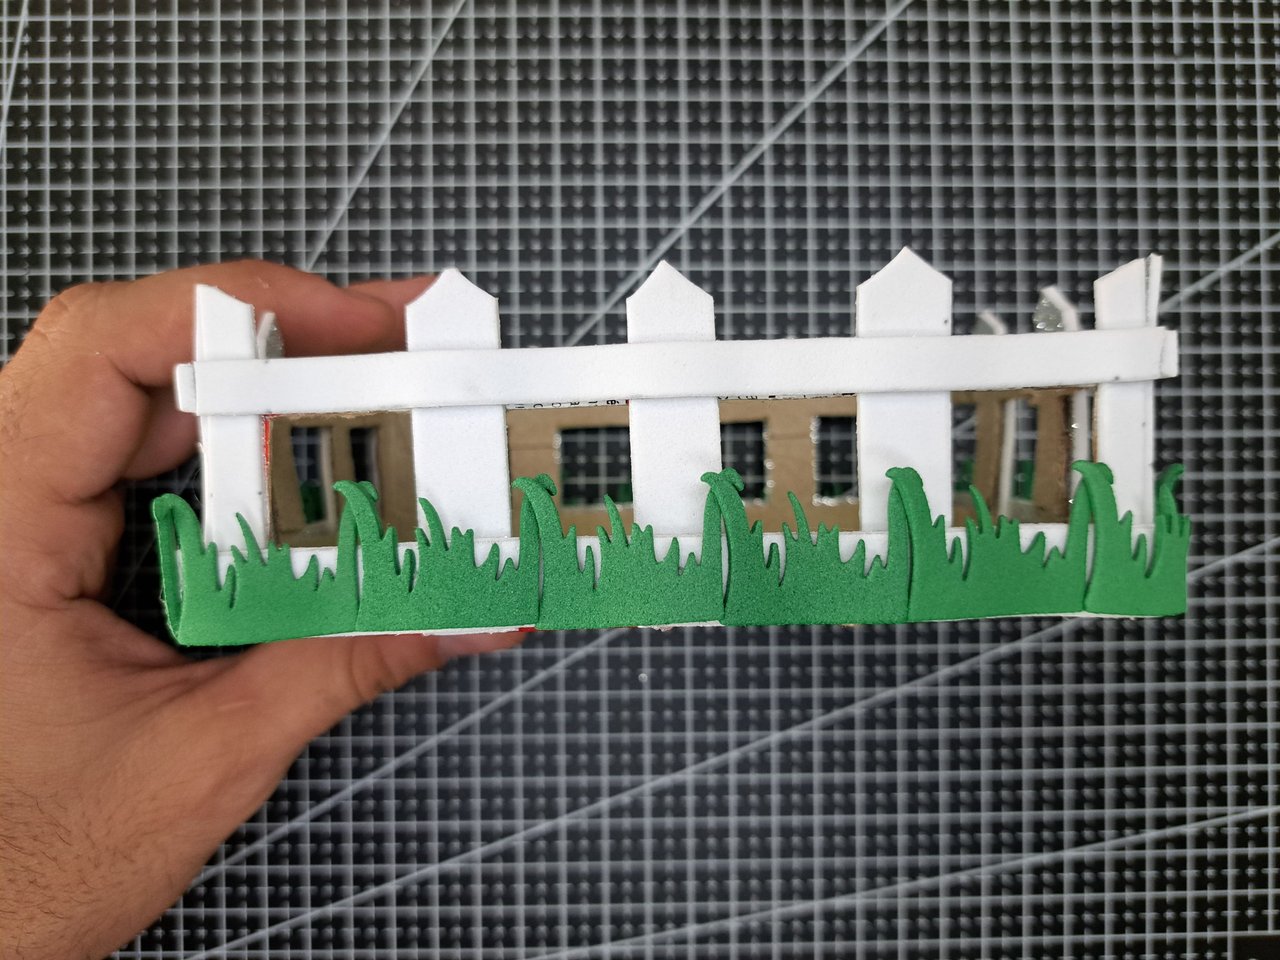 |
4️⃣ As in the previous step, a metal cutting die will be used to create the leaves. In this case, it was necessary for me to separate the leaves and use thin strips of green fomi as the stem of the plant, which I wrapped around the fence posts. I then randomly glued the leaves onto the vine.
Al igual que en el paso anterior, se utilizará un troquel metálico de corte para crear las hojas. En este caso, me fue necesario separar las hojas y utilizar unas tiras finas de fomi verde como tallo de la planta, las cuales enredé alrededor de los postes de la valla. Luego pegué de forma aleatoria las hojas en la enredadera.
https://images.hive.blog/0x0/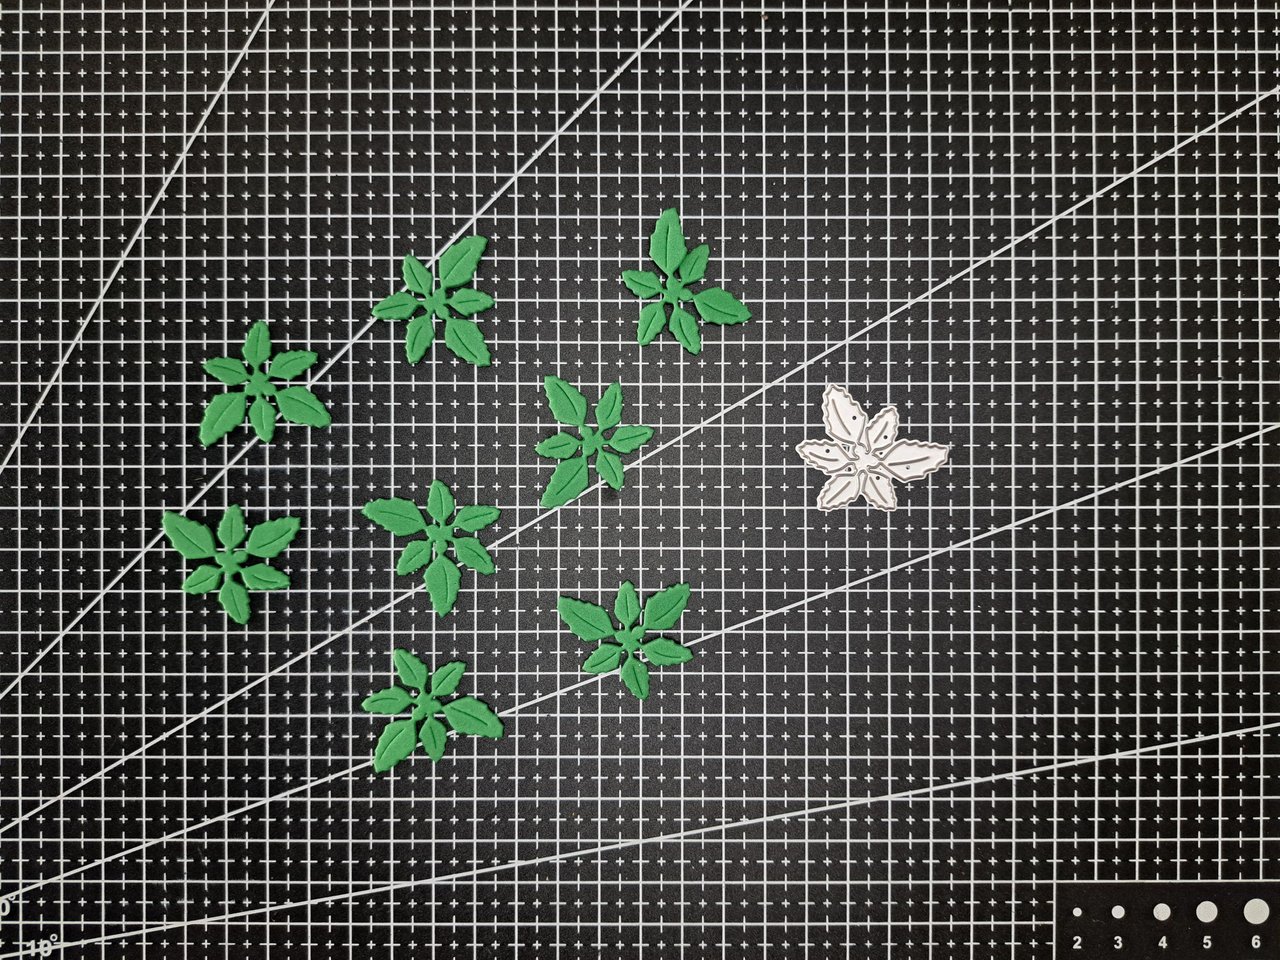 | https://images.hive.blog/0x0/ | https://images.hive.blog/0x0/ |
https://images.hive.blog/0x0/ | https://images.hive.blog/0x0/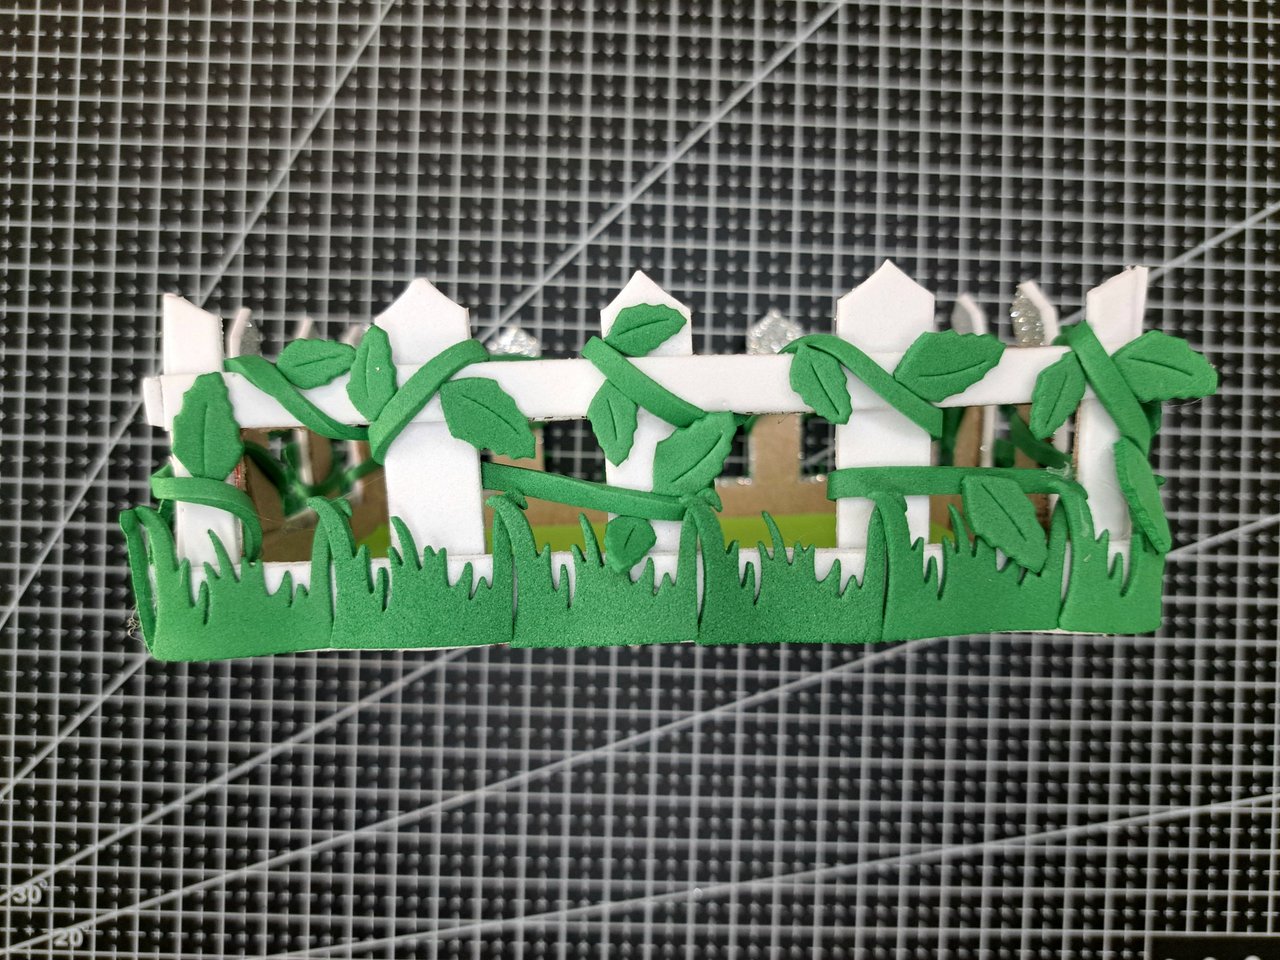 |
5️⃣ With the flower-shaped hole punch, create several violet flowers, which I cut into small balls taking advantage of their shape. These balls will be glued together to form bunches of grapes hanging from the vine.
Con la perforadora en forma de flor, cree varias flores violetas, las cuales corté en pequeñas bolitas aprovechando su forma. Estas bolitas se pegarán juntas formando ramos de uvas que cuelgan de la enredadera.
https://images.hive.blog/0x0/ | https://images.hive.blog/0x0/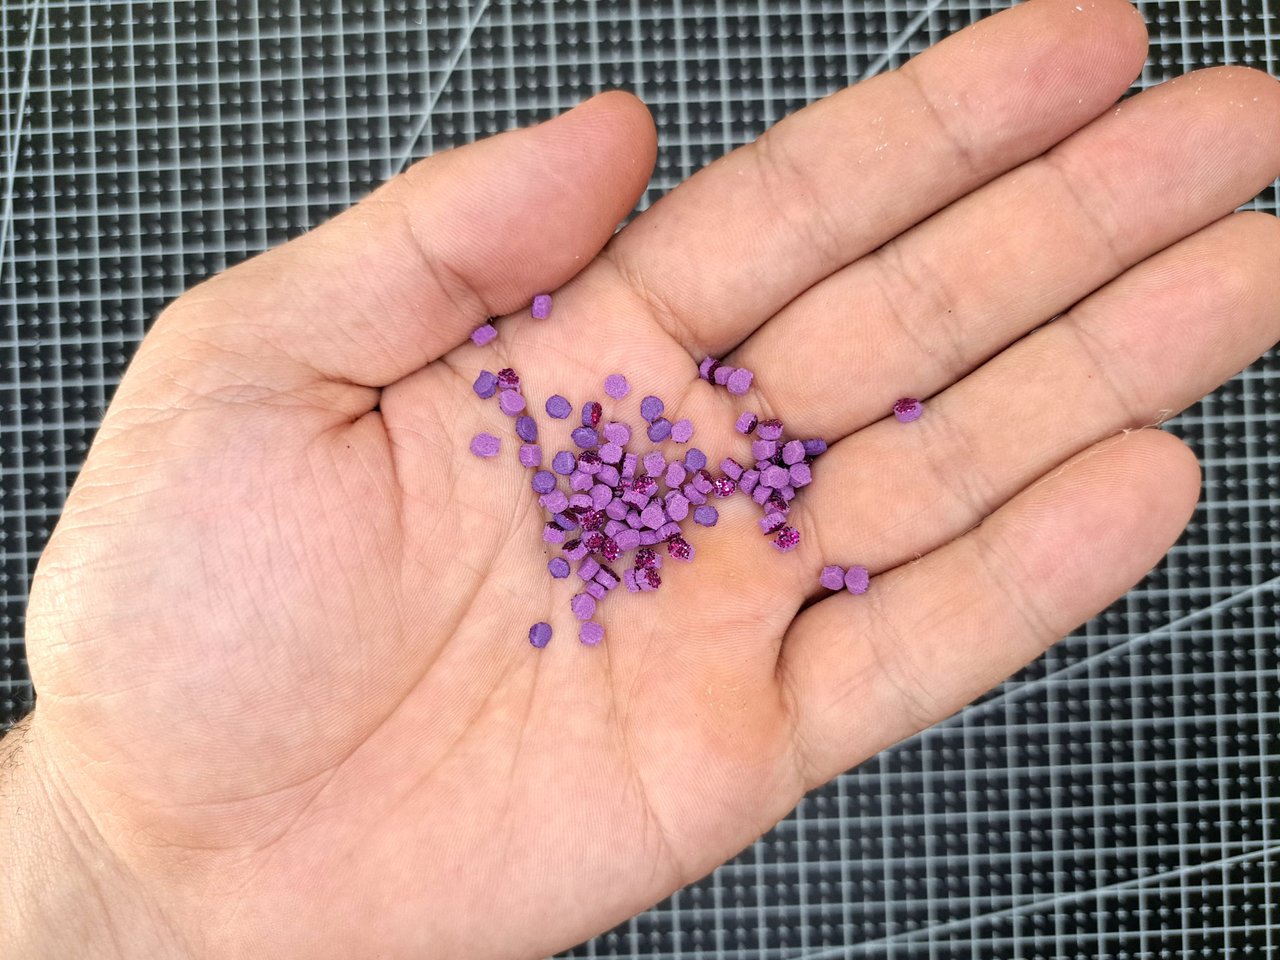 |
https://images.hive.blog/0x0/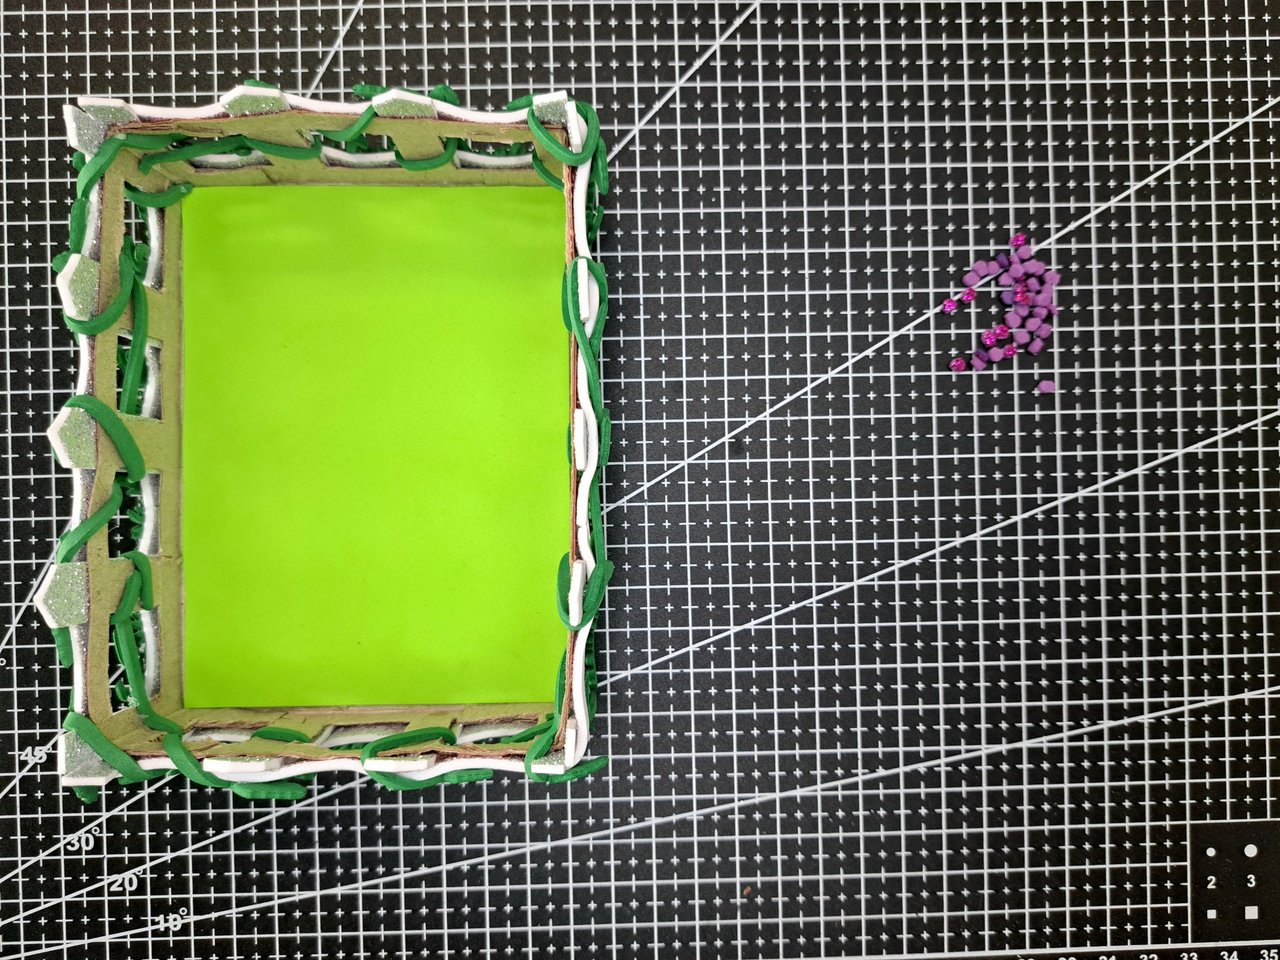 | https://images.hive.blog/0x0/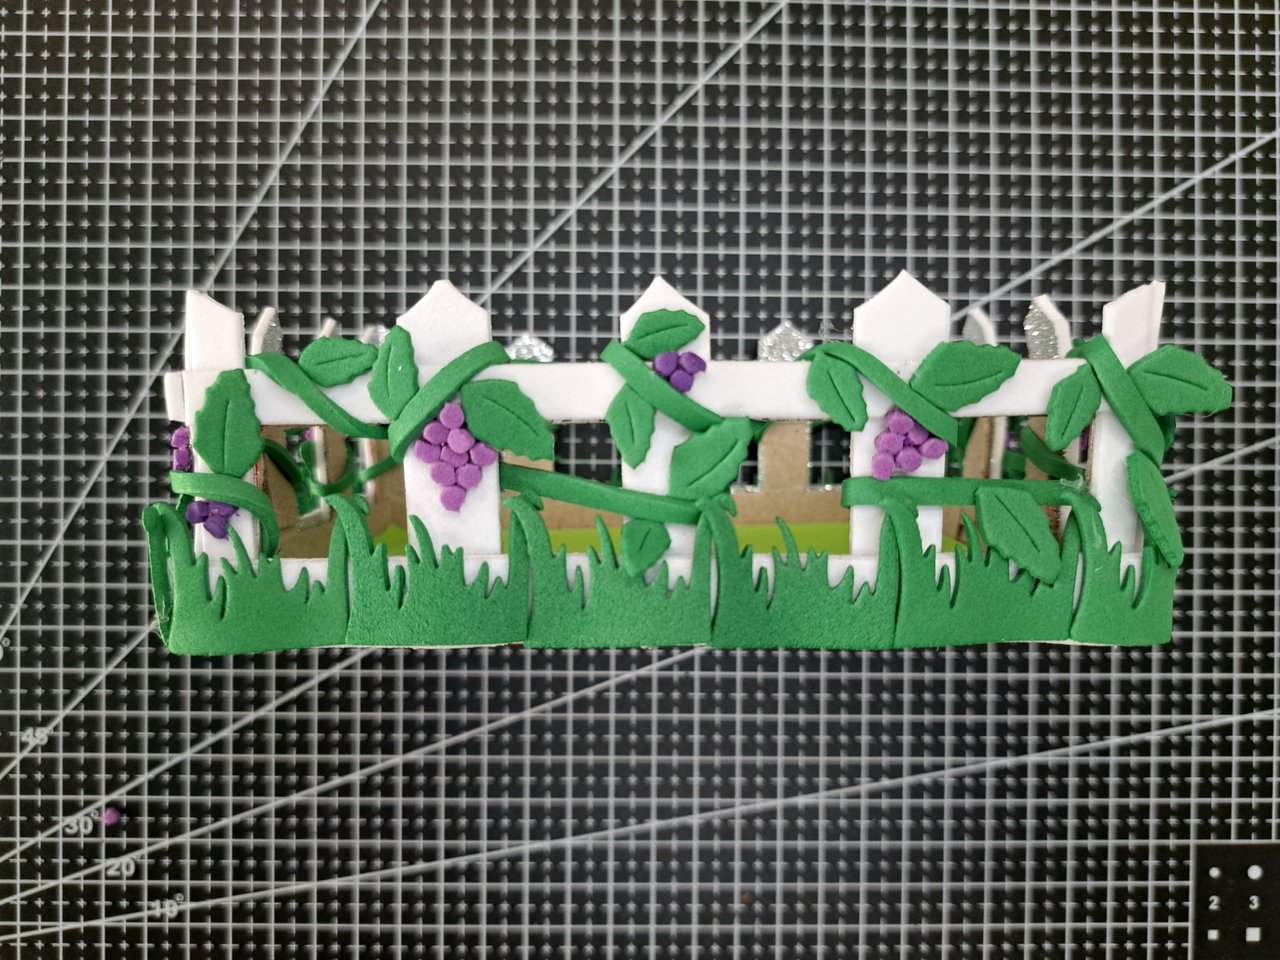 |
6️⃣ To finish, I use the flower punch again and this time create several bright red flowers. These flowers will be glued all around the edge of the box. You can choose the place you like and use as many of these flowers as you like.
Para finalizar, utilizo nuevamente la perforadora con forma de flor y esta vez creo varias flores rojas brillantes. Estas flores se pegarán por todo el borde de la caja. Pueden escoger el lugar que más les guste y utilizar la cantidad que quieran de estas flores.
https://images.hive.blog/0x0/ | https://images.hive.blog/0x0/ |
https://images.hive.blog/0x0/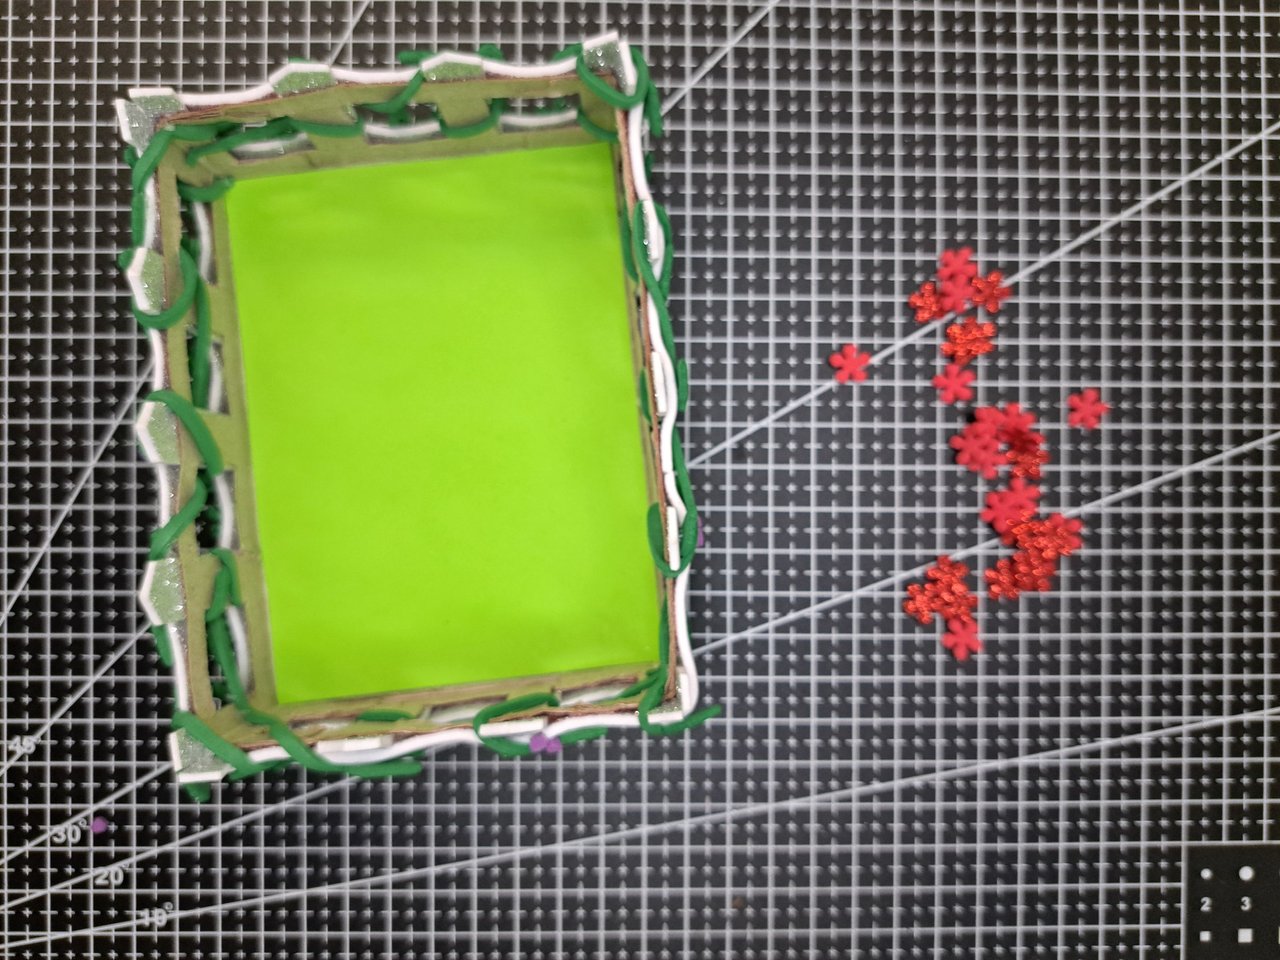 | https://images.hive.blog/0x0/ |
Finished Work // Trabajo Terminado
And that's how this farm-themed organizer is ready. Now we just need some cow or sheep shaped erasers to complement it. I hope you liked this creation. For now I say goodbye, wishing you a happy and nice day.
Y así quedaría listo este organizador con temática de granja. Ahora solo hace falta algunas gomas de borrar con forma de vaca o de oveja para complementar. Espero que les haya gustado esta creación. Por ahora me despido, deseándoles que pasen un feliz y bonito día.
https://images.hive.blog/0x0/ | https://images.hive.blog/0x0/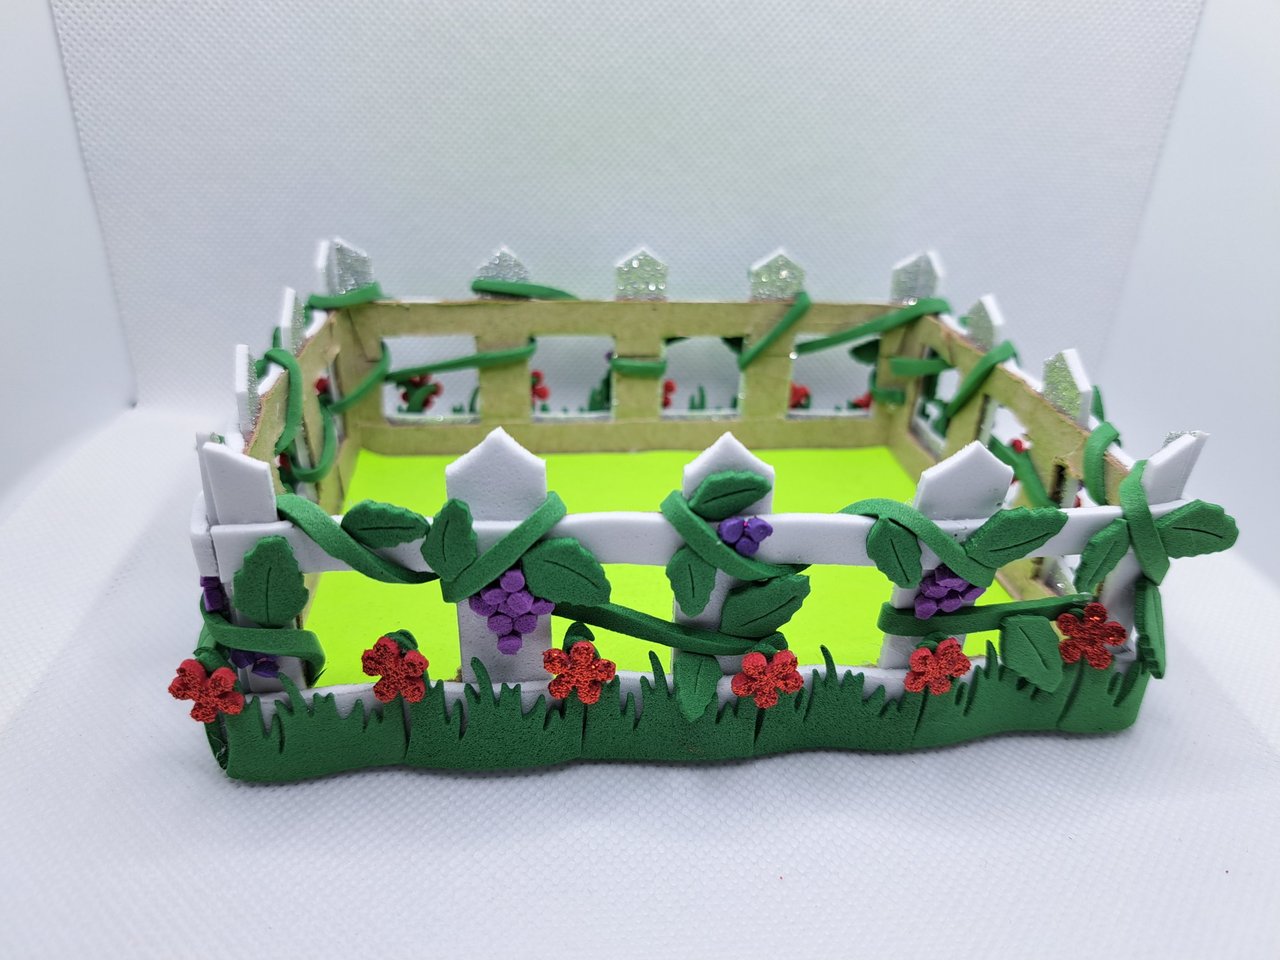 |
https://images.hive.blog/0x0/ | https://images.hive.blog/0x0/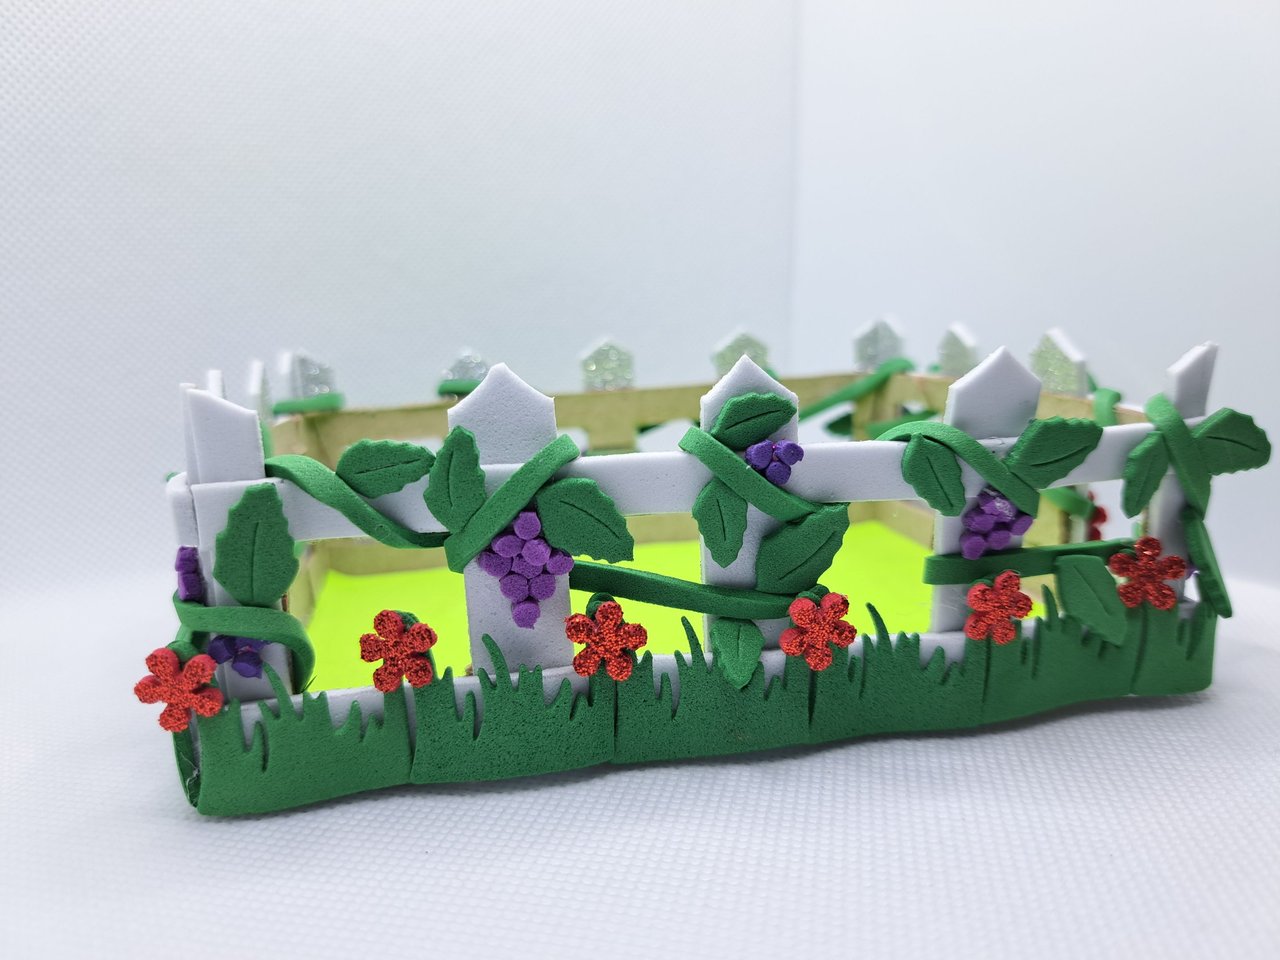 |

Credits and Resources // Créditos y Recursos
Cover page created in Canva
Translated by DeepL
Images captured with my Samsung Galaxy A53


Posted Using INLEO
Comments