
Pixel Art Tutorial - Walking
4 comments
Welcome to my little Pixel Art Tutorial - Walking post!
Hi everyone!
I've got a couple of pixel art tutorials up now...
I think we're ready to start animating. This is where the real fun of pixel art comes into it.
I thought we'd use a super simple character, one that I found on Fiverr (Source):

I won't go into the creation of this character, so here's the cheat sheet to get you started:

Background Purple (
), Jacket Black (), Shoe Black (), Dark Red (), Light Red (), Normal Skin Colour (), Shaded Skin Colour (), T-shirt Shadow Gray (), T-shirt White (), Bright Hat Red () and Nose Brown ().
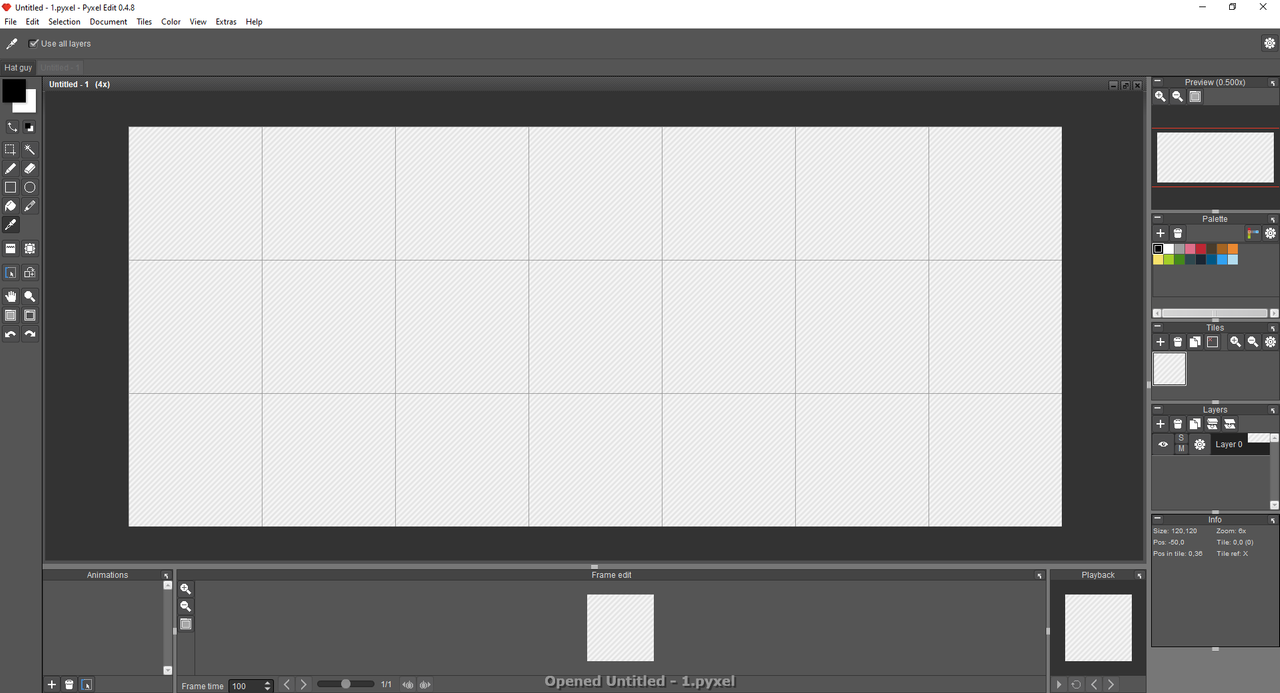
So I'll be using the very excellent
I'll be starting a new document with 21 tiles.

It's almost certainly overkill, but with the animation tool you can just grab the frames you need, so there's no harm in adding too many frames:
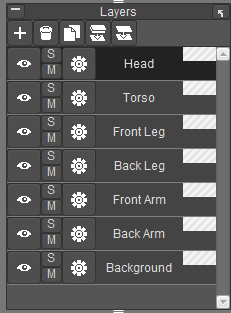
You don't have to, but I'm actually going to put the different limbs and body parts on different layers to help keep track of the movement of each, and to help demonstrate how they work separately.
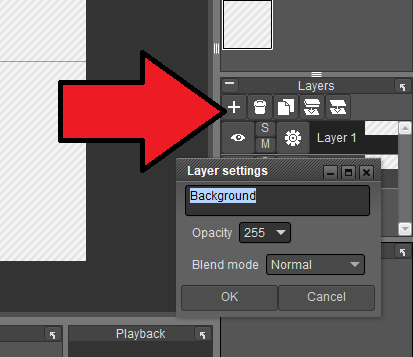
Since our character has some white on his shirt and hat, I'm going to first create a background layer so that the white pixels don't get lost.
Click on the + button in the Layers section to add a new layer and call it Background.
Might as well chuck in the rest of the layers as well for Head, Torso, Front Leg, Back Leg, Front Arm and Back Arm:
Using Bucket tool, cover the background with the Background Purple (
):
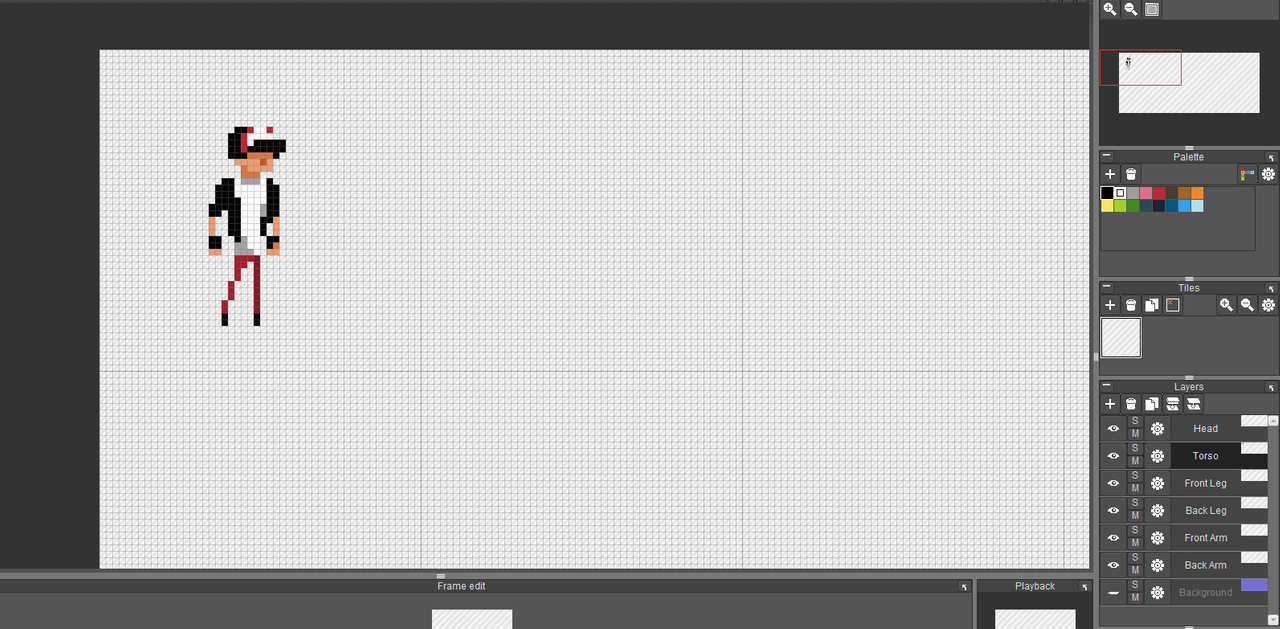
I've then made the background layer non-visible to show you the gridlines of the other layers.
On the Torso layer, paste your character:
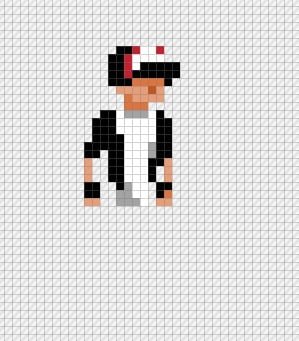
Delete the dude's legs:
Head over to the Front Leg layer and draw in some leg action:
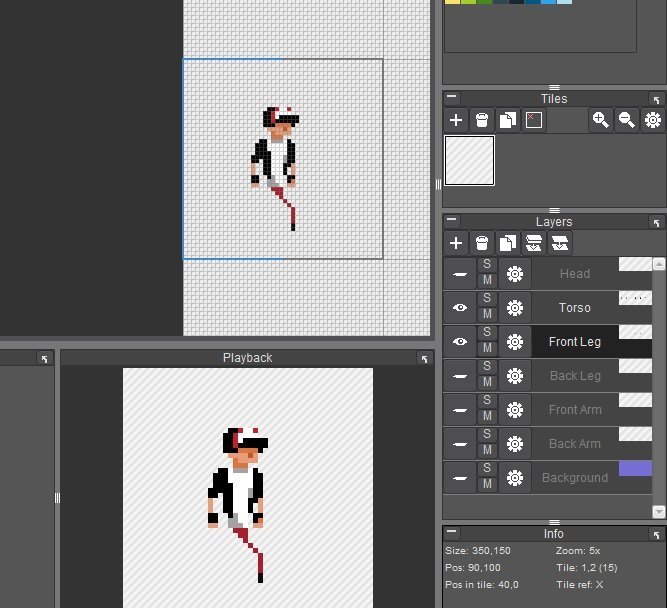
Go through and animate the different stages of a step. You can do it in as many frames or as little frames as you like. Obviously 12 frames would be way smoother than 2 or 3, but here I've chosen to go 6:
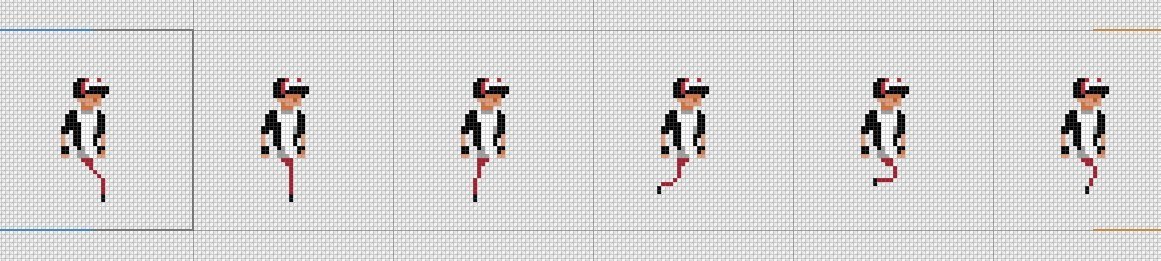
One little trick I've learnt is that the foot on the ground always moves to the back... that's how we propel our way forward.
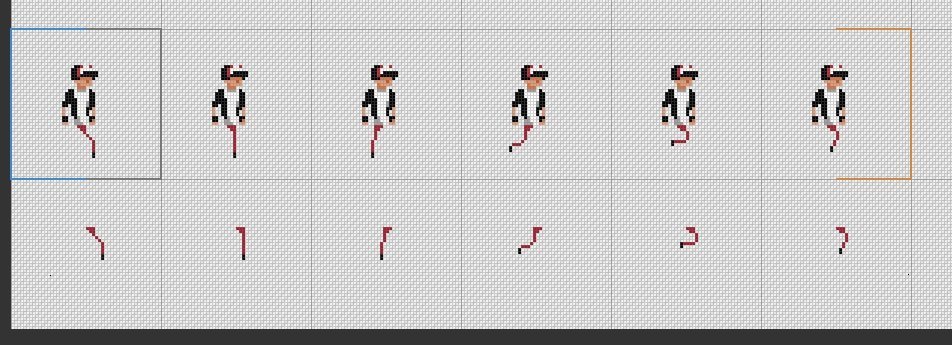
Here is hoppy animated. The walking cycle... (it's called a 'walking cycle' because the animation loops) basically puts his front foot forward (so inspirational!), rests his weight on it and then it kicks back and is brought forward:

It looks weird because there's no concept that he's moving forward, so it more looks like a weird red tentacle thrashing around.
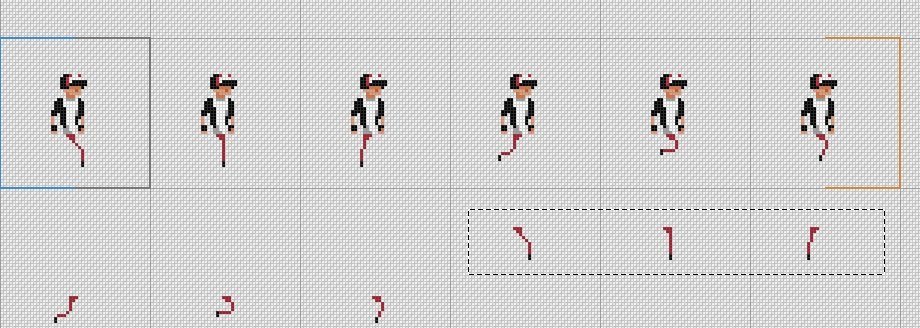
To save time, copy the front leg:

Paste it in some other workspace:
Move the first 3 legs to the back three, and the last 3 to the front:
Click on the Back Legs layer and copy these in. Change the colour to Dark Red (
) to help distinguish between the two legs: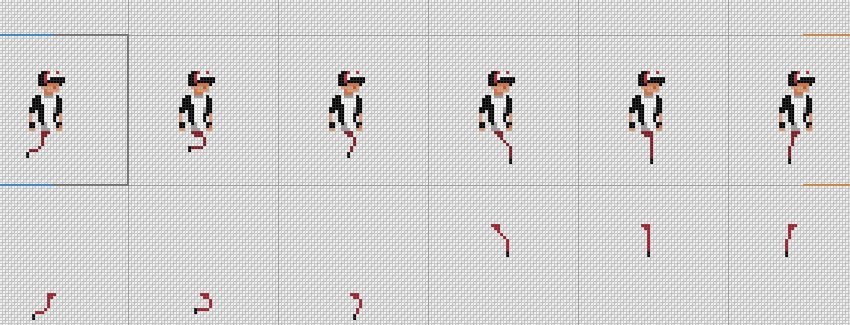
Un-hide the front leg panel and delete any loose legs and look what we've got:

Walk cycle animated
...Which in animation form looks like:

I know it's pretty jumpy, but I think it works. Part of the charm of pixel art is to communicate using the least amount of information as possible.
By un-hiding the purple background, his hat and t-shirt make a little more sense.

We're only part-way through this tutorial... his legs are moving but the rest of his body is completely static. Look out for the next Pixel Art tutorial where we add in a lot more motion...
Obviously the more you practice the more you can start to kick it up:

Or several more rungs up the ladder of amazingness:
Thanks so much for reading...Please hit me up on Twitter if you'd like to chat about all things Pixel Art.

Posted from my blog with Exxp :
Comments